
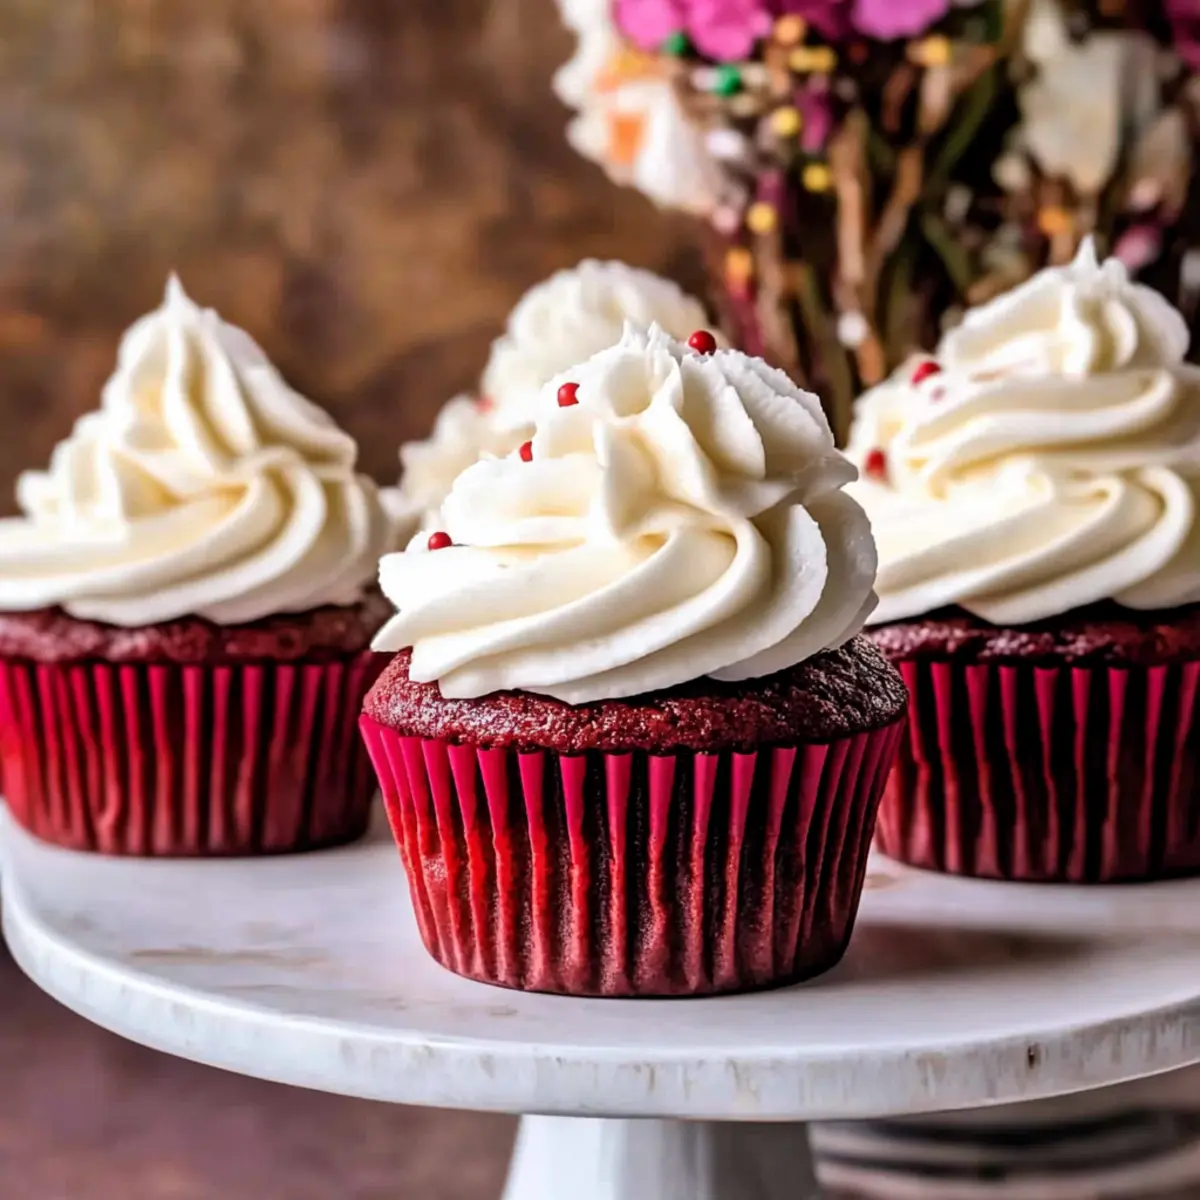
A sprinkle of magic transforms an ordinary day into something extraordinary. With Valentine’s Day just around the corner, I can’t help but think of the joy that homemade desserts can bring. Enter my recipe for Moist Red Velvet Cupcakes with Cream Cheese Frosting. These vibrant little treats not only serve as the perfect festive centerpiece, but they also provide a delightful escape from the everyday hustle and bustle. Enhanced with just a hint of cocoa and topped with a creamy, tangy frosting, these cupcakes are sure to impress both the eyes and the palate. Whether you’re celebrating a special occasion or simply treating yourself, the quick prep time and utterly scrumptious result of these red velvet delights make them an unbeatable choice. Curious about how to whip up this classic dessert? Let’s dive in!
Why are these cupcakes so special?
Irresistible Flavor Combination: The blend of cocoa and cream cheese takes these cupcakes to the next level, creating a flavor that’s both rich and refreshing.
Easy to Make: With just a few simple steps, you can whip up these moist red velvet cupcakes in no time. The minimal prep time allows you to focus on celebrating while enjoying your homemade treats.
Festive Appeal: Their vibrant red hue adds a splash of cheer to any occasion, making them the perfect dessert for holidays and celebrations.
Versatile Topping Options: While a classic cream cheese frosting is a favorite, you can easily experiment with alternatives like buttercream or whipped cream, giving you the freedom to customize.
Make-ahead Convenience: You can bake these cupcakes ahead of time and freeze them—just thaw and frost when you’re ready for that sweet indulgence.
For other delightful desserts, check out my Basque Burnt Cheesecake for a unique twist or try the incredible Creamy Beef and Shells for a savory option!
Red Velvet Cupcake Ingredients
• Curious about what makes these red velvet cupcakes a standout? Here’s everything you need!
For the Cupcakes
- All-purpose flour – Provides structure and texture; substitute with gluten-free flour for a gluten-free option.
- Dutch-process cocoa powder – Adds a subtle chocolate flavor and deeper color; regular cocoa can be used, though color may vary.
- Baking powder & Baking soda – Essential leavening agents; freshness is key for the ideal rise.
- Salt – Enhances flavor; omit for low-sodium diets.
- Unsalted butter – Contributes moisture and richness; make sure it’s softened for smooth mixing.
- Granulated sugar – Sweetens the batter and impacts fluffiness; coconut sugar can be a sweet alternative.
- Eggs & Egg yolk – Adds moisture and structure; bring to room temperature for easier blending.
- Vanilla extract – Boosts flavor; pure extract elevates taste.
- Buttermilk – Ensures a moist, tender crumb; mix milk with vinegar or lemon juice for a quick homemade version.
- Red gel food coloring – Delivers a vibrant color; gel is preferred for striking hues.
For the Cream Cheese Frosting
- Unsalted butter – Creates a creamy texture for frosting; should be softened before use.
- Cream cheese – Provides a rich frosting texture; use cold for the best finish.
- Powdered sugar – Sweetens and thickens frosting; sift for a smoother texture.
- Sprinkles – Optional decoration for that festive touch!
These ingredients combine perfectly to create crowd-pleasing red velvet cupcakes that are ideal for any celebration!
Step‑by‑Step Instructions for Moist Red Velvet Cupcakes with Cream Cheese Frosting
Step 1: Preheat your oven
Begin by preheating your oven to 350°F (175°C). While the oven warms up, line a standard cupcake pan with 12 liners. This preparation ensures a smooth baking process for your red velvet cupcakes, allowing them to bake evenly and rise beautifully.
Step 2: Combine dry ingredients
In a large mixing bowl, whisk together 1 ½ cups of all-purpose flour, 1 tablespoon of Dutch-process cocoa powder, 1 teaspoon of baking powder, ½ teaspoon of baking soda, and a pinch of salt. Mixing these dry ingredients helps evenly distribute the leavening agents, which is crucial for achieving the perfect cupcake texture. Set this bowl aside as you move on to the next step.
Step 3: Cream butter and sugar
In another large bowl, use an electric mixer to cream together ½ cup of softened unsalted butter and 1 cup of granulated sugar. Beat this mixture on medium speed for about 1-2 minutes until it becomes fluffy and light in color. This step adds air to your batter, ensuring your red velvet cupcakes will be lovely and airy.
Step 4: Add wet ingredients
To the creamed mixture, add 1 large egg, 1 egg yolk, and 1 teaspoon of vanilla extract. Mix on low speed until the ingredients are well combined and pale, roughly 1-2 minutes. Including these key ingredients enhances the moistness of the cupcakes, contributing to their rich flavor.
Step 5: Mix in dry and wet ingredients
Gradually incorporate the reserved dry mixture into the wet batter, alternating with 1 cup of buttermilk. Start with the dry ingredients and mix on low speed until just combined. This method ensures a smooth batter without over-mixing, which is essential for a tender crumb in your red velvet cupcakes.
Step 6: Add red food coloring
Once your batter is smooth, fold in 2 tablespoons of red gel food coloring. Gently mix until the color is uniform throughout the batter. This vibrant hue is what makes red velvet cupcakes stand out, creating a festive and eye-catching dessert that is perfect for any occasion.
Step 7: Fill the cupcake liners
Divide the batter evenly among the lined cupcake wells, filling each one about ¾ full. This allows for the cupcakes to rise perfectly without overflowing. Place the pan in the preheated oven and bake for 17-20 minutes, or until a toothpick inserted in the center comes out clean.
Step 8: Cool the cupcakes
Once baked, remove the pan from the oven and let the cupcakes cool in the pan for about 10 minutes. After that, gently transfer them to a wire rack to cool completely. This cooling process is crucial for setting the texture of your cupcakes before you proceed to frosting.
Step 9: Make the cream cheese frosting
While the cupcakes are cooling, prepare the cream cheese frosting. In a mixing bowl, beat together ½ cup of softened unsalted butter until fluffy. Gradually add 8 ounces of cold cream cheese and continue mixing until completely combined. Slowly add in 2 cups of sifted powdered sugar until the frosting is smooth and ready to spread.
Step 10: Frost the cupcakes
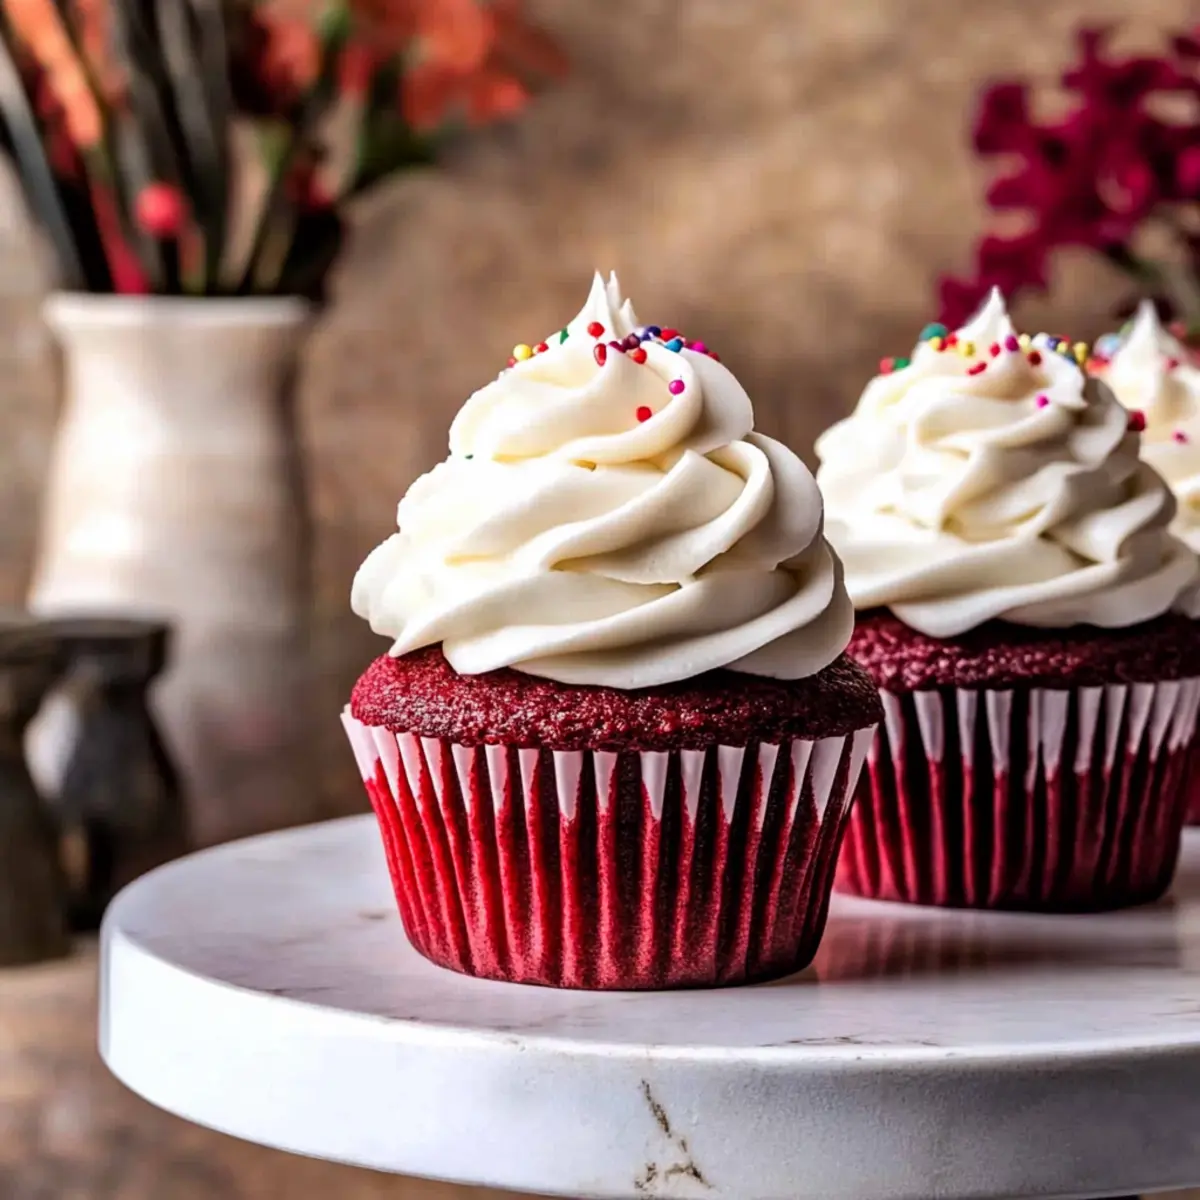
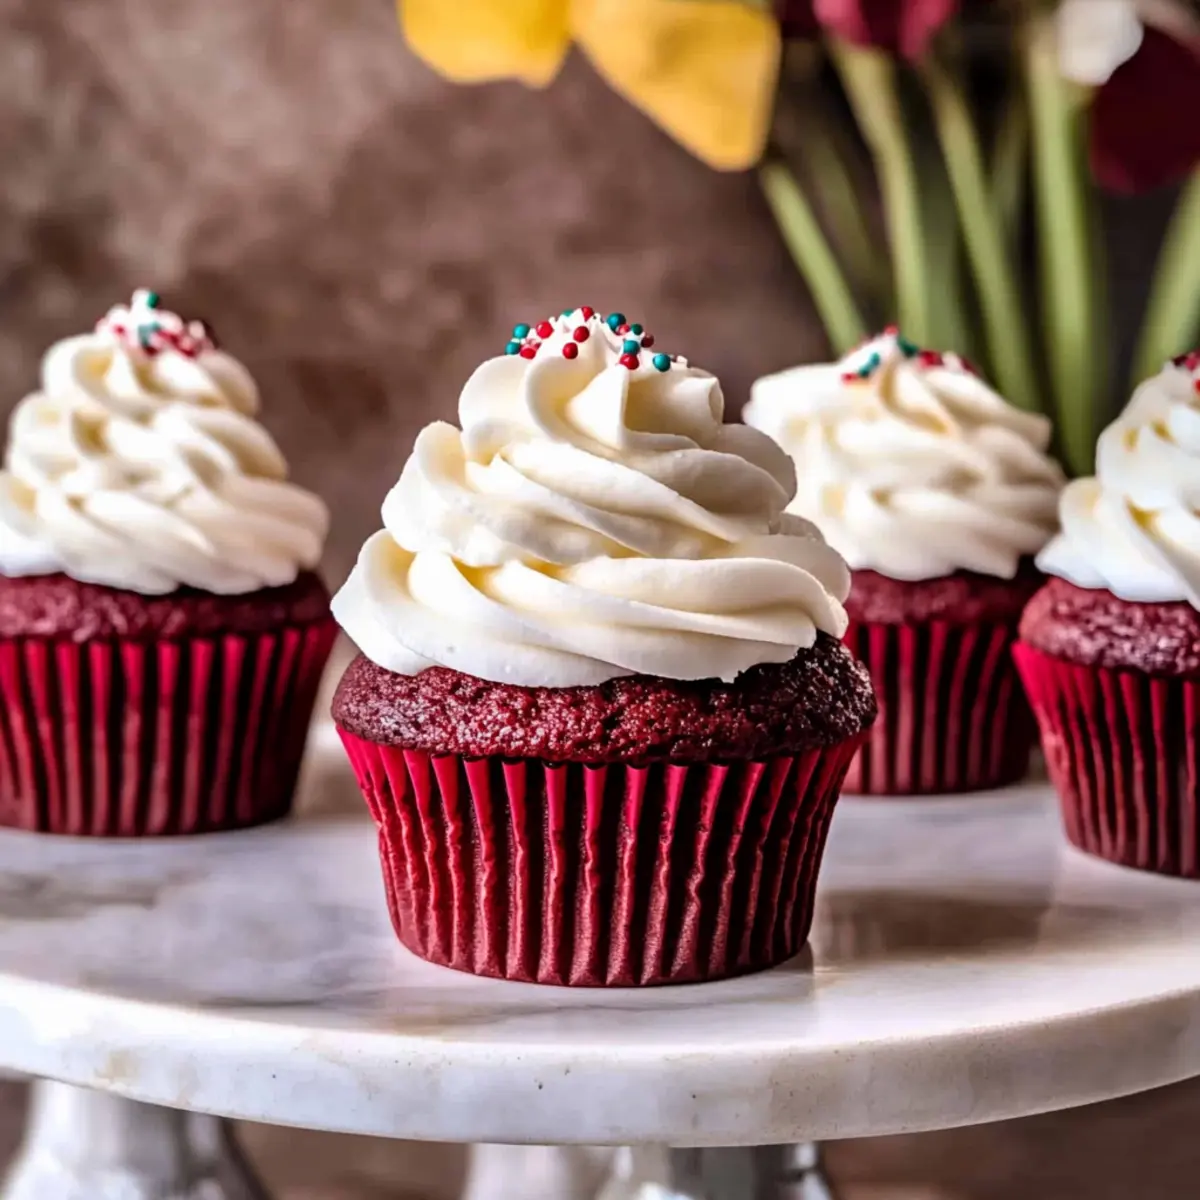
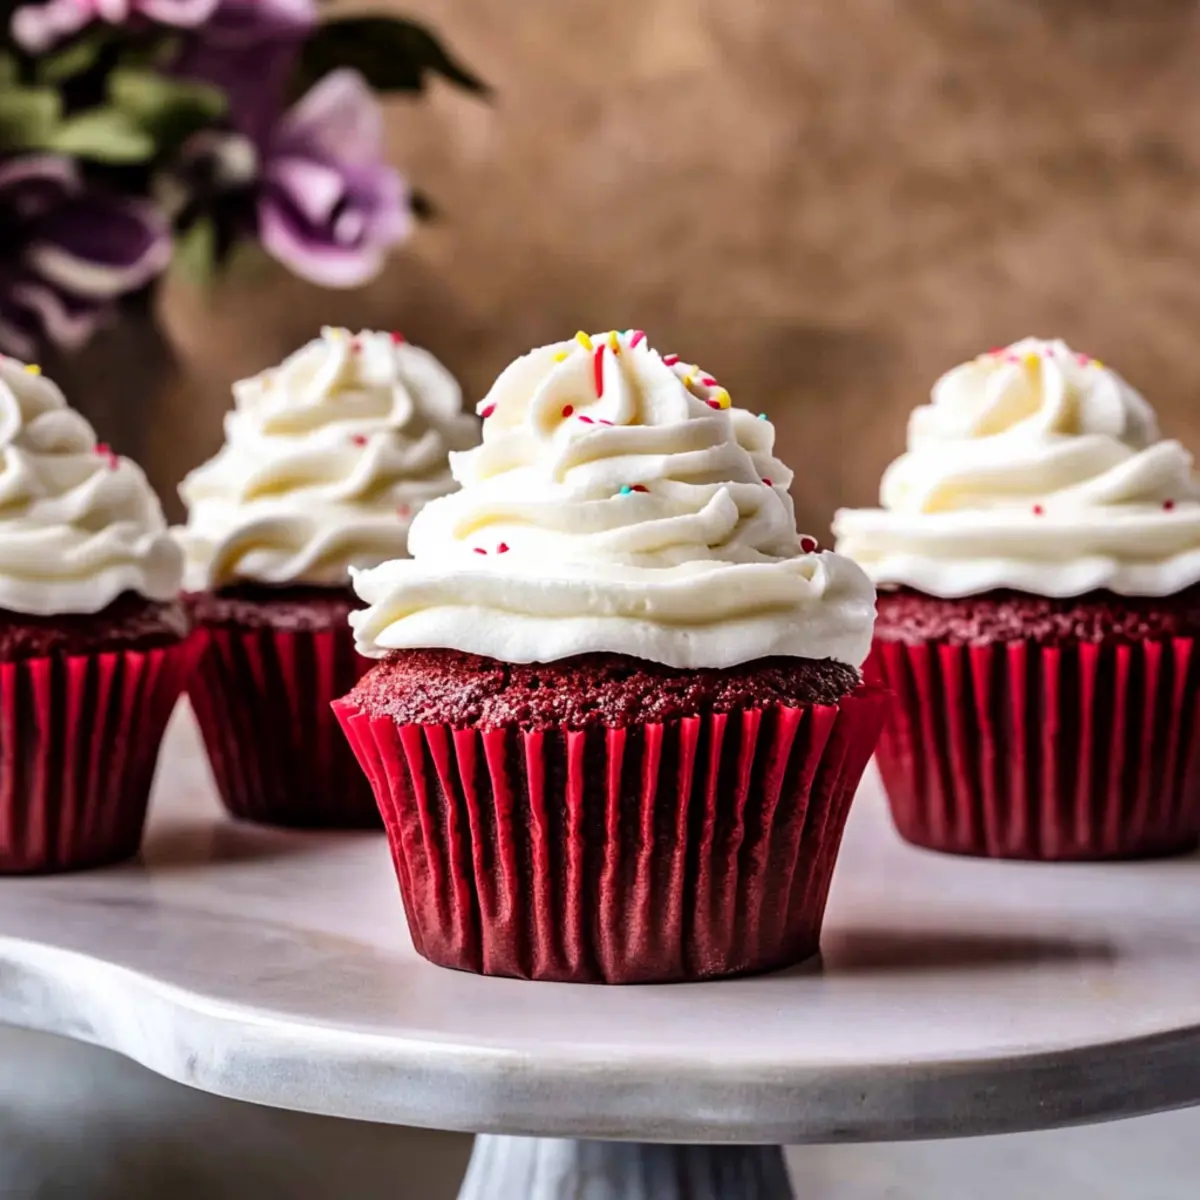
Once the red velvet cupcakes are completely cool, pipe or spread the cream cheese frosting generously on top of each one. For an added festive touch, sprinkle with colorful sprinkles if desired. This final step elevates your already delectable red velvet cupcakes, making them a perfect treat for any celebration.
Red Velvet Cupcakes Variations & Substitutions
Feel free to put your unique twist on these delightful red velvet cupcakes—the flavors and textures can be as diverse as your imagination!
-
Gluten-Free: Substitute all-purpose flour with a 1:1 gluten-free blend to cater to gluten sensitivities without compromising on taste.
-
Cocoa Upgrade: Opt for a premium Dutch-process cocoa powder to intensify the chocolate flavor, creating an even richer cupcake experience.
-
Sweetness Swap: Replace granulated sugar with coconut sugar for a more caramel-like sweetness. Just be aware it may slightly change the color.
-
Flavor Boost: Add a teaspoon of almond extract along with the vanilla to give your cupcakes a nutty depth that perfectly complements the cocoa.
-
Fruit Infusion: Incorporate 1/2 cup of mashed ripe banana or applesauce into the batter for added moisture and a subtle fruity twist.
-
Frosting Variations: Experiment with different frostings like peanut butter or dark chocolate frosting to create new flavor profiles that will wow your guests.
-
Sprinkle Fun: For a festive touch, try using themed sprinkles on top of your cream cheese frosting. It’s a simple yet playful way to match any celebration!
-
Bite-Sized Treats: Make mini cupcakes by adjusting the baking time to 12-15 minutes, allowing for cute, crowd-pleasing morsels that are easy to snack on.
These variations not only allow you to cater to dietary preferences but also help you explore different culinary possibilities! For more sweet inspiration, don’t miss the delicious Basque Burnt Cheesecake or savor the comforting flavors in my Creamy Beef and Shells. Happy baking!
Expert Tips for Red Velvet Cupcakes
-
Room Temperature Ingredients: Ensure all ingredients, especially eggs and butter, are at room temperature for a smoother batter and better rise in your red velvet cupcakes.
-
Proper Flour Measurement: Measure flour by spooning it into the measuring cup and leveling it off. Avoid scooping directly, which can lead to dry cupcakes.
-
Gel Food Coloring Advantage: Opt for gel food coloring for a vibrant red hue. It provides a deeper color without affecting the batter’s consistency compared to liquid food coloring.
-
Cooling Time: Allow cupcakes to cool completely before frosting. This prevents the cream cheese frosting from melting and becoming runny, ensuring a beautiful finish.
-
Frosting Consistency Check: If your frosting seems runny, refrigerate it for 10-15 minutes to firm it up before frosting your red velvet cupcakes.
What to Serve with Moist Red Velvet Cupcakes with Cream Cheese Frosting
Imagine indulging in decadent cupcakes while sipping a complementary drink or enjoying a delightful side dish.
-
Creamy Vanilla Ice Cream: The cool, velvety ice cream contrasts beautifully with the rich cupcakes, creating a refreshing palate experience. Scoop a generous portion beside your cupcake for the ultimate treat!
-
Fresh Berries: A medley of raspberries, strawberries, or blueberries adds a burst of tartness that balances the sweetness of the cupcakes. Their vibrant colors make for a beautiful presentation, too.
-
Chocolate-Covered Strawberries: Elevate your dessert spread with these luscious treats! The rich chocolate pairs perfectly with red velvet, enhancing the overall velvety experience.
-
Coffee or Espresso: A warm cup of coffee or a bold espresso complements the flavors of the cupcakes, enhancing their richness. The warmth and bitterness of coffee create a lovely balance to the sweetness.
-
Sparkling Wine: Toast with a glass of sparkling wine for a festive feel! Its effervescence refreshes the palate, making each bite of cupcake even more enjoyable.
-
Lemon Tart: The tartness of a lemon dessert offers a delightful contrast to the moist sweet cupcakes. The citrus notes cleanse the palate while enhancing your dessert experience.
Each of these pairings brings its own unique flair, turning your indulgence into a charming celebration!
Make Ahead Options
These Moist Red Velvet Cupcakes are perfect for meal prep lovers! You can bake the cupcakes up to 3 days in advance; just allow them to cool completely before storing them in an airtight container at room temperature. For longer storage, consider freezing the unfrosted cupcakes for up to 2 months. When ready to serve, simply thaw the cupcakes overnight in the refrigerator, then frost them with cream cheese frosting just before serving to ensure they remain fresh and delicious. This way, you can enjoy homemade red velvet cupcakes with minimal last-minute effort, making them easy to prepare ahead for any occasion!
Storage Tips for Red Velvet Cupcakes
Room Temperature: Store unfrosted cupcakes in an airtight container at room temperature for up to 1 day. This keeps them moist, but make sure to consume them quickly to maintain freshness.
Fridge: Place frosted red velvet cupcakes in an airtight container in the fridge for up to 3 days. Allow them to reach room temperature before serving, enhancing the flavor and texture.
Freezer: Freeze unfrosted cupcakes in a single layer, wrapping each one in plastic wrap, for up to 2 months. Thaw at room temperature before frosting, ensuring they stay moist and delicious.
Reheating: If you’ve stored them in the fridge, enjoy slightly warmed cupcakes by placing them in the microwave for 10-15 seconds—perfectly indulgent for a cozy treat!
Red Velvet Cupcakes Recipe FAQs
What type of flour is best for red velvet cupcakes?
I recommend using all-purpose flour for the perfect structure and texture. If you need a gluten-free option, you can substitute it with gluten-free all-purpose flour, which works nicely without sacrificing taste.
How should I store my red velvet cupcakes?
Frosted red velvet cupcakes can be stored in an airtight container in the refrigerator for up to 3 days. For the best flavor, allow them to reach room temperature before serving. If they are unfrosted, keep them at room temperature in an airtight container for 1 day to maintain their moisture.
Can I freeze red velvet cupcakes?
Absolutely! I often make extra batches and freeze unfrosted cupcakes for up to 2 months. To freeze, wrap each cupcake individually in plastic wrap and then place them in a freezer-safe bag. When you’re ready to enjoy them, simply thaw them at room temperature, frost, and serve!
What should I do if my frosting is too runny?
If your cream cheese frosting turns out runny, don’t worry! You can refrigerate it for about 10-15 minutes to firm it up. This will help improve its consistency, making it perfect for piping onto your red velvet cupcakes. Also, ensure your butter is soft but not melted before mixing it in.
Can I make red velvet cupcakes without eggs?
Yes! For a vegan version, you can replace eggs with a flaxseed or chia seed mixture. Combine 1 tablespoon of ground flaxseed or chia seeds with 2.5 tablespoons of water, let it sit for a few minutes to gel, and use it in place of one egg for your red velvet cupcakes.
Are there any common issues when baking red velvet cupcakes?
One common issue is overmixing the batter, which can lead to dry cupcakes. Make sure to mix the ingredients until just combined for a tender crumb. Additionally, using too much flour can also affect texture, so be sure to measure correctly by spooning flour into your measuring cup and leveling it off.
Decadent Red Velvet Cupcakes with Creamy Frosting Bliss
Ingredients
Equipment
Method
- Preheat your oven to 350°F (175°C) and line a standard cupcake pan with 12 liners.
- In a large bowl, whisk together the flour, cocoa powder, baking powder, baking soda, and salt.
- Cream together the softened butter and granulated sugar until fluffy.
- Add the egg, egg yolk, and vanilla extract to the creamed mixture and mix until combined.
- Gradually alternate mixing in the dry ingredients with the buttermilk.
- Fold in the red gel food coloring until uniform.
- Divide the batter among the cupcake liners and bake for 17-20 minutes.
- Let the cupcakes cool in the pan for 10 minutes before transferring to a wire rack.
- Beat the softened butter until fluffy, then mix in the cold cream cheese.
- Gradually add sifted powdered sugar until the frosting is smooth.
- Frost the cooled cupcakes with the cream cheese frosting and add sprinkles if desired.
Leave a Reply