
As I stood outside on a sun-drenched afternoon, I recalled how nothing beat the delight of a cold treat on a warm day. That moment sparked my passion for crafting the ultimate summer indulgence: Peanut Butter Cup Ice Cream Sandwiches. This recipe is a leap from the traditional, blending the rich, nutty goodness of peanut butter cookies with velvety ice cream that will leave your taste buds dancing. Not only are these sandwiches easy to assemble, but they also pack a playful punch that makes them perfect for gatherings or a cozy night in. Plus, they’re kid-friendly, ensuring that everyone can join in on the fun! Are you ready to dive into a sweet adventure that brings a nostalgic twist to your summer gatherings?

Why Peanut Butter Cup Ice Cream Sandwiches Rock
Decadent Flavor Explosion: The rich peanut butter cookies perfectly complement the creamy ice cream, creating a burst of flavor in every bite.
Kid-Friendly Fun: Kids will love helping to assemble these treats, making them a fantastic way to create lasting memories together.
Quick and Simple: With minimal prep time, you’ll have a delightful dessert ready in no time—perfect for those summer evenings.
Perfect for Any Occasion: Whether it’s a backyard BBQ or a cozy movie night, these sandwiches will steal the show!
Versatile Choices: Swap in your favorite ice cream flavors or mix-ins to personalize each creation. For other fun dessert options, check out my Peanut Butter Pie and Cranberry Cream Cheese recipes!
Peanut Butter Cup Ice Cream Sandwich Ingredients
For the Peanut Butter Cookies
- PEANUT BUTTER: – Provides that rich, nutty flavor; creamy or chunky both work well!
- BUTTER: – Adds moisture and richness; you can swap it with coconut oil for a dairy-free option.
- SUGAR: – Sweetens the cookies; brown sugar gives a deeper flavor, while granulated sugar keeps them classic.
- EGG: – Binds the mixture; use a flax egg for a vegan alternative.
- FLOUR: – Gives structure; substitute with almond or oat flour to make it gluten-free.
For the Ice Cream Filling
- ICE CREAM (YOUR CHOICE): – The heart of the sandwich; whether it’s chocolate, vanilla, or any flavor, go for a creamy option! Don’t forget to check for dairy-free options if needed.
Optional Mix-Ins
- CHOCOLATE CHIPS: – Add a chocolatey burst; choose dark chocolate for a gourmet touch.
- NUTS: – Enhance crunch and flavor; swap with seeds for a nut-free version.
- SPRINKLES: – Add fun colors and textures, especially appealing to kids!
These Peanut Butter Cup Ice Cream Sandwiches are an exciting way to make summer delicious!
Step‑by‑Step Instructions for Peanut Butter Cup Ice Cream Sandwiches
Step 1: Preheat the Oven
Begin your delightful journey by preheating your oven to 350°F (175°C). This temperature is perfect for baking our rich and nutty peanut butter cookies, ensuring they come out soft and chewy. While the oven heats up, gather your ingredients and line two baking sheets with parchment paper to make cleanup a breeze.
Step 2: Mix the Dry Ingredients
In a spacious mixing bowl, whisk together the flour, baking soda, and a pinch of salt. This step is crucial as it evenly distributes the leavening agent, ensuring your cookies rise beautifully. Set the dry mixture aside, and take a moment to enjoy the inviting aroma of the peanut butter before moving on to the next step.
Step 3: Cream the Butter and Sugars
In a separate bowl, use an electric mixer to cream together the butter, peanut butter, and sugars until the mixture is light and fluffy—about 3-5 minutes. The combination of sugars should create a creamy texture that’s invitingly smooth. Once done, crack in the egg (or flax egg for a vegan option) and mix until fully integrated, adding rich flavor and binding power.
Step 4: Combine Wet and Dry Mixtures
Gradually add the dry mixture to your creamed mixture, stirring gently until a dough forms. You should aim for a cohesive and slightly sticky dough that holds together without crumbling. The delightful aroma of peanut butter should fill your kitchen, inviting your taste buds to join this sweet adventure.
Step 5: Shape the Cookies
Using a cookie scoop or two spoons, drop generous spoonfuls of dough onto your prepared baking sheets, spacing them about 2 inches apart. Make sure the dough rounds are even to ensure uniform baking. The anticipation builds as you envision the delicious Peanut Butter Cup Ice Cream Sandwiches taking shape in your oven!
Step 6: Bake the Cookies
Slide the baking sheets into your preheated oven and bake for 10-12 minutes, or until the edges are lightly golden, while the centers remain soft. Your kitchen will be filled with the irresistible scent of warm peanut butter cookies. Keep an eye on them; you want them just set for the perfect cookie texture!
Step 7: Cool the Cookies
Once the cookies are baked to perfection, remove the sheets from the oven and let them cool on the pan for about 5 minutes. Then, transfer the cookies to a wire rack to cool completely. Patience is key here, as fully cooled cookies will hold together beautifully in the final assembly of your Peanut Butter Cup Ice Cream Sandwiches.
Step 8: Assemble the Sandwiches
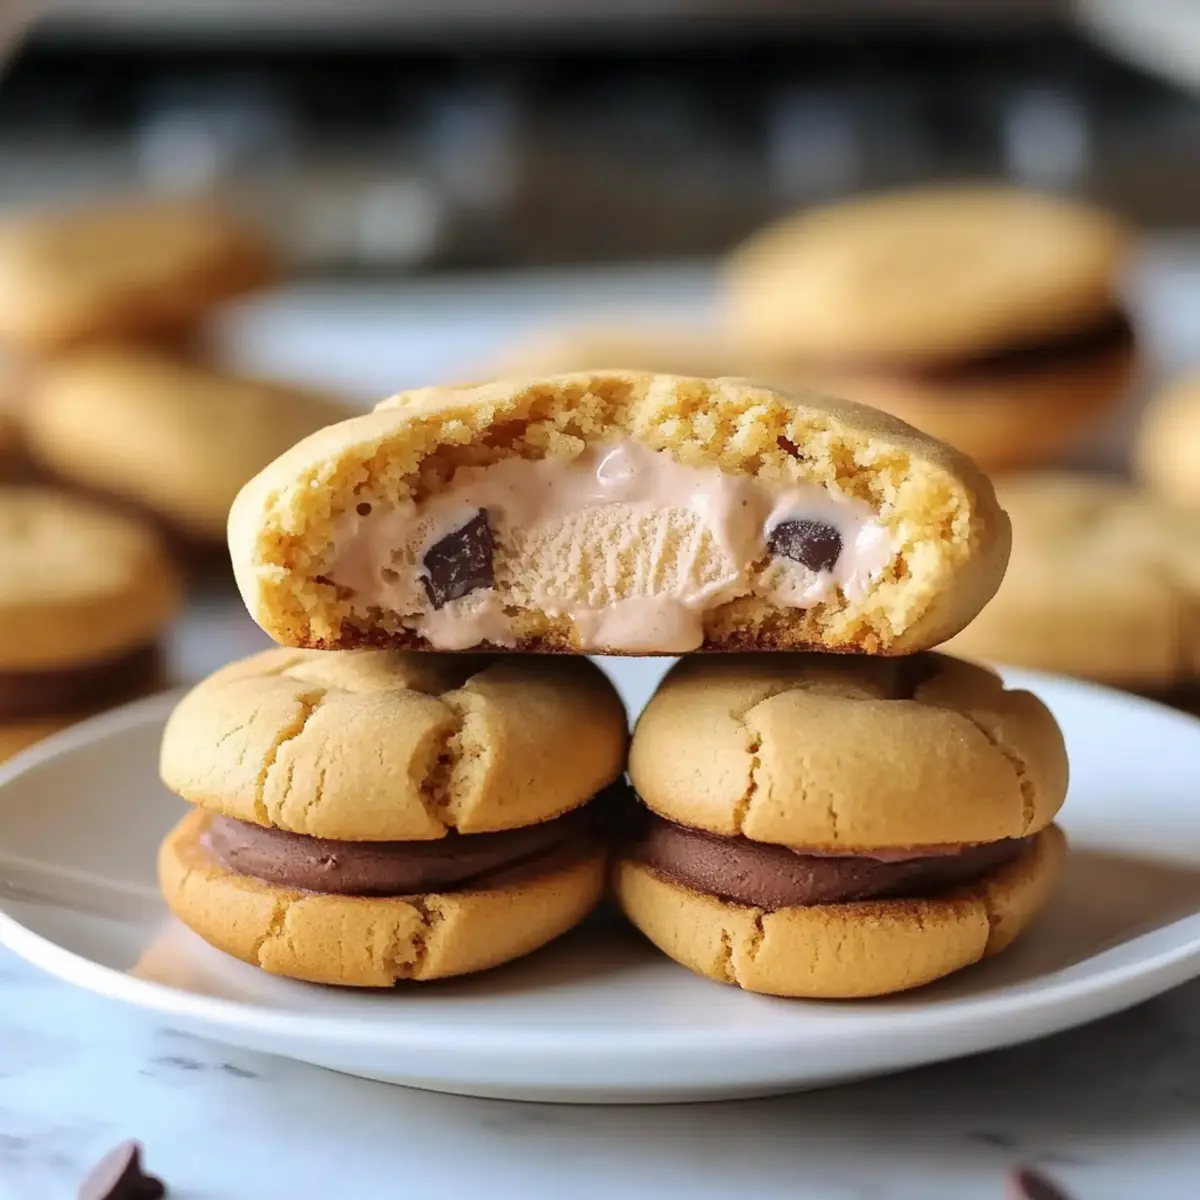
Once your cookies have cooled, it’s time to assemble your delicious sandwiches! Place a generous scoop of your chosen ice cream in between two cookies, gently pressing them together until the ice cream oozes slightly from the sides. This step is where the fun really happens and where you can involve kids for a memorable experience!
Step 9: Chill the Sandwiches
To firm up the ice cream between the cookies, place the assembled sandwiches in the freezer for about 10-15 minutes. This will create a refreshing contrast when you bite into your Peanut Butter Cup Ice Cream Sandwiches. It’s a perfect way to build suspense before you indulge in these wonderfully creamy treats.
Step 10: Serve and Enjoy
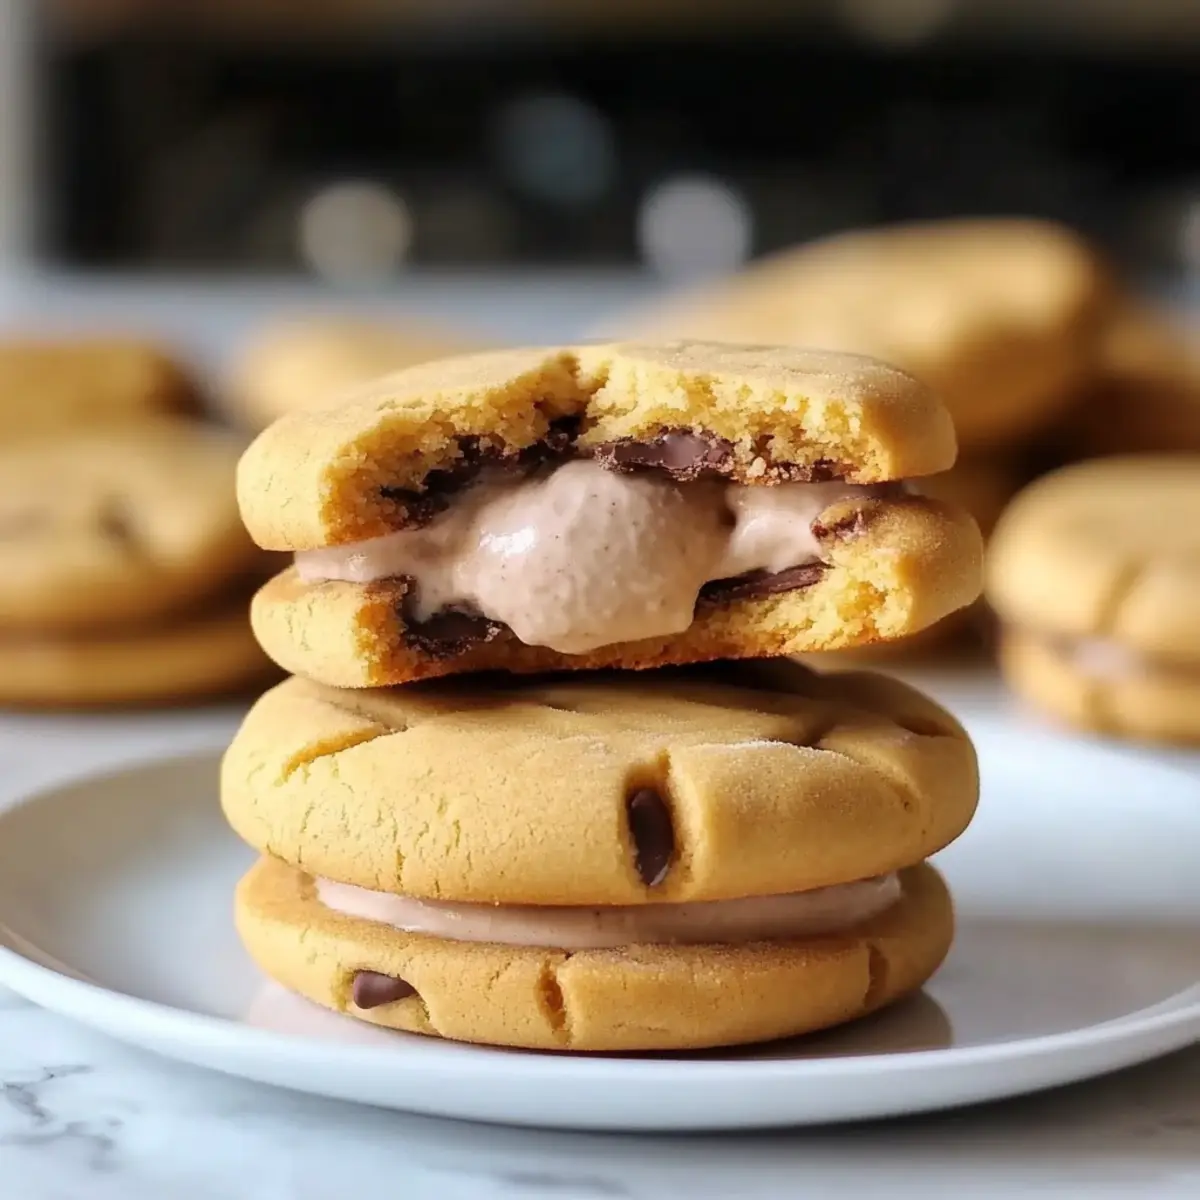
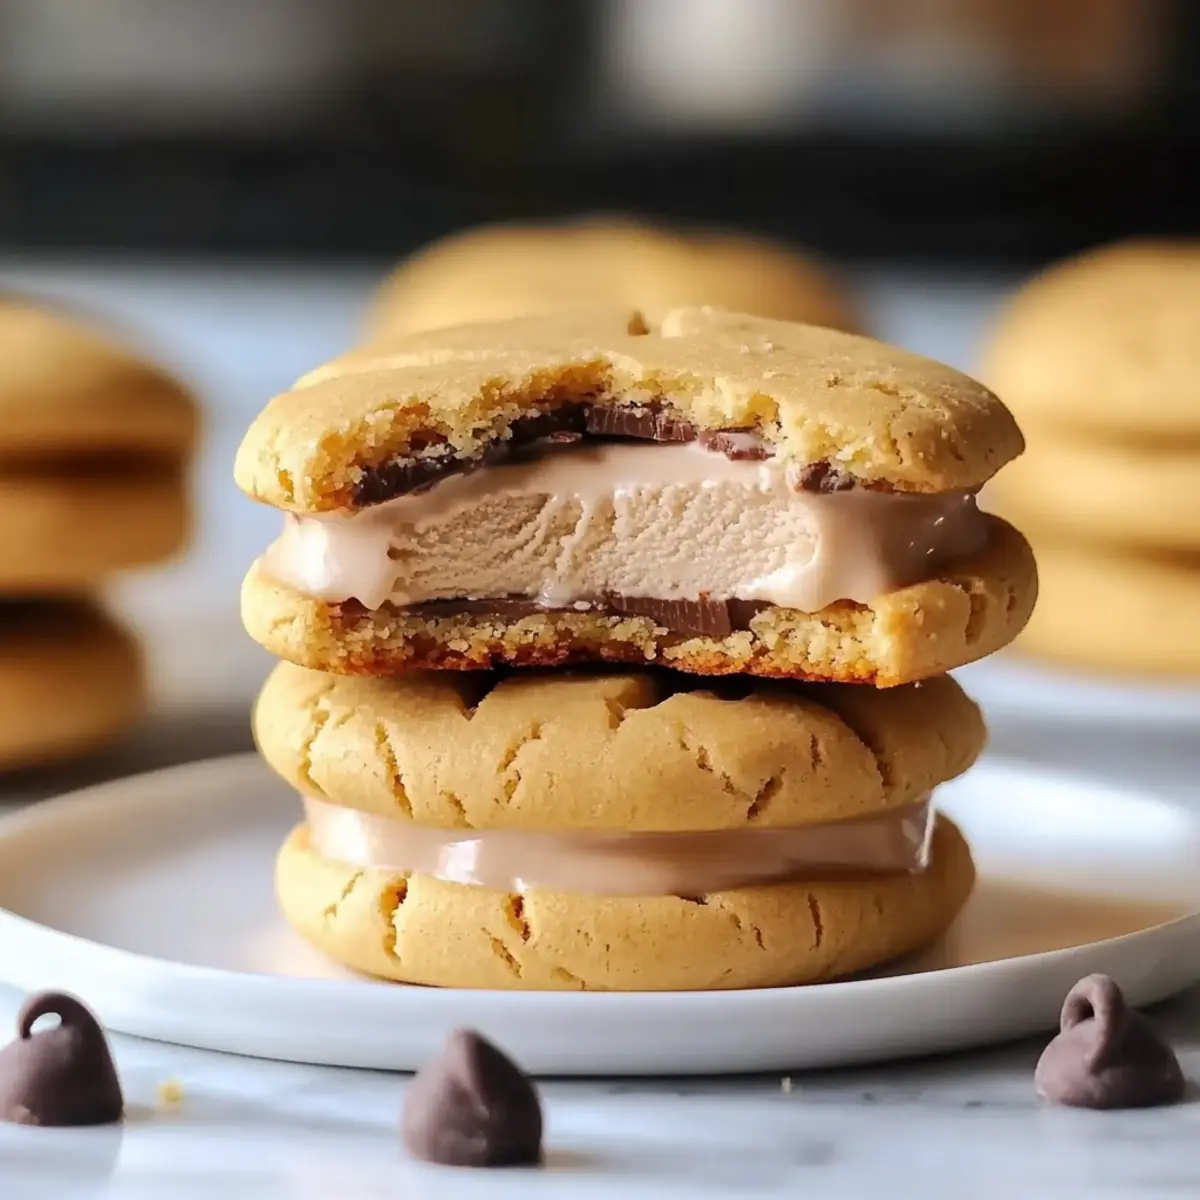
Once chilled, your Peanut Butter Cup Ice Cream Sandwiches are ready to serve. Present them on a platter, perhaps with a drizzle of chocolate sauce or some colorful sprinkles for an enticing touch! Each bite will be a delightful mix of creamy ice cream and soft, chewy peanut butter cookies—a sure way to make your summer gatherings unforgettable.
What to Serve With Peanut Butter Cup Ice Cream Sandwiches
As the sun sets and laughter fills the air, enhance your summer gatherings with delicious sides that perfectly complement these delightful ice cream sandwiches.
-
Classic Fruit Salad: A refreshing medley of seasonal fruits brightens your plate and balances the sweetness of the sandwiches. Serve with a drizzle of honey for a touch of extra sweetness.
-
Chocolate-Dipped Strawberries: Indulge in the luxurious combination of chocolate and fresh strawberries, adding a romantic touch that perfectly counters the creamy peanut butter cookies.
-
Homemade Lemonade: This zesty drink is a refreshing complement, its tartness cutting through the richness of the ice cream sandwich, leaving your palate invigorated.
-
Mint Chocolate Chip Cookies: For eager cookie enthusiasts, these add a delightful twist to your table. The cool mint notes create an exciting contrast with the warm flavors of peanut butter and ice cream.
-
Caramel Sauce Drizzle: A lovely addition for those who crave a little extra sweetness. Drizzle it over each sandwich, elevating them to a gourmet treat that will impress all your guests.
-
Milkshakes: Consider pairing with classic flavors like vanilla or further indulging with peanut butter or chocolate to create a deliciously nostalgic experience that everyone will love.
With these delightful accompaniments, your Peanut Butter Cup Ice Cream Sandwiches will become the star of any gathering!
How to Store and Freeze Peanut Butter Cup Ice Cream Sandwiches
Fridge: Store assembled sandwiches in an airtight container for up to 3 days. This keeps the cookies soft and the ice cream creamy.
Freezer: For longer storage, place sandwiches individually in freezer-safe bags or containers, lasting up to 1 week without compromising flavor.
Reheating: If the cookies get too firm, let the sandwiches sit at room temperature for 5-10 minutes before indulging for a softer bite.
Make-Ahead Tip: Preparing the cookies and ice cream separately allows for quick assembly; just freeze the assembled Peanut Butter Cup Ice Cream Sandwiches for spontaneous summer treats!
Peanut Butter Cup Ice Cream Sandwich Variations
Feel free to get creative and mix it up with these delightful variations that will elevate your ice cream sandwich game!
-
Vegan Delight: Use almond butter instead of peanut butter and coconut milk ice cream for a dairy-free treat everyone can enjoy.
-
Gluten-Free Goodness: Swap all-purpose flour with almond flour or a gluten-free blend so that your friends with dietary restrictions can indulge too!
-
Chocolate Lovers: Incorporate cocoa powder into the cookie dough or use chocolate ice cream to double down on the chocofulness. Imagine biting into that rich flavor!
-
Crunchy Twist: Add crushed pretzels or graham cracker crumbs into the cookie dough for an unexpected salty crunch that pairs beautifully with sweet ice cream.
-
Fruit Fusion: Mix in dried fruit, like cranberries or chopped bananas, into the cookies for a bit of fruity goodness that adds a touch of freshness.
-
Spicy Kick: Add a dash of cayenne pepper or cinnamon to the cookie dough for an exciting twist that brings warmth to your cold treat.
-
Drizzled Dreams: Top your assembled sandwiches with a drizzle of melted chocolate or caramel for a touch of decadence. This little extra step creates an elegant centerpiece.
-
Gourmet Mix-Ins: Replace chocolate chips with gourmet mix-ins like toffee bits or sea salt caramel chips for a truly luxurious experience. Each bite is a surprise!
For more fun and whimsical dessert recipes, don’t forget to check out my French Butter Cake and Christmas Cranberry Honey Butter ideas to bring more sweetness to your gatherings!
Expert Tips for Peanut Butter Cup Ice Cream Sandwiches
-
Use Room Temperature Ingredients: Ensuring your butter and egg are at room temperature helps create a creamier texture for the cookie dough.
-
Don’t Overmix: When combining the wet and dry ingredients, mix just until incorporated for the softest and chewiest peanut butter cookies.
-
Uniform Size: Use a cookie scoop for evenly sized cookies. This ensures they bake consistently and are perfect for sandwiching your ice cream.
-
Chill Before Baking: Allowing the dough to chill for 30 minutes can help prevent cookies from spreading too much, resulting in thicker, richer Peanut Butter Cup Ice Cream Sandwiches.
-
Customize Your Ice Cream: Feel free to experiment with flavors like chocolate or vanilla bean to complement the peanut butter cookies for a gourmet treat!
Make Ahead Options
These Peanut Butter Cup Ice Cream Sandwiches are perfect for busy home cooks looking to save time during the hot summer months! You can bake the peanut butter cookies up to 3 days in advance, allowing them to cool completely before storing them in an airtight container at room temperature. The ice cream filling can also be scooped into portions up to 24 hours ahead of assembly; just keep it covered in the freezer. When you’re ready to indulge, simply sandwich the chilled ice cream between the cookies and freeze them for another 10-15 minutes to solidify the treats before serving. This way, you’ll have a delightful dessert ready at a moment’s notice, just as delicious as when freshly made!
Peanut Butter Cup Ice Cream Sandwiches Recipe FAQs
What type of peanut butter is best for cookies?
I recommend using creamy peanut butter for a smooth texture in cookies, but chunky peanut butter can add delightful bites of peanuts. Just make sure it’s not too oily, or you may need to adjust other ingredients to maintain the right consistency.
How do I store leftovers?
Store your assembled Peanut Butter Cup Ice Cream Sandwiches in an airtight container in the freezer for up to 1 week. If you’re keeping them in the fridge, they can last up to 3 days, but the cookies may get soft. You might want to enjoy them cold out of the freezer for the perfect texture!
Can I freeze the ice cream sandwiches? How?
Absolutely! To freeze your Peanut Butter Cup Ice Cream Sandwiches, wrap each sandwich in plastic wrap or place them in a freezer-safe bag, keeping as much air out as possible. They’ll maintain their delightful taste for up to 1 week in the freezer. Just remember to let them sit at room temperature for 5-10 minutes before indulging for a softer bite.
What if my cookies spread too much while baking?
If your cookies spread too much, it might be due to warm dough or too much fat. To troubleshoot, try chilling your dough for 30 minutes before baking, and ensure your butter is softened but not melted. This little trick helps maintain the perfect shape for your Peanut Butter Cup Ice Cream Sandwiches!
Are there any dietary considerations I should be aware of?
Yes! If you’re making these for someone with allergies, be mindful of peanut allergies, and use substitutes like sunflower seed butter for a nut-free version. For gluten-free options, swap regular flour with almond or oat flour. Also, for a vegan-friendly treat, use a flax egg and dairy-free ice cream!
Peanut Butter Cup Ice Cream Sandwiches for Ultimate Treats
Ingredients
Equipment
Method
- Preheat your oven to 350°F (175°C). Line two baking sheets with parchment paper.
- In a mixing bowl, whisk together the flour, baking soda, and salt. Set aside.
- Cream together the butter, peanut butter, and sugars until light and fluffy. Add the egg and mix until integrated.
- Gradually add the dry mixture to the creamed mixture, stirring until a dough forms.
- Drop spoonfuls of dough onto prepared baking sheets, spacing them about 2 inches apart.
- Bake for 10-12 minutes, or until edges are golden and centers remain soft.
- Allow cookies to cool on the pan for 5 minutes, then transfer to a wire rack to cool completely.
- Assemble sandwiches by placing a scoop of ice cream between two cookies.
- Chill assembled sandwiches in the freezer for 10-15 minutes to firm up ice cream.
- Serve on a platter, optionally topped with chocolate sauce or sprinkles.
Leave a Reply