
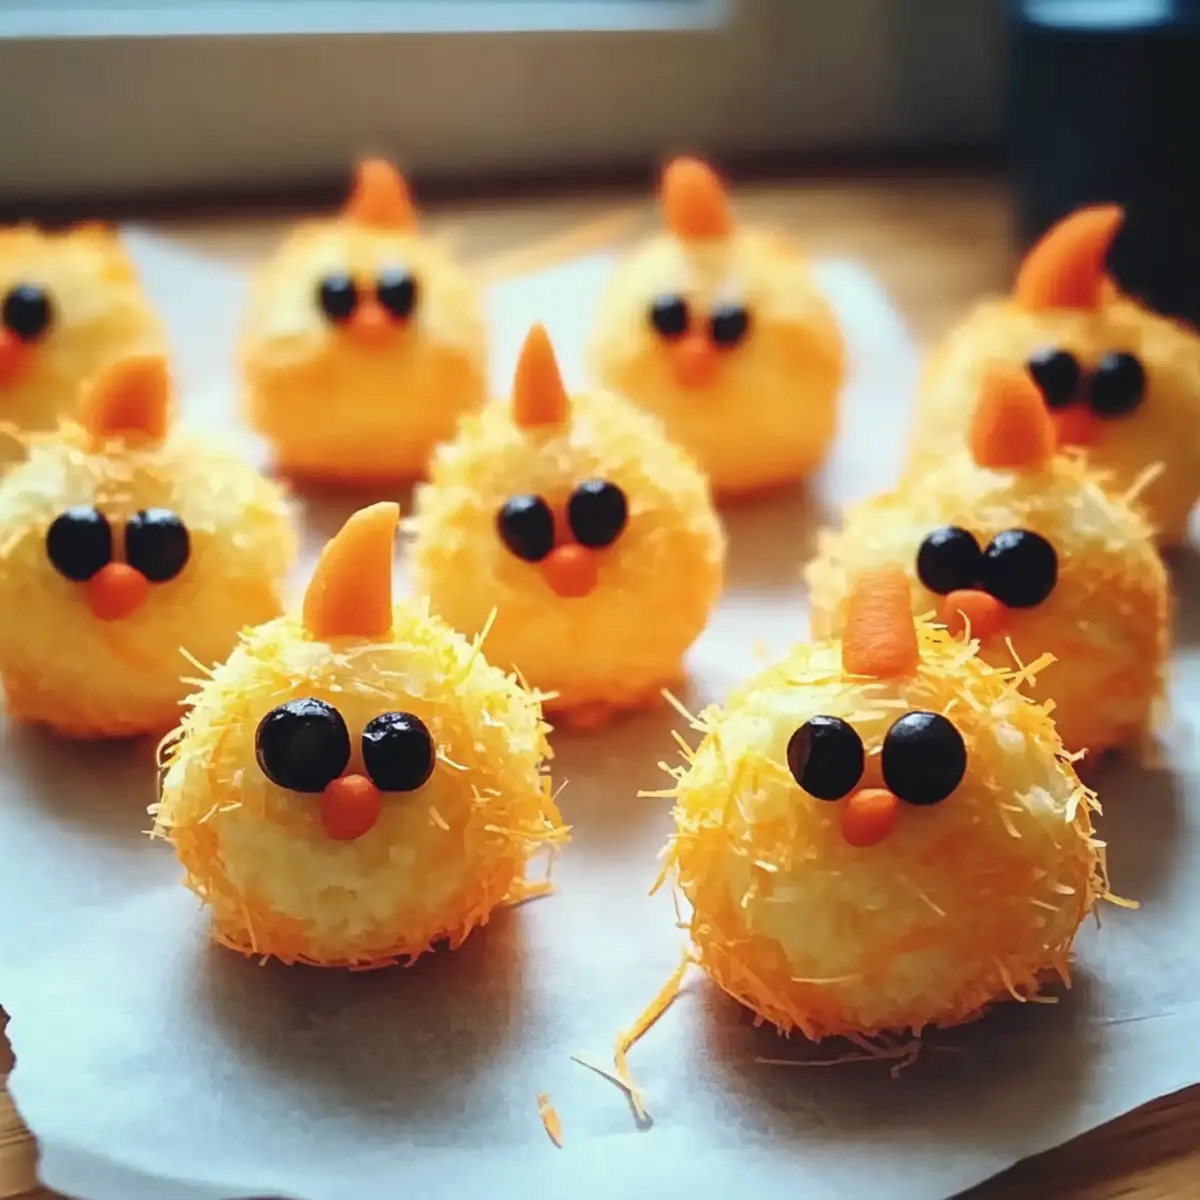
As I was prepping for our Easter gathering, a lightbulb moment hit me—why not create something that’s as playful as it is delicious? Enter my Mini Chicks Cheese Balls, an adorable appetizer that not only steals the show but also brings a smile to everyone’s face. These delightful little bites blend creamy cheese with savory bacon and a kick of ranch, making them a breeze to whip up for any festive occasion. Plus, they’re a versatile crowd-pleaser; you can easily swap out ingredients for a vegetarian twist or add your favorite herbs for an extra flavor punch. Trust me, these charming chicks are destined to vanish from your table in no time! Ready to bring some cheer to your celebration?
Why Are Mini Chicks Cheese Balls Irresistible?
Adorable, fun shapes make these cheese balls the star of any gathering. Savory flavor from the bacon and tangy ranch elevates your snacking experience, while versatility allows easy adaptations, from a vegetarian option to various cheese types. Quick to prepare, they’ll keep you out of the kitchen during the festivities, enabling you to enjoy the celebration more! Just like my Cranberry Cream Cheese or Italian Meatballs Homemade, they’re sure to please every palate at your Easter feast.
Mini Chicks Cheese Balls Ingredients
• Gather everything you need to make your celebration even more delightful!
For the Cheese Mixture
- Cream Cheese – Provides a smooth, creamy base; you can use regular or low-fat depending on your preference.
- Cheddar Cheese – Adds sharp flavor and texture; substitute with Monterey Jack for a milder taste if desired.
- Bacon – Offers savory flavor and richness; omit it for a vegetarian variant or replace it with sun-dried tomatoes for a twist.
- Ranch Seasoning Mix – Enhances flavor profile; a homemade mix of dried herbs like dill and garlic works well too.
For the Decoration
- Carrot – Used for decorating the chick beaks; feel free to switch to any crunchy vegetable that fits your theme.
- Olives – Serve as eyes; black olives are the best choice for great contrast and appeal.
These Mini Chicks Cheese Balls will create smiles at your table and are bound to be a hit this Easter!
Step‑by‑Step Instructions for Mini Chicks Cheese Balls
Step 1: Prepare the Cheese Mixture
In a large mixing bowl, combine 8 oz of cream cheese, 1 cup of shredded cheddar cheese, 1/2 cup of cooked and crumbled bacon, and 1 packet of ranch seasoning mix. Using a hand mixer or a wooden spoon, blend all ingredients until smooth and fully incorporated, roughly 3-5 minutes. The mixture should be creamy yet thick enough to hold its shape when rolled.
Step 2: Shape Cheese Balls
Once your cheese mixture is well-blended, use your hands to scoop out portions about the size of a walnut. Roll each portion between your palms to form small, round balls. As you work, lay the formed cheese balls on a lined baking sheet. Aim for uniform sizes for an even presentation when you serve the Mini Chicks Cheese Balls.
Step 3: Coat with Cheddar
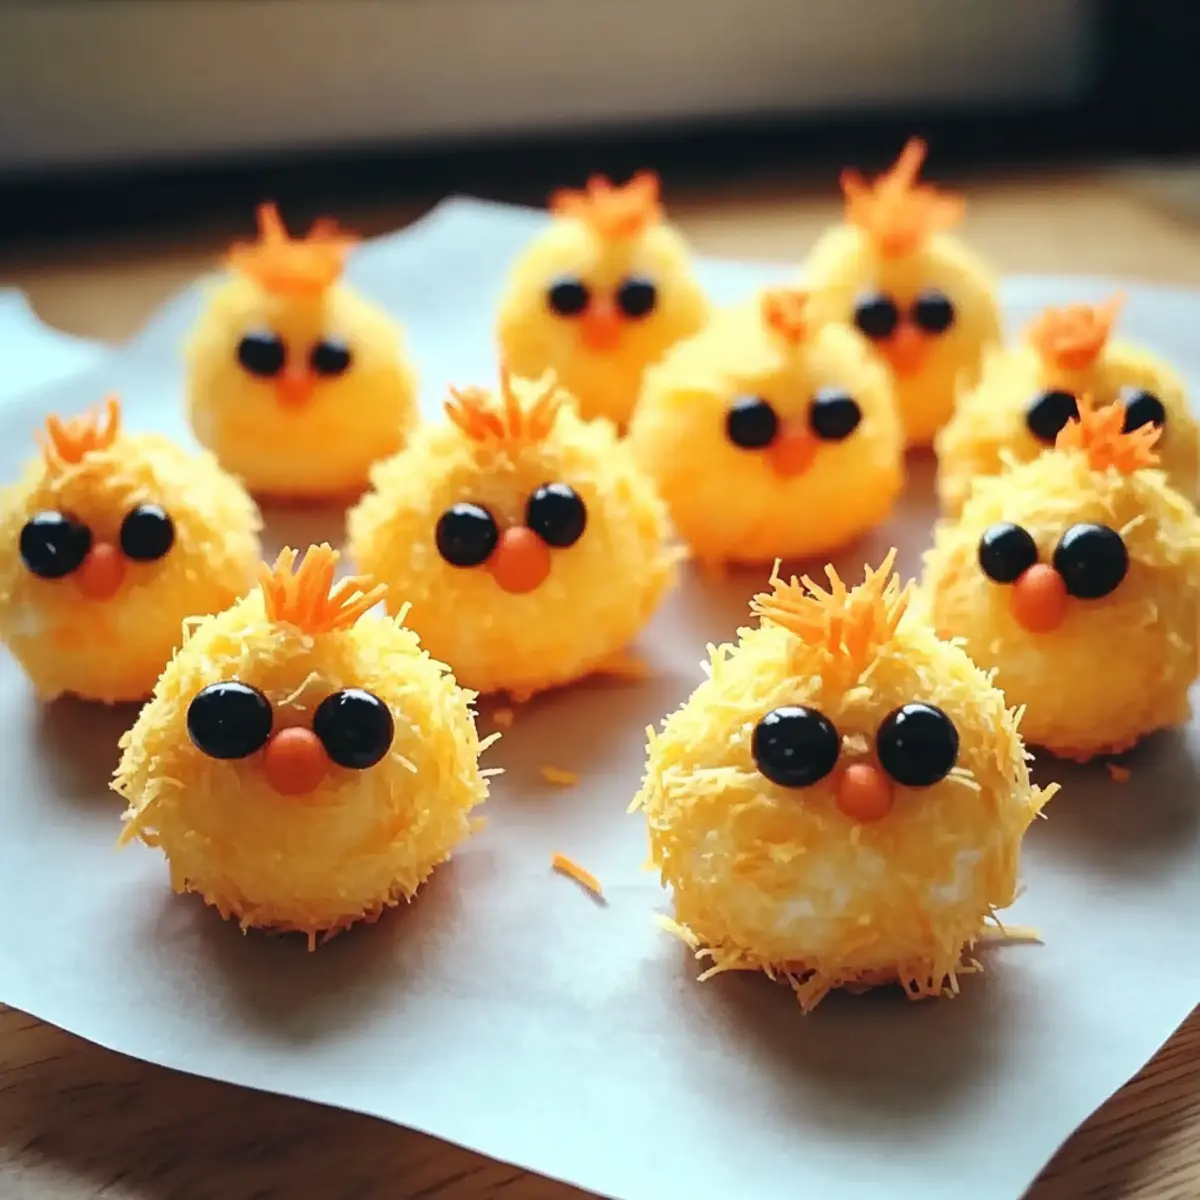
Next, pour about 1 cup of finely shredded cheddar cheese onto a plate. Take each rolled cheese ball and gently roll it in the cheddar to coat evenly, pressing slightly to ensure the cheese adheres. This adds a fun texture and extra flavor to the outside of your Mini Chicks Cheese Balls.
Step 4: Decorate Chicks
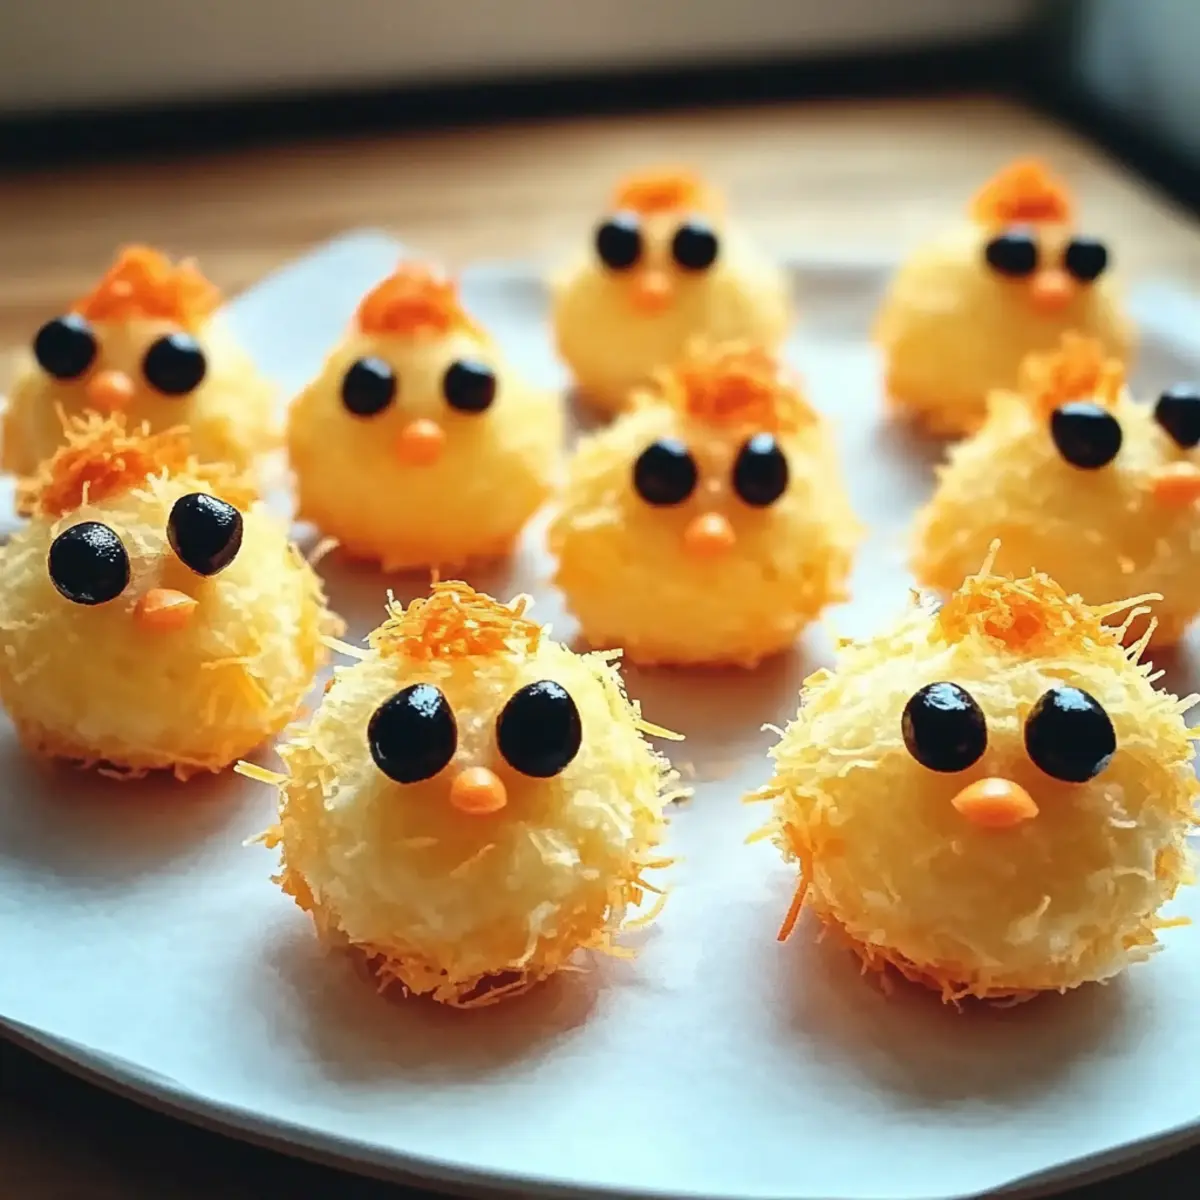
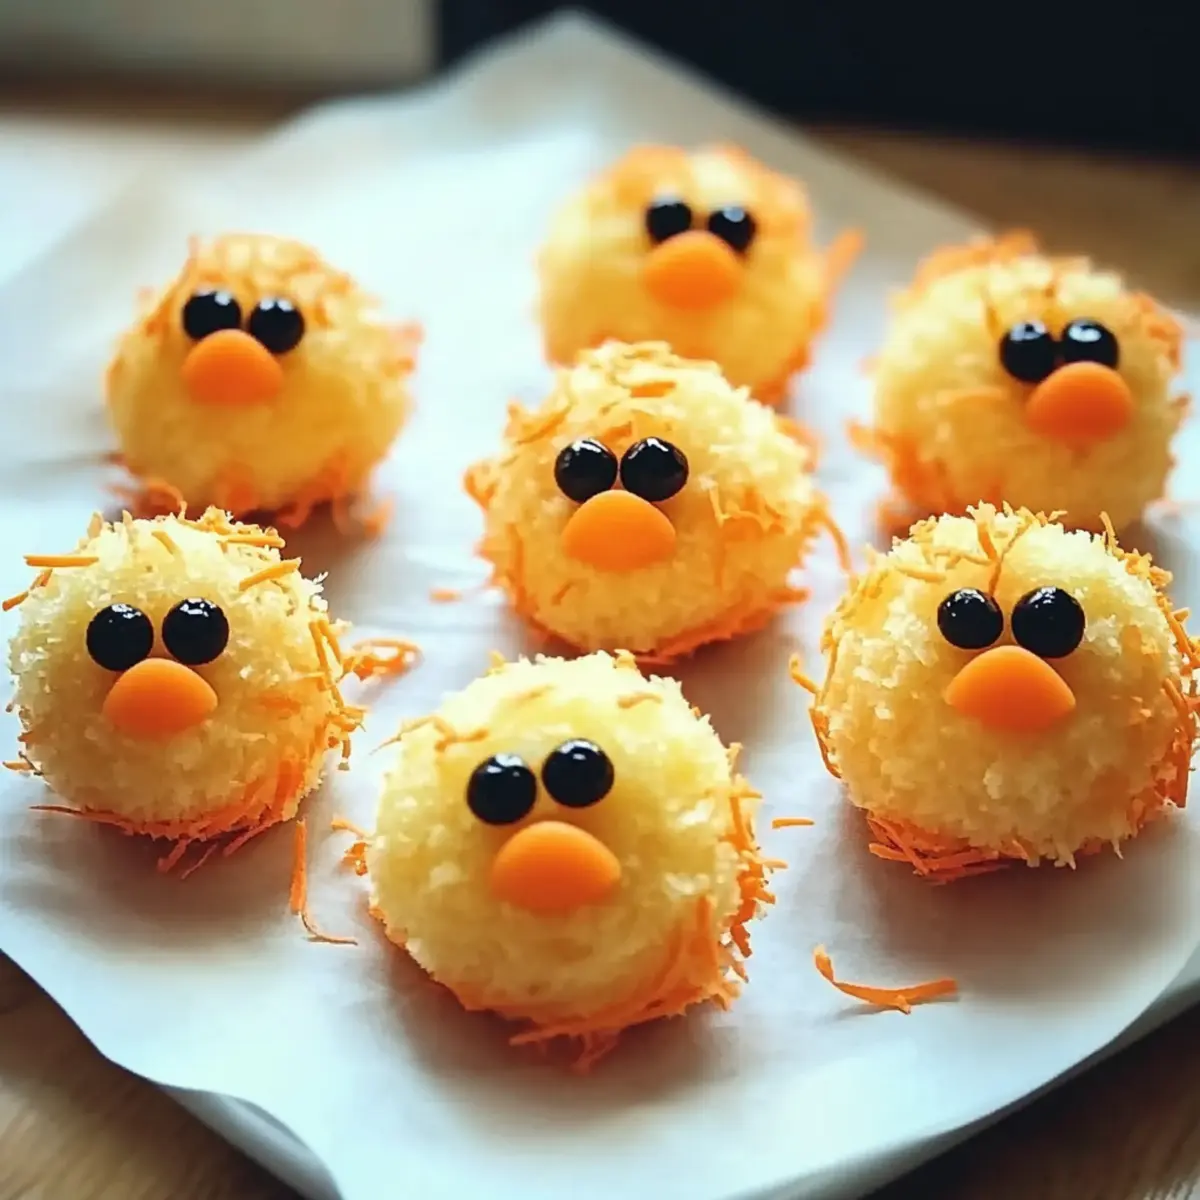
Now comes the fun part! Using two slices of black olives for each cheese ball, press them gently into the top center of each cheese ball to make eyes. Then, cut small pieces of carrot and insert them as beaks, positioning them below the olive eyes. This delightful decoration will bring your Mini Chicks Cheese Balls to life!
Step 5: Chill Before Serving
After decorating, place the platter of Mini Chicks Cheese Balls in the refrigerator. Allow them to chill for at least 30 minutes, which helps the flavors meld together and makes them firmer. If you’re prepping ahead, keep them covered in the fridge for up to two days before serving to your guests.
Step 6: Serve with Style
When you’re ready to serve, arrange the Mini Chicks Cheese Balls on a serving platter alongside an assortment of crackers or fresh vegetable sticks. Ensure they are cool and fresh. The cheerful appearance of these adorable cheese balls will wow your Easter guests and make for a delightful appetizer during the celebration!
Mini Chicks Cheese Balls Variations
Feel free to personalize these charming cheese balls with delightful twists that cater to your taste!
-
Cheese Swap: Substitute cheddar with Monterey Jack or gouda for a mellow flavor and different texture. Each option brings its own unique character to this festive appetizer.
-
Veggie Delight: Omit the bacon entirely and incorporate sun-dried tomatoes or roasted red peppers for a burst of flavor in your vegetarian version. It’ll still be savory and satisfying!
-
Herb Infusion: Add finely chopped fresh herbs like chives, dill, or parsley to the cheese mixture. This will create an aromatic twist that enhances the overall flavor profile perfectly.
-
Spicy Kick: Mix in diced jalapeños or crushed red pepper flakes for an extra layer of heat. This brings a sassy touch, appealing to those who enjoy a little spice in their cheese.
-
Nutty Crunch: Replace bacon with finely chopped walnuts or pecans for a delightful crunch and nutty flavor. It adds depth without sacrificing richness.
-
Dairy-Free Option: Use vegan cream cheese and a plant-based cheese substitute to create a dairy-free version. No one will miss the traditional ingredients!
-
Sweet & Savory: Try incorporating a touch of honey or maple syrup for a hint of sweetness. It beautifully balances the savory flavors and will surprise your guests.
-
Colorful Decoration: Instead of carrots, use red bell pepper strips or radishes for a pop of color in the beaks. This simple change can really add visual appeal to your Mini Chicks Cheese Balls.
As you explore these variations, think about pairing them with fresh veggie sticks or an assortment of crackers, just like what complements my Cranberry Cream Cheese bites!
Make Ahead Options
These Mini Chicks Cheese Balls are a dream for busy home cooks looking to save time during festive occasions! You can prepare the cheese mixture and shape the balls up to 3 days in advance. Simply combine the cream cheese, cheddar, bacon, and ranch seasoning, then roll them into balls and place them on a baking sheet lined with parchment paper. Cover tightly and refrigerate for optimal flavor retention. Just before serving, decorate each ball with olive eyes and carrot beaks. Chilling them overnight enhances the flavors, making your Mini Chicks Cheese Balls just as delicious when served fresh!
What to Serve with Adorable Mini Chicks Cheese Balls?
Treat your guests to a delightful spread that pairs beautifully with these adorable bites, enhancing their flavors and festive spirit.
- Crispy Crackers: Their sturdy texture perfectly balances the creaminess of the cheese balls, making each bite a delightful experience.
- Fresh Veggie Sticks: Crunchy carrots, celery, and bell peppers add freshness and color, inviting everyone to dig in. They provide a refreshing contrast to the richness of the cheese balls.
- Creamy Dip: A side of ranch or dill dip complements the flavors beautifully, offering an extra layer of taste and indulgence.
- Savory Cheese Platter: Include a variety of cheeses, like gouda and brie, to elevate your appetizer game and impress guests with a gourmet touch.
- Fruit Garnish: Fresh fruits like grapes or strawberries add a sweet burst to the platter, balancing the savory notes of the cheese balls perfectly.
- Sparkling Lemonade: A light, refreshing drink enhances the festive atmosphere and pairs wonderfully with the creaminess of the Mini Chicks Cheese Balls.
- Mini Skewers: Threading small bites of meat, cheese, and veggies on skewers adds a fun element to your presentation and makes for easy snacking.
- Chocolate-Covered Strawberries: For dessert, these sweet treats provide a delightful contrast, completing your festive spread beautifully and leaving a lasting impression.
How to Store and Freeze Mini Chicks Cheese Balls
Fridge: Store uneaten Mini Chicks Cheese Balls in an airtight container in the refrigerator for up to 2-3 days. For optimal taste and texture, consume within the first two days.
Freezer: If you want to prepare them ahead, freeze the uncoated cheese balls on a baking sheet until solid, then transfer to a freezer bag. They can be kept for up to 2 months.
Thawing: When ready to enjoy, thaw in the fridge overnight before decorating and serving. This helps maintain their delightful creaminess.
Refrigeration Before Serving: If serving from the fridge after chilling, allow them to sit for about 10-15 minutes at room temperature for the best flavor experience.
Tips for the Best Mini Chicks Cheese Balls
• Chill Perfectly: A little time in the fridge after decoration helps them firm up and deepens the flavors, making these Mini Chicks Cheese Balls even tastier.
• Uniform Size: Keep cheese balls consistent in size for even coating and a beautiful presentation on your serving platter.
• Creative Coating: Experiment with different cheese types for coating; finely shredded parmesan or a spicy pepper jack offers exciting flavor variations!
• Vegetable Alternatives: If you want to switch things up, use thinly sliced radishes or bell peppers instead of carrots for beaks.
• Avoid Overmixing: Be gentle while blending the mixture; overmixing can create a gummy texture, so mix until just combined.
Mini Chicks Cheese Balls Recipe FAQs
What types of cheese are best for these Mini Chicks Cheese Balls?
Absolutely! The classic combination is cream cheese and cheddar, but you can use any cheese you love. For a creamier texture, stick with cream cheese and swap cheddar for Monterey Jack, gouda, or even a spicy pepper jack if you’re feeling adventurous.
How do I store Mini Chicks Cheese Balls?
Storage is simple! Keep any uneaten Mini Chicks Cheese Balls in an airtight container in the refrigerator for up to 2-3 days. For the best taste and texture, try to enjoy them within the first couple of days. They make festive leftovers that can be easily enjoyed as a quick snack!
Can I freeze Mini Chicks Cheese Balls?
Yes, you can! To freeze, shape the cheese balls but do not coat them yet. Place them on a baking sheet lined with parchment and freeze until solid, about 1 to 2 hours. Once frozen, transfer them to a freezer-safe bag and keep for up to 2 months. When you’re ready to enjoy, thaw them in the fridge overnight, then decorate and serve.
What should I do if my cheese mixture seems too soft?
If your cheese mixture feels too soft, don’t worry! Simply place the entire bowl in the fridge for about 30 minutes to firm up. If you still find it difficult to shape, you can add a couple of tablespoons of shredded cheese or even some finely chopped nuts to help it hold its form better.
Are there any dietary considerations when making Mini Chicks Cheese Balls?
Definitely! For a vegetarian option, simply omit the bacon and consider adding smoked paprika or herb-infused oils for a rich flavor without meat. Always be mindful of any allergies. If serving to guests, ask about dairy allergies and consider preparing a non-dairy alternative by using cream cheese substitutes available at most grocery stores to ensure everyone can enjoy them!
How can I decorate my Mini Chicks Cheese Balls if I don’t have olives?
No problem at all! If you don’t have olives, you can use small pieces of cherry tomatoes for eyes or even mini pickles sliced lengthwise. For beaks, try using red bell pepper strips or even tiny bits of cucumber for a fun twist! The key is to keep it playful and creative!
Mini Chicks Cheese Balls That Will Wow Your Easter Guests
Ingredients
Equipment
Method
- In a large mixing bowl, combine cream cheese, cheddar cheese, bacon, and ranch seasoning mix. Blend until smooth and creamy, about 3-5 minutes.
- Scoop out portions the size of a walnut and roll them into small balls. Lay the cheese balls on a lined baking sheet.
- Pour shredded cheddar cheese onto a plate, then roll each cheese ball in the cheddar to coat evenly.
- Press two slices of black olives into the center of each cheese ball for eyes, and insert pieces of carrot for beaks.
- Refrigerate the cheese balls for at least 30 minutes to firm up before serving.
- Serve arranged on a platter with crackers or vegetable sticks.
Leave a Reply