
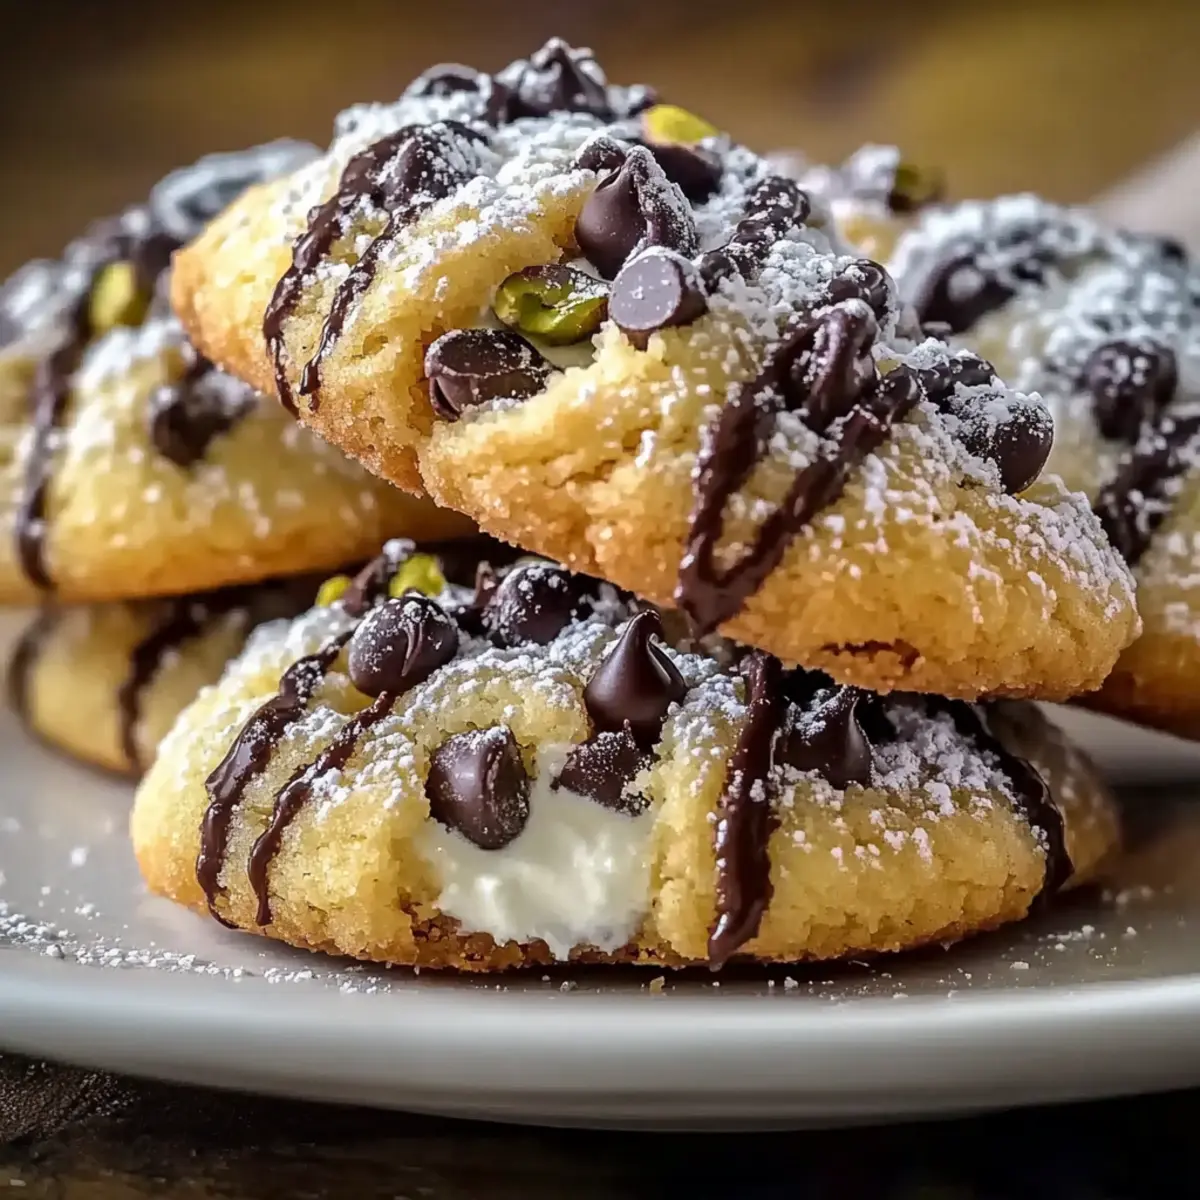
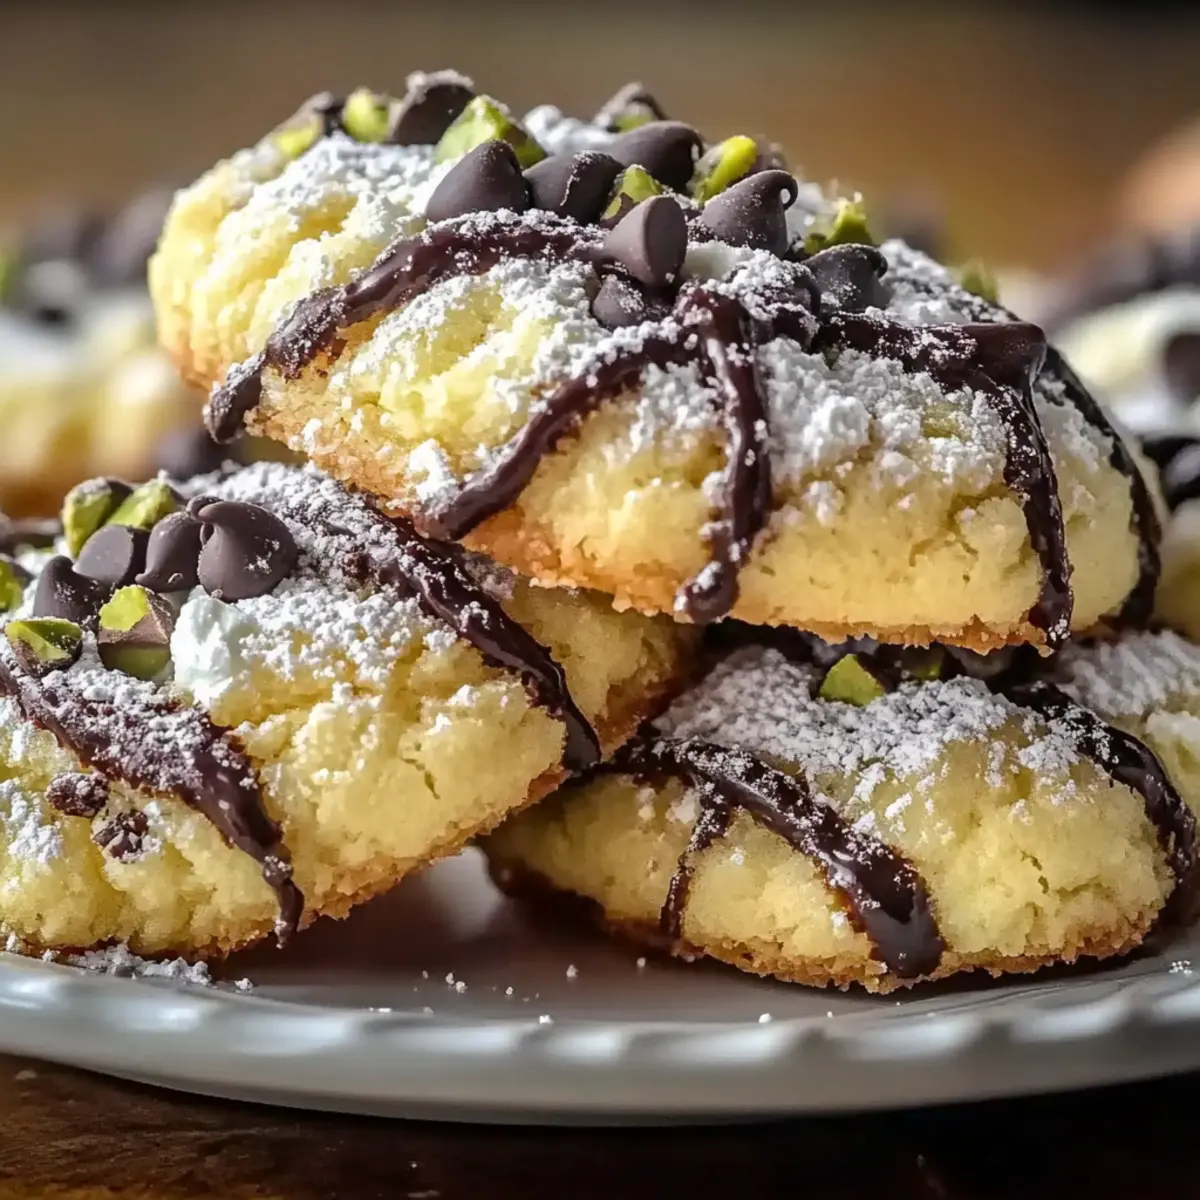
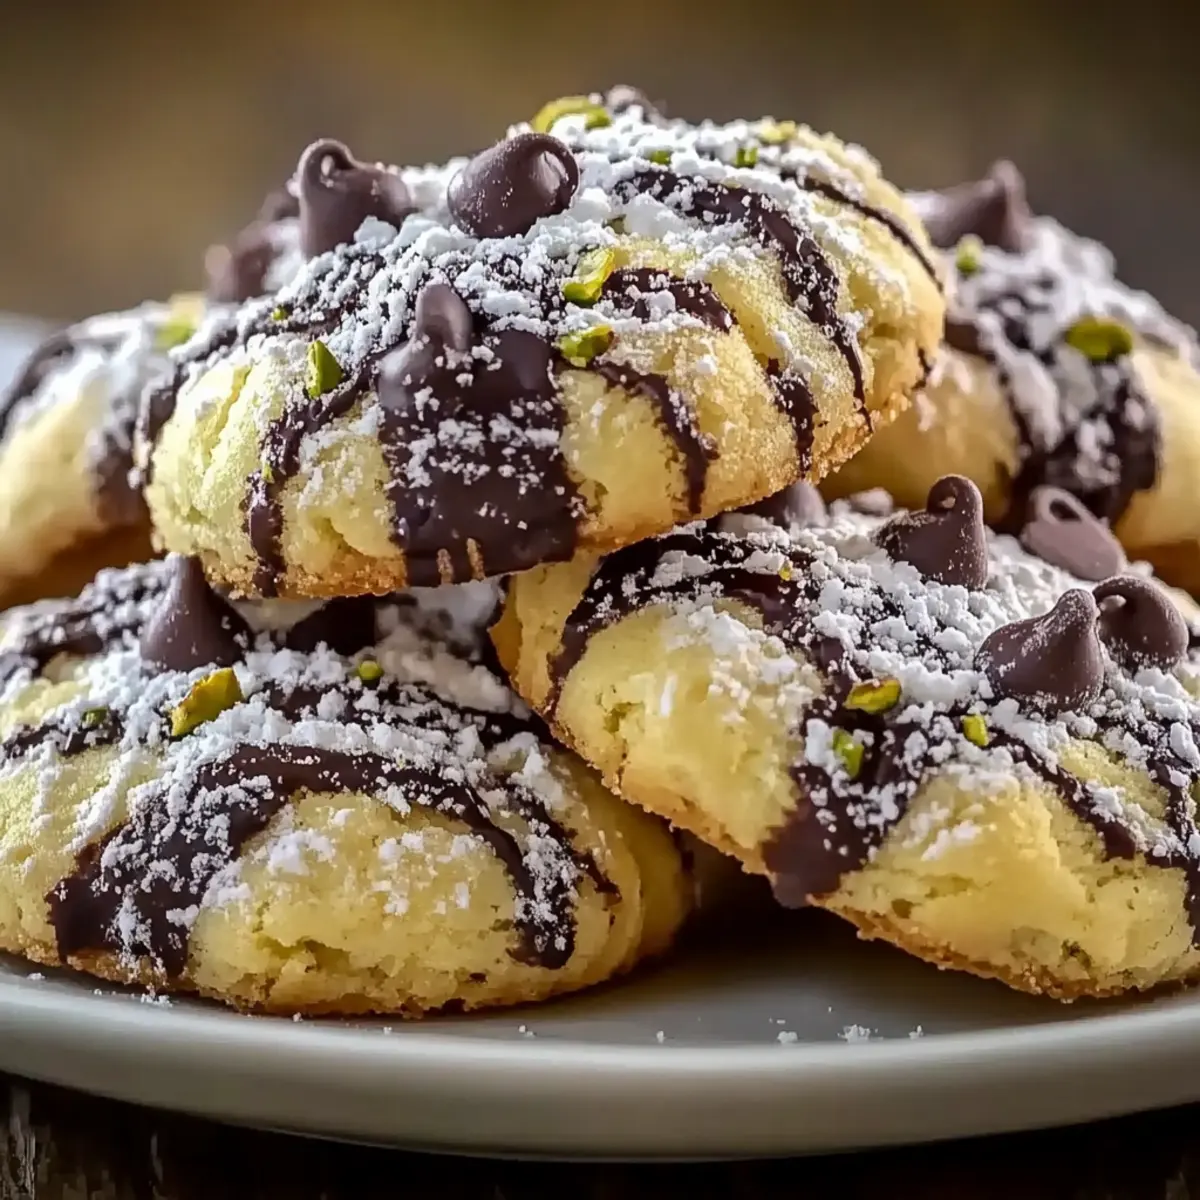
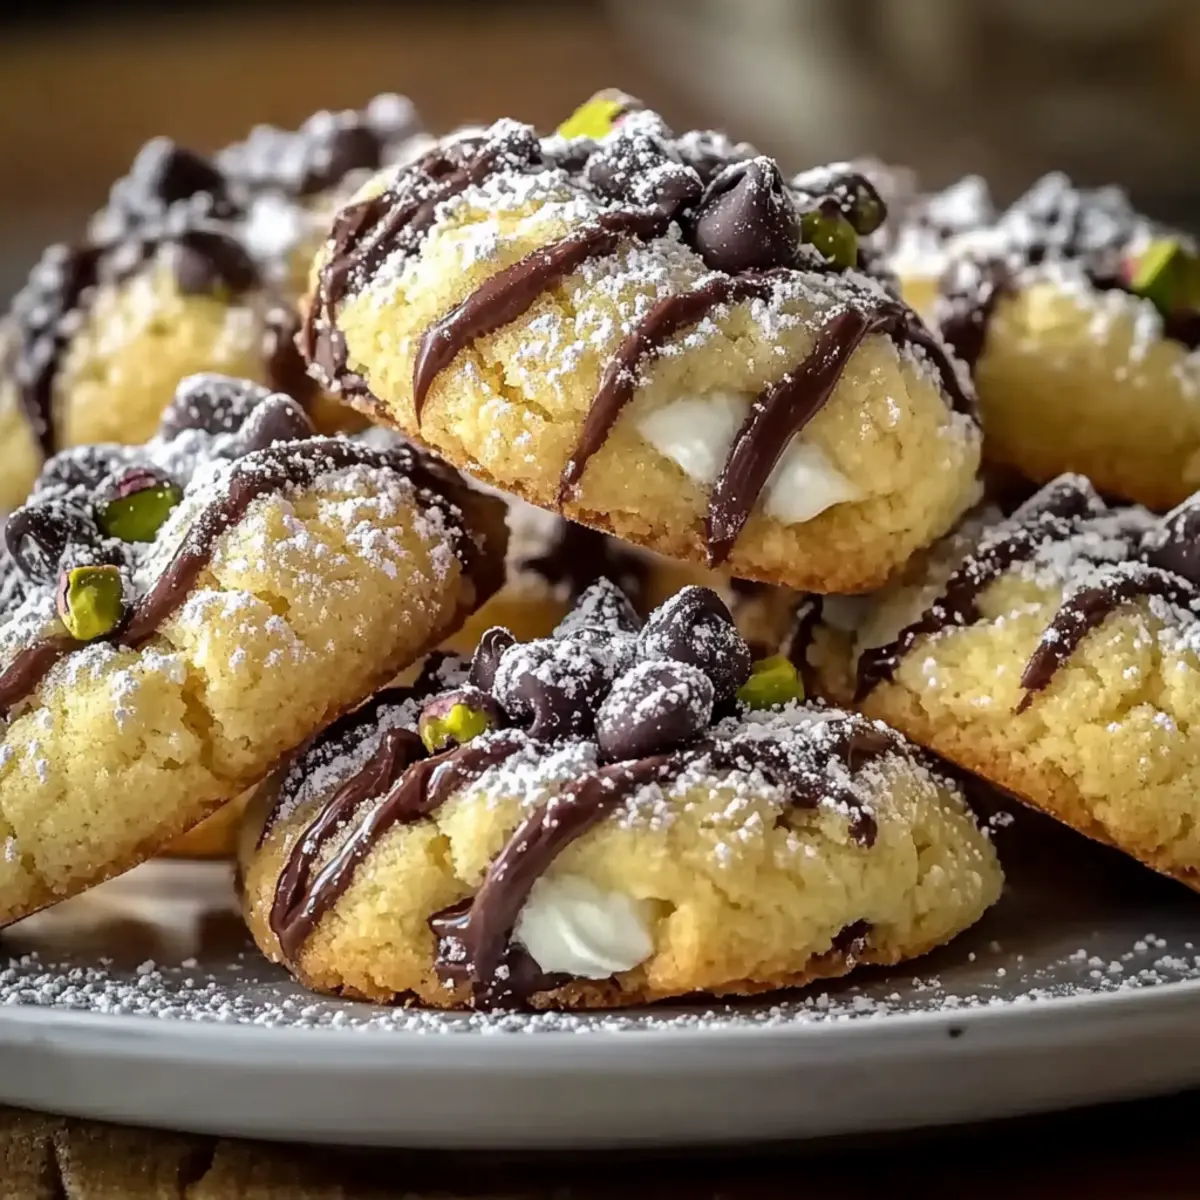
As I rummaged through my grandmother’s cherished recipes, I stumbled upon a hidden gem: Cannoli Cookies. These delightful treats ingeniously capture the spirit of traditional Italian cannoli in a mini cookie form. With their crispy shells and luscious ricotta filling, they feature just the right hint of vanilla and citrus. One of the best things about these Cannoli Cookies is their ease; they come together quickly and are perfect for satisfying any sweet tooth. Plus, they make for a crowd-pleasing treat that’s bound to impress at any gathering. The aroma of these freshly baked goodies wafting through the kitchen is simply irresistible! Are you ready to make a cookie that’s not only delicious but also evokes family memories? Let’s dive into this delightful recipe!
Why are Cannoli Cookies a must-try?
Irresistible Flavor: The combination of creamy ricotta and zesty lemon creates a taste explosion that will leave your taste buds dancing.
Quick & Easy: With a straightforward preparation, these cookies come together in no time, allowing you to enjoy homemade goodness without the fuss.
Versatile Treat: Enjoy them at family gatherings, or elevate your coffee breaks by pairing them with an espresso.
Unique Twist: These Cannoli Cookies blend tradition with innovation, making them the perfect conversation starter at any event.
For more mouthwatering variations, check out our Twisted Christmas Cookies or for a chocolate fix, try our Ultimate Twix Style Cookies.
Cannoli Cookies Ingredients
• Discover the essential flavors for Cannoli Cookies!
For the Dough
• All-Purpose Flour – Provides structure to the cookies; feel free to use cake flour for a lighter texture.
• Granulated Sugar – Sweetens the cookies; brown sugar can enhance the flavor with a deeper richness.
• Ricotta Cheese (¼ cup for dough) – Adds moisture and tenderness; make sure it’s at room temperature for easier mixing.
• Large Egg – A key binder for the dough’s richness; this ingredient is not commonly substitute-friendly.
• Vanilla Extract – Enhances overall flavor; using pure vanilla will yield the best results.
• Lemon Zest – Infuses brightness; consider swapping with orange zest for a different citrus note.
For the Filling
• Ricotta Cheese (¼ cup for filling) – Ensures a creamy interior that evokes traditional cannoli; keep it at room temperature.
• Mini Chocolate Chips – Adds delightful sweetness and texture to the filling; dark chocolate serves as a great alternative.
• Chopped Pistachios – Offers a crunchy texture and nutty flavor; walnuts or almonds make suitable substitutes.
For Dusting
• Powdered Sugar – Essential for sweetening and presentation; dusting just before serving elevates the cookie’s look.
These Cannoli Cookies are a charming way to bring traditional Italian dessert flavors into your home. Enjoy your baking adventure!
Step‑by‑Step Instructions for Cannoli Cookies
Step 1: Preheat the Oven
Begin by preheating your oven to 350°F (175°C), ensuring it reaches the desired temperature for even baking. As the oven warms, prepare your baking sheets by lining them with parchment paper; this will prevent the Cannoli Cookies from sticking and make cleanup a breeze.
Step 2: Mix Dry Ingredients
In a large mixing bowl, combine the all-purpose flour and granulated sugar. Whisk these dry ingredients together until they are well-blended and free of lumps. This mixture will provide the necessary structure for your cookies, setting the foundation for the delightful Cannoli Cookies to come.
Step 3: Prepare the Wet Ingredients
In a separate bowl, stir together ¼ cup of ricotta cheese, a large egg, vanilla extract, and lemon zest. Beat the mixture until it is smooth and creamy, ensuring all ingredients are fully incorporated. This flavorful blend will enhance the sweetness and richness of your Cannoli Cookies’ dough.
Step 4: Combine Mixtures
Gradually add the dry ingredient mixture to the wet ingredients, stirring gently with a spatula or wooden spoon. Continue mixing until a soft dough forms, making sure not to overwork it. The dough should be soft and slightly sticky but still manageable for rolling out the Cannoli Cookies.
Step 5: Rest the Dough
After combining the mixtures, cover the dough with plastic wrap and let it rest for 30 minutes at room temperature. This resting period allows the gluten to relax, making it easier to roll out and giving the Cannoli Cookies a tender texture once baked.
Step 6: Roll Out the Dough
On a lightly floured work surface, transfer the rested dough. Dust a rolling pin with flour and roll the dough to about ¼ inch thickness. Use a sharp knife or dough cutter to cut the dough into 2×3 inch rectangles, ensuring that each piece is even for a uniform baking result.
Step 7: Prepare the Filling
In a medium bowl, combine the remaining ¼ cup of ricotta cheese with mini chocolate chips and chopped pistachios. Stir these filling ingredients together until well mixed, creating a luscious blend that will add delightful flavor and texture to your Cannoli Cookies.
Step 8: Fill and Fold Cookies
Take one rectangle of dough, place a small spoonful of the filling in the center, and carefully fold the dough over to create a pocket. Pinch the edges tightly to seal the cookie, ensuring the filling does not leak during baking. Repeat this process with all the rectangles until filled.
Step 9: Bake the Cookies
Arrange the filled Cannoli Cookies on the prepared baking sheets, making sure to leave some space between each. Place them in the preheated oven and bake for 15-18 minutes, or until they are golden brown. Keep an eye on them during the last few minutes to prevent over-baking.
Step 10: Cool and Dust
Once baked, remove the Cannoli Cookies from the oven and let them cool on the baking sheets for a few minutes. Transfer them to a wire rack to cool completely. Just before serving, dust the cookies with powdered sugar for an elegant finish and a touch of sweetness.
What to Serve with Crispy Cannoli Cookies
Enhance your dessert experience by pairing these delightful treats with equally delicious accompaniments that evoke warmth and joy.
- Rich Espresso: This classic pairing elevates your cookies, balancing their sweetness with the bold flavors of a freshly brewed cup of espresso.
- Creamy Gelato: Choose a light, citrus-flavored gelato to refresh your palate after each bite of the cookies, adding a delightful cold element to the mix.
- Fresh Berries: A handful of juicy strawberries or raspberries adds a vibrant pop of color and tartness, beautifully contrasting the rich, creamy filling.
- Chocolate Sauce Drizzle: A warm drizzle of chocolate sauce enhances the sweet taste of the cannoli cookies, adding an extra layer of indulgence.
- Pistachio Crumble: Sprinkling chopped pistachios on top introduces extra crunch and continues the nutty flavor found in the cookies, creating harmony on your plate.
- Sweet Dessert Wine: A glass of sweet dessert wine rounds out the meal perfectly, accentuating the flavors while adding a touch of elegance to your gathering.
- Coconut Macaroon: Serve them side by side; the chewy texture of the macaroon complements the crispy cookie for a delightful contrast.
Hosting a gathering or simply enjoying a quiet evening? These pairings will take your experience with Cannoli Cookies to a whole new level!
How to Store and Freeze Cannoli Cookies
Room Temperature: Store cookies in an airtight container at room temperature for up to 3 days. This helps maintain their delightful crispy shell and creamy filling.
Fridge: If you prefer, you can refrigerate the cookies for up to a week. However, this may slightly soften the texture of the crispy shell.
Freezer: For longer storage, freeze the Cannoli Cookies for up to a month. Place parchment paper between layers to prevent sticking, and seal in a freezer-safe container.
Reheating: To enjoy them warm, reheat the frozen cookies in a preheated oven at 350°F (175°C) for about 5-7 minutes. This will revive the crispiness of the shell beautifully.
Expert Tips for Cannoli Cookies
• Dough Consistency: If it feels sticky while rolling, sprinkle in a bit of flour to make handling easier.
• Filling Flavor: Experiment with flavored extracts or citrus zest to enhance the creamy filling of your Cannoli Cookies.
• Seal Properly: Ensure edges are well-sealed to avoid leaks during baking; a good pinch goes a long way!
• Baking Time: Keep a close eye in the last few minutes to avoid over-baking and maintain that perfect crispy shell.
• Chill for Flavor: For even richer flavors, refrigerate the filled cookies for 15-30 minutes before baking.
• Presentation Matters: Dust with powdered sugar just before serving for a beautiful, sweet finish on your Cannoli Cookies.
Cannoli Cookies Variations & Substitutions
Customize your Cannoli Cookies with these delightful tweaks that will tickle your taste buds and entice your guests.
-
Flavor Boost: Replace chocolate chips with dried fruit like raisins or cranberries for a sweet twist. The chewy bits will contrast beautifully with the crispy shell, adding a new layer of flavor to each bite.
-
Gluten-Free Option: Swap all-purpose flour with a gluten-free flour blend to cater to gluten-sensitive guests. This simple change will still yield delicious cookies that everyone can enjoy.
-
Nut-Free Version: Omit pistachios and substitute with sunflower seeds or skip nuts altogether. Your cookies will still pack that creamy punch without compromising on taste.
-
Zesty Add-On: Stir in some orange zest in place of lemon zest for a different citrusy note. This fruity enhancement adds a refreshing brightness to the cookies.
-
Creamy Alternative: If ricotta isn’t available, cream cheese works as a delicious substitute in both the dough and filling, giving the cookies a lovely smooth texture.
-
Extra Crunch: Sprinkle slivered almonds on the top of the cookies before baking for an added crunch. Each bite will deliver a delightful nutty flavor while also creating a beautiful presentation.
-
Spice it Up: Add a pinch of cinnamon or nutmeg to the filling for a warm, aromatic twist that can remind you of holiday treats. This will elevate those cozy vibes in every mouthful.
-
Dark Chocolate Delight: Opt for dark chocolate chips instead of mini chocolate chips for a more intense chocolate flavor. The rich taste melds wonderfully with the creamy filling.
Looking for more delicious variations? Check out our Cannoli Cookies Ricotta and get inspired by festive flavors with our Twisted Christmas Cookies.
Make Ahead Options
These Cannoli Cookies are perfect for busy home cooks looking to save time without sacrificing flavor! You can prepare the cookie dough and refrigerate it up to 24 hours in advance, ensuring the dough remains fresh and flavorful. Simply shape the rectangles and cover them tightly in plastic wrap before chilling. The filling can also be prepared ahead of time and stored in the fridge for up to 3 days; just keep it in an airtight container to maintain its creamy consistency. When you’re ready to bake, roll out your chilled dough, fill, and follow the baking instructions as usual for delightful, freshly made Cannoli Cookies that taste just as delicious!
Cannoli Cookies Recipe FAQs
How do I select the best ricotta cheese for this recipe?
Absolutely! For the best results, choose whole milk ricotta cheese that is both creamy and fresh. Look for brands that indicate “drained” on the label, as this will provide the right moisture content for your Cannoli Cookies. If the ricotta has excessive liquid, you can either drain it further using a cheesecloth or use cream cheese as a substitute for a thicker filling.
What is the best way to store Cannoli Cookies?
You can easily store your Cannoli Cookies in an airtight container at room temperature for up to 3 days. To keep them fresher for longer, consider placing parchment paper between layers to avoid sticking. If you’d like to enjoy them later, refrigerate them for up to a week or freeze them for up to a month—this will preserve their delightful texture and flavor.
Can I freeze Cannoli Cookies? If so, how?
Absolutely, freezing your Cannoli Cookies is a great way to prolong their deliciousness! Begin by allowing the baked cookies to cool completely. Then, layer them with parchment paper in an airtight container, ensuring that each layer is separated. Seal tightly and place in the freezer. They can be frozen for up to a month. When you’re ready to indulge, simply reheat them in a preheated oven at 350°F (175°C) for about 5-7 minutes to restore their crispiness.
What should I do if my dough is too sticky to roll out?
Very! If you find that your dough is too sticky to handle, don’t worry! Simply sprinkle in a little extra all-purpose flour while mixing, or dust your work surface and rolling pin lightly with flour before rolling it out. It’s always better to start with small amounts of flour to achieve that perfect dough consistency without making it too dry. Remember, a little patience goes a long way!
Are there any allergens I should be aware of in Cannoli Cookies?
Definitely! The primary allergens in these Cannoli Cookies include gluten from the all-purpose flour and dairy from the ricotta cheese. For those with nut allergies, you can easily omit the chopped pistachios or substitute them with sunflower seeds. Additionally, be cautious with chocolate chips, as they may contain traces of nuts; choose allergy-friendly brands to ensure a safe treat for everyone!
Delightful Cannoli Cookies That Bring Italy to Your Kitchen
Ingredients
Equipment
Method
- Preheat your oven to 350°F (175°C) and line your baking sheets with parchment paper.
- In a large mixing bowl, combine the flour and sugar, whisking until well-blended.
- In a separate bowl, stir together the ricotta, egg, vanilla, and lemon zest until smooth.
- Gradually add the dry mixture to the wet ingredients, stirring gently until a soft dough forms.
- Cover the dough with plastic wrap and let it rest for 30 minutes at room temperature.
- Roll the rested dough on a floured surface to 1/4 inch thickness and cut into 2x3 inch rectangles.
- In a medium bowl, combine the ricotta, mini chocolate chips, and chopped pistachios for the filling.
- Fill each rectangle of dough with a spoonful of filling and fold to create a pocket, sealing the edges.
- Bake for 15-18 minutes until golden brown, watching closely to avoid over-baking.
- Cool on baking sheets for a few minutes, then transfer to a wire rack and dust with powdered sugar before serving.
Leave a Reply