
There’s something magical about the striking red hue of Red Velvet Brownies that captivates the heart and delights the senses. I’m often whisked away to cozy gatherings and special celebrations whenever I make this indulgent treat, where rich chocolate and a hint of vanilla conspire to create a moist, fudgy texture that simply melts in your mouth. These brownies not only look spectacular with their glossy white chocolate drizzle, but they’re also incredibly simple to whip up, making them a perfect choice for a last-minute dessert or a thoughtful homemade gift. With Valentine’s Day around the corner, you’ll discover how these red velvet delights can impress anyone with a sweet tooth. Curious to see just how easy it is to bake these beauties? Let’s dive in!
Why are Red Velvet Brownies special?
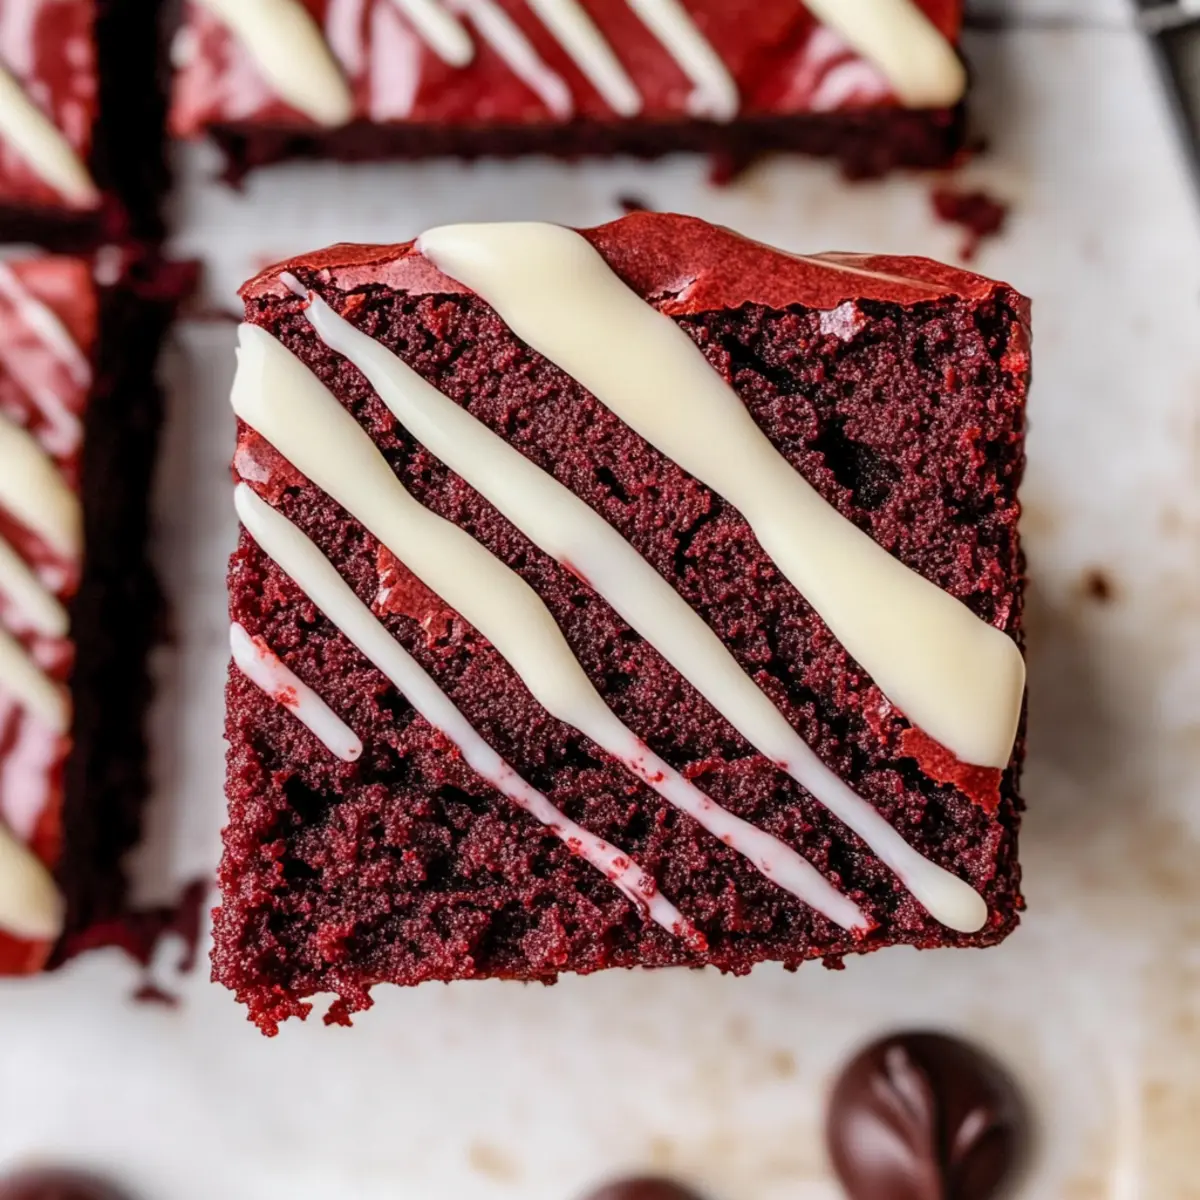
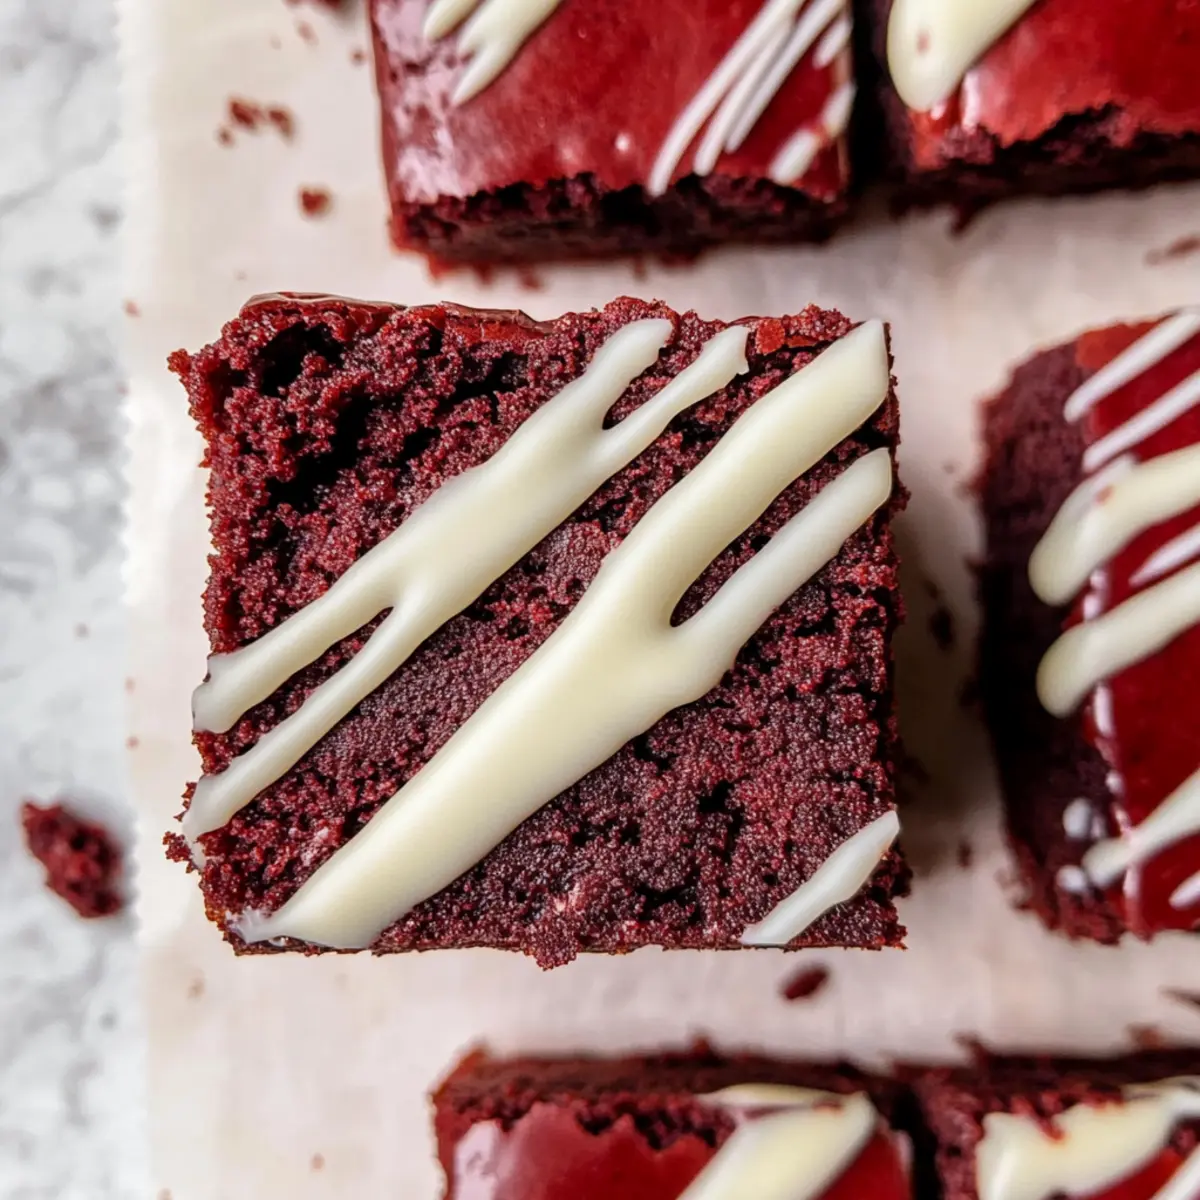
Irresistible Color: The rich, crimson shade of these brownies makes them a feast for the eyes, perfect for celebrating special occasions like Valentine’s Day.
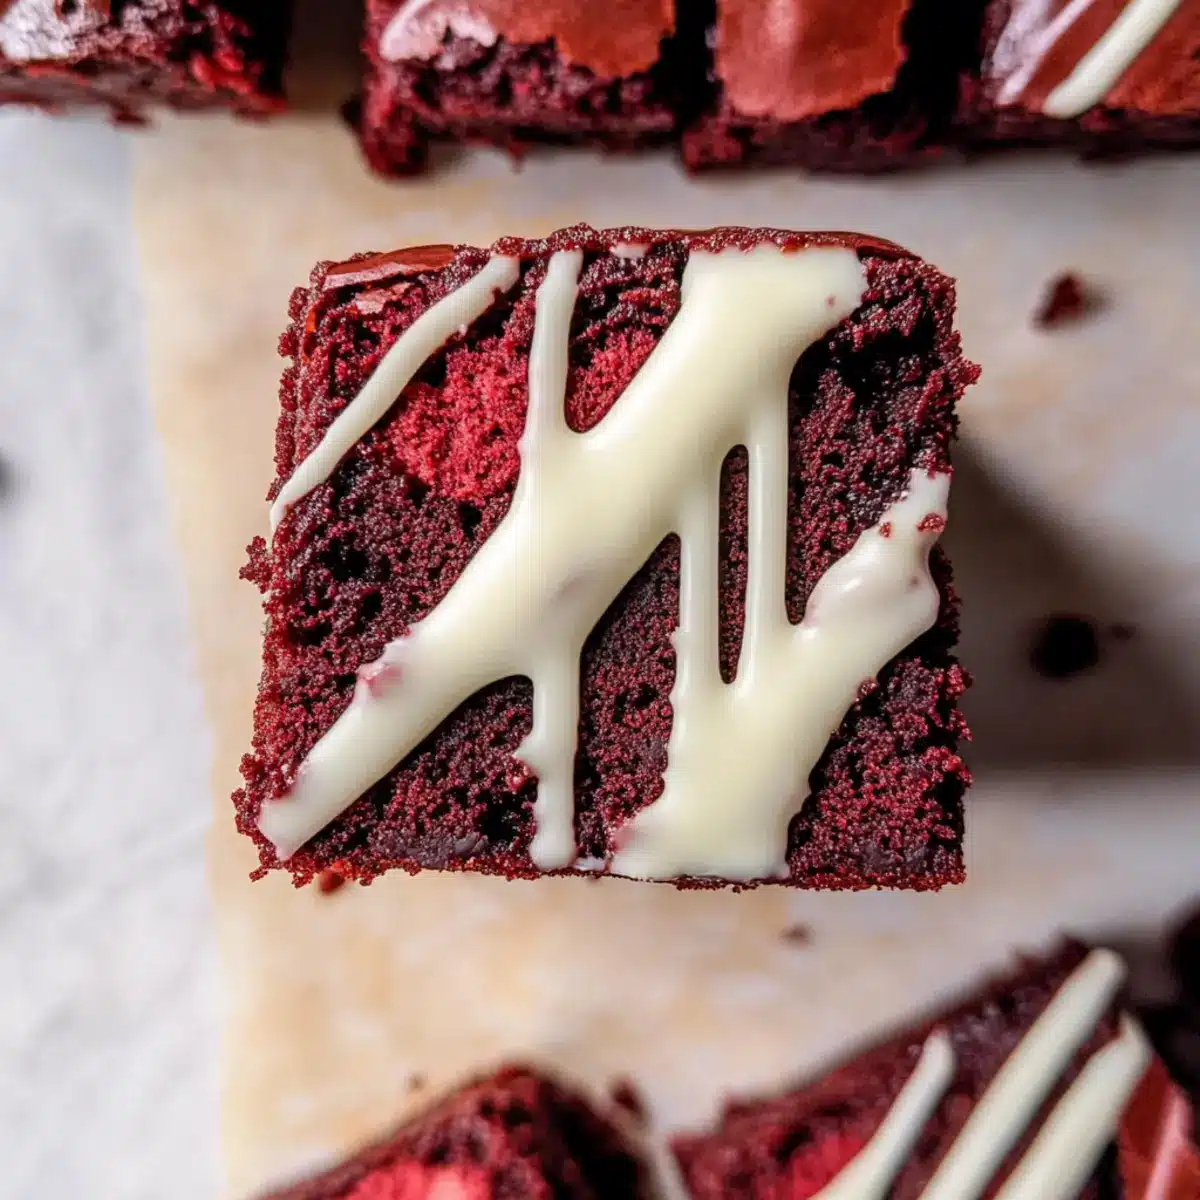
Fudgy Goodness: Each bite reveals a moist, fudgy texture that’s simply irresistible, ensuring they’ll disappear at any gathering.
Quick & Easy: With straightforward steps, even novice bakers can whip these up in no time, impressing friends and family effortlessly.
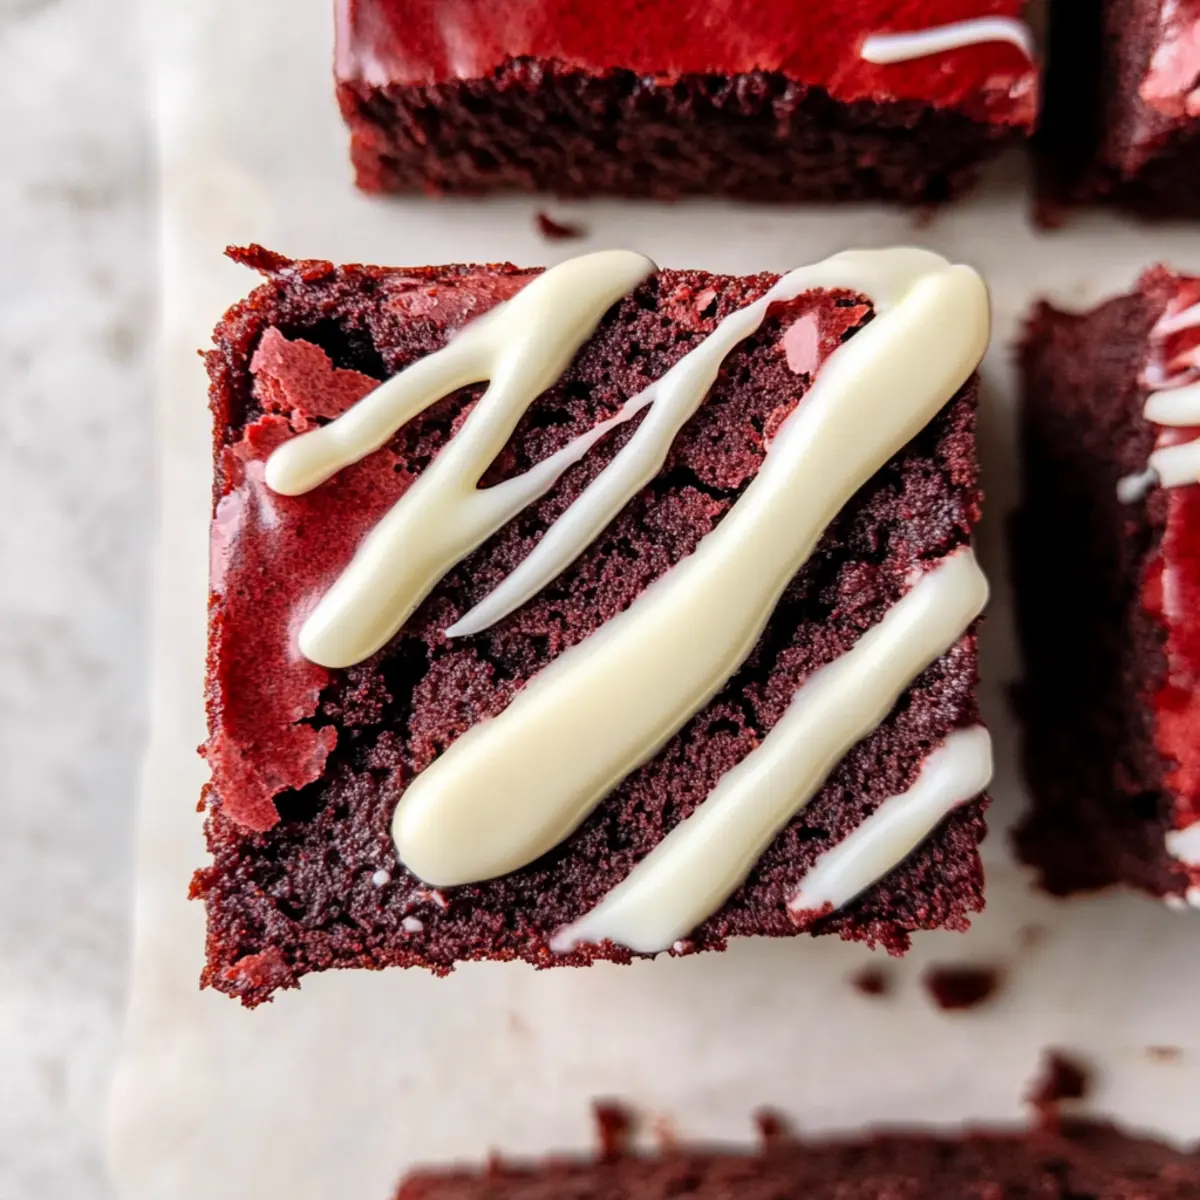
Unique Twist: Topped with a velvety white chocolate drizzle, they elevate traditional brownies to a new level of decadence.
Crowd Pleaser: Whether you’re surprising a loved one or treating yourself, these brownies are guaranteed to satisfy any sweet craving.
Looking for more delicious treats? Don’t miss my Gingerbread Brownies Cozy or try the delightful 4-Ingredient Chocolate Oat Cookies!
Red Velvet Brownies Ingredients
For the Brownie Batter
- Granulated Sugar – Sweetness and structure; brown sugar can be used for a deeper flavor.
- Large Eggs – Adds moisture and acts as a binding agent; use flaxseed meal for an eggless version.
- Semi-Sweet Dark Chocolate Chips – Provides richness and enhances chocolate flavor; milk chocolate chips are a sweeter alternative.
- Vegetable Oil – Contributes moisture and fat; can be substituted with melted butter, adjusting the amount slightly.
- Red Gel Food Coloring – Gives the brownies their distinct red color; adjust the quantity for a deeper shade if desired.
- White Vinegar – Helps the brownies rise slightly by reacting with baking soda.
- Vanilla Extract – Enhances flavor; optional if you prefer a more straightforward taste.
- All-Purpose Flour – Provides structure and bulk to the brownies.
- Unsweetened Dutch Cocoa Powder – Adds a rich dark chocolate flavor; use regular cocoa if necessary.
- Cornstarch – Improves texture and moisture; can be omitted if needed.
- Salt – Balances sweetness and enhances overall flavor.
For the White Chocolate Drizzle
- White Chocolate Chips – Creates a glossy topping that adds sweetness and a luxurious finish; melt before drizzling.
These Red Velvet Brownies are bound to delight your senses, making them a perfect addition to any special occasion or sweet treat craving!
Step‑by‑Step Instructions for Fudgy Red Velvet Brownies with White Chocolate Drizzle
Step 1: Preheat and Prepare
Begin by preheating your oven to 160ºC (325ºF). While the oven warms, line a 20×20 cm (8×8 inch) baking pan with parchment paper, ensuring it hangs slightly over the edges for easy removal later. This is a crucial step for achieving perfectly fudgy Red Velvet Brownies that will come out beautifully!
Step 2: Melt the Chocolate
In a heatproof bowl, melt the semi-sweet dark chocolate chips either in the microwave in short bursts, about 20-30 seconds at a time, or over a double boiler, stirring until smooth. Allow this rich chocolate to cool slightly, as adding it to the batter too hot can curdle the eggs. Set it aside and admire the glossy texture.
Step 3: Sift the Dry Ingredients
In a separate mixing bowl, sift together the all-purpose flour, unsweetened Dutch cocoa powder, cornstarch, and salt. This ensures even distribution and eliminates lumps, resulting in a smoother brownie batter. The aroma will start to fill your kitchen, enticing you for the delicious Red Velvet Brownies to come!
Step 4: Whisk Eggs and Sugar
In another bowl, use an electric mixer to whisk the large eggs and granulated sugar at medium speed for about 2 minutes, or until the mixture is light and fluffy. This step is pivotal for introducing air into the batter, contributing to the fudgy texture you desire in your brownies.
Step 5: Combine Ingredients
Gently fold the slightly cooled melted chocolate into the egg and sugar mixture, followed by the vegetable oil, white vinegar, red gel food coloring, and vanilla extract. Mix until everything is just combined, maintaining the lightness of the mixture. This is where the magic of the Red Velvet Brownies truly begins to take shape!
Step 6: Mix Dry Ingredients
Carefully incorporate the sifted dry ingredients into the wet mixture. Use a spatula to fold them together until no flour streaks remain, being cautious not to overmix. This step ensures your brownies remain delightfully fudgy, which is what makes them so irresistible!
Step 7: Bake the Brownies
Pour the brownie batter into your prepared pan, smoothing the top with a spatula for an even bake. Bake in the preheated oven for 40-50 minutes, or until a toothpick inserted into the center comes out with moist crumbs. The edges will firm up while the center maintains that signature gooeyness!
Step 8: Cool and Drizzle
Once baked, remove the pan from the oven and let the brownies cool in the pan on a wire rack for about 15-20 minutes. Once they have cooled completely, melt the white chocolate chips in the microwave or on the stovetop. Drizzle the melted chocolate over the cooled brownies for that luxurious finish, making your Red Velvet Brownies truly eye-catching!
How to Store and Freeze Red Velvet Brownies
Room Temperature: Store the brownies in an airtight container at room temperature for up to 5 days; this keeps them fresh and chewy.
Fridge: For extended freshness, refrigerate in an airtight container for up to 1 week. This also enhances their fudgy texture.
Freezer: Freeze individual brownies wrapped tightly in plastic wrap and placed in a freezer-safe bag for up to 3 months. Thaw in the fridge before serving.
Reheating: To enjoy warm, reheat brownies in the microwave for about 10-15 seconds or in an oven at 160ºC (325ºF) for a few minutes.
Make Ahead Options
These delightful Red Velvet Brownies are perfect for meal prep, allowing you to spend less time in the kitchen and more time enjoying the company of family and friends. You can prepare the brownie batter up to 24 hours in advance; simply store it in an airtight container in the refrigerator. When you’re ready to bake, follow the baking instructions without any additional adjustments. To enhance their fudgy texture, allow the cooled brownies to chill overnight before drizzling with white chocolate, as this helps intensify that rich flavor. With these make-ahead tips, you’ll have restaurant-quality Red Velvet Brownies ready to impress effortlessly!
Red Velvet Brownies Variations & Substitutions
Feel free to get creative with these Red Velvet Brownies, enhancing flavors and textures to suit your taste buds!
- Sweeter Option: Substitute semi-sweet dark chocolate chips with milk chocolate chips for a sweetness boost.
- Eggless: Replace each egg with 1 tbsp flaxseed meal combined with 3 tbsp water to create a rich, egg-free version. This will still deliver a delightful fudgy texture.
- Nutty Crunch: Add chopped walnuts or pecans for a delightful contrast of texture and a bit of nutty flavor. It brings an exciting twist to the classic recipe!
- Colorful Twist: Omit red food coloring entirely to create luscious chocolate brownies—your friends will never guess they’re not the classic Red Velvet.
- Spicy Surprise: Include a pinch of cinnamon or cayenne pepper for an unexpected warmth. It can add depth and intrigue to your brownies!
- Cream Cheese Swirl: Introduce a cream cheese mixture (softened cream cheese, sugar, and vanilla) as a swirl for a cheesecake-inspired treat. The creamy tang pairs deliciously with sweetness.
- Caramel Drizzle: For a decadent finish, drizzle melted caramel on top instead of, or in addition to, white chocolate. It’s perfect for a cozy treat on special occasions.
Feeling inspired for more dessert ideas? Try my comforting Gingerbread Brownies Cozy or whip up some quick and delightful 4-Ingredient Chocolate Oat Cookies!
Expert Tips for Red Velvet Brownies
-
Use Quality Chocolate: The flavor of your Red Velvet Brownies relies heavily on the quality of chocolate used. Opt for high-quality semi-sweet chocolate for a richer taste.
-
Do Not Overmix: Avoid overmixing your batter once the dry ingredients are added; this can lead to dense brownies instead of the desired fudgy texture.
-
Check with a Toothpick: When testing doneness, aim for moist crumbs on the toothpick for perfectly baked Red Velvet Brownies. Clean means overbaked!
-
Let Them Chill: For the ultimate fudgy experience, allow your brownies to chill in the fridge overnight before slicing—they become denser and more flavorful.
-
Try Different Drizzles: Besides white chocolate, experiment with dark chocolate or a cream cheese drizzle for a delightful twist on your brownies.
What to Serve with Fudgy Red Velvet Brownies?
These stunning brownies are the perfect centerpiece for a sweet spread, inviting you to enhance your dessert experience with delightful pairings.
-
Vanilla Ice Cream: The creamy, coolness of vanilla ice cream contrasts beautifully with the warm, fudgy brownies, creating a comforting dessert duo.
-
Fresh Berries: A handful of raspberries or strawberries adds a pop of tartness that balances the sweetness, elevating each bite into a fresh delight.
-
Chocolate Sauce: Drizzle rich chocolate sauce over your brownies for an extra layer of indulgence that enhances their chocolaty goodness.
-
Whipped Cream: Light, airy whipped cream adds a fluffy texture that complements the brownies’ density, creating a balance that’s hard to resist.
-
Nutty Crunch: Sprinkle crushed walnuts or pecans on top for a delightful textural contrast with a hint of nutty flavor that enriches the brownies.
-
Sweet Sparkling Drink: Serve with a sparkling rosé or non-alcoholic sparkling water infused with a hint of lime for a refreshing sip alongside the rich brownies.
-
Gourmet Coffee: The bitter notes of a freshly brewed espresso or dark roast coffee can intensify the sweetness of the brownies, enhancing your dessert experience.
Red Velvet Brownies Recipe FAQs
What kind of red food coloring should I use?
For the best results, I recommend using gel food coloring, as it provides a deeper and more vibrant hue without altering the brownie batter’s consistency. Liquid food colorings can affect the batter’s moisture and texture, so opt for gel whenever possible!
How can I ensure my brownies are perfectly fudgy?
To achieve that perfect fudgy texture, avoid overmixing once you combine the wet and dry ingredients. Overmixing can activate the gluten in the flour, leading to denser brownies. Additionally, aim for moist crumbs when testing for doneness with a toothpick – if it comes out clean, you’ve likely overbaked them!
How should I store my brownies?
Store your Red Velvet Brownies in an airtight container at room temperature for up to 5 days. If you’d like to prolong their freshness, refrigerate them for up to 7 days, which can enhance their fudgy texture. Always allow brownies to cool completely before sealing them up to prevent moisture build-up.
Can I freeze the brownies?
Absolutely! To freeze, wrap individual brownies tightly in plastic wrap and place them in a freezer-safe bag. They can be stored for up to 3 months. When you’re ready to enjoy them, simply thaw the brownies in the fridge overnight, or pop them in the microwave for a quick warm-up!
Are there any allergens in this recipe I should be aware of?
This recipe contains common allergens such as eggs and wheat (from the all-purpose flour). If you are baking for someone with gluten intolerance, you can substitute the flour with a gluten-free blend. For egg allergies, use a flaxseed meal mixture (1 tbsp of flaxseed mixed with 3 tbsp of water for each egg) to replace the eggs without compromising texture.
What if my brownies turn out too cakey?
If your brownies end up cakey rather than fudgy, it could be due to overbaking or too much mixing. Make sure to follow the baking time closely, and keep your toothpick test in mind—moist crumbs are ideal for fudgy brownies. Additionally, double-check that you’re using the correct measurements and not accidentally adding extra flour!
Decadent Red Velvet Brownies with White Chocolate Bliss
Ingredients
Equipment
Method
- Preheat your oven to 160ºC (325ºF) and line a 20x20 cm (8x8 inch) baking pan with parchment paper.
- Melt the semi-sweet dark chocolate chips in a heatproof bowl until smooth. Allow to cool slightly.
- Sift together the all-purpose flour, unsweetened Dutch cocoa powder, cornstarch, and salt in a mixing bowl.
- Whisk the large eggs and granulated sugar until light and fluffy, about 2 minutes.
- Fold the cooled melted chocolate into the egg and sugar mixture, followed by vegetable oil, white vinegar, red gel food coloring, and vanilla extract.
- Incorporate the sifted dry ingredients carefully until no flour streaks remain.
- Pour the brownie batter into the prepared pan and smooth the top. Bake for 40-50 minutes, or until a toothpick comes out with moist crumbs.
- Let the brownies cool in the pan for 15-20 minutes. Melt the white chocolate chips and drizzle over the cooled brownies.
Leave a Reply