
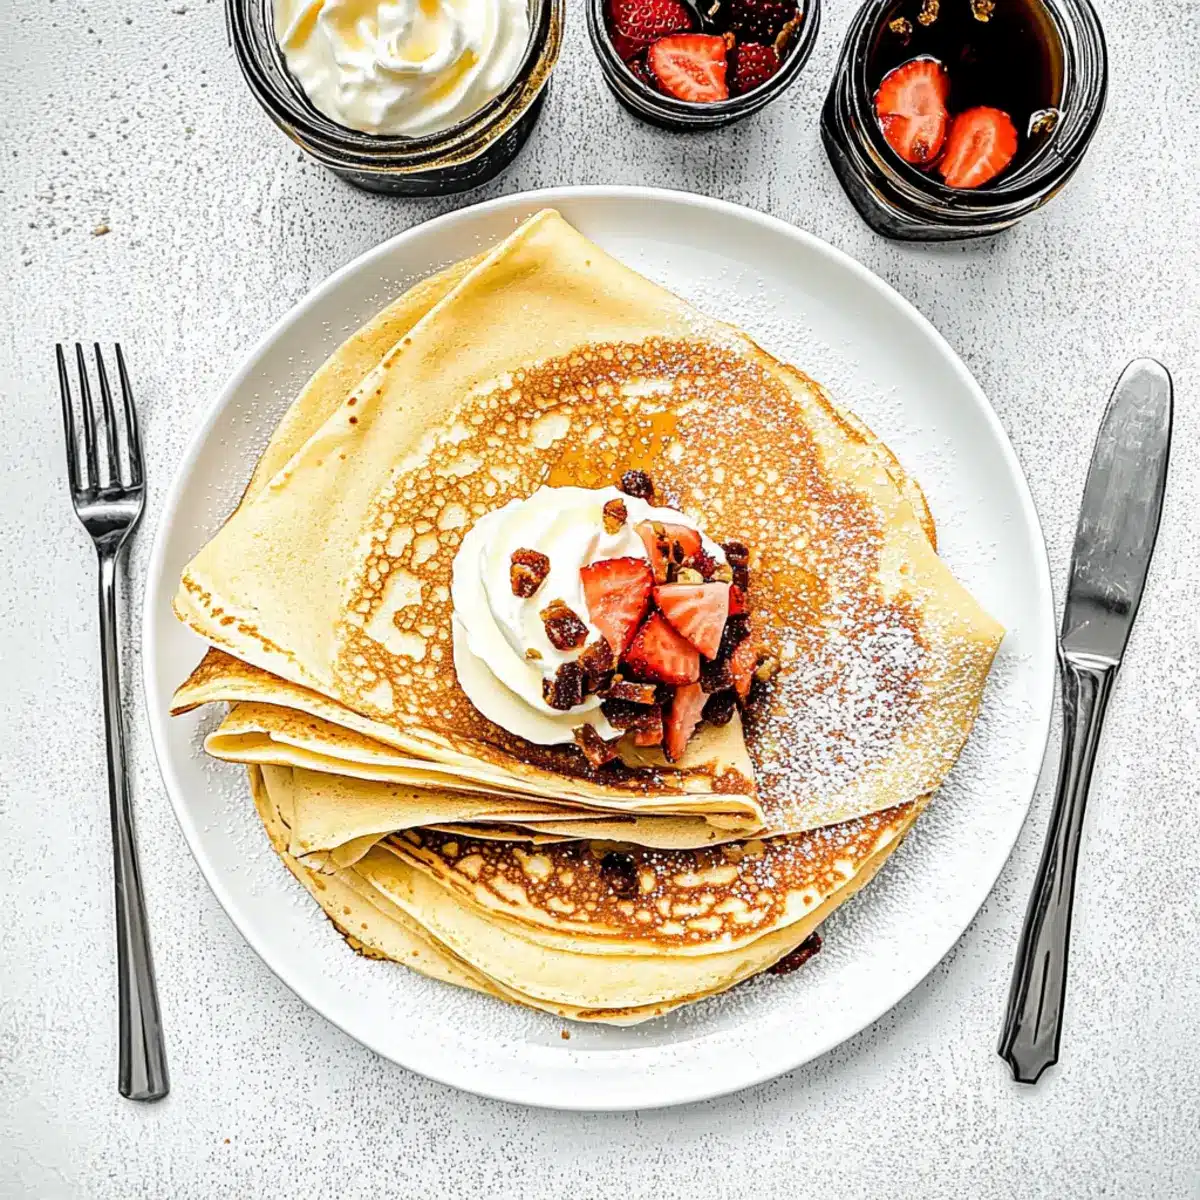
As the sun gently rises, I often recall the savory aroma wafting through the air from a tiny bistro in Paris, where I first discovered classic thin crepes. These delightful French pancakes beckon with their simplicity and versatility, perfect for both sweet indulgences like fresh berries and whipped cream, or a savory combination of ham and cheese. What I adore about this recipe is how quick it is to prepare—a mere mix and flip—and the endless possibilities that await once they’re ready. Whether it’s a cozy brunch or an elegant dessert, these crepes are sure to impress. So, are you ready to elevate your cooking game and create your own masterpiece? Let’s get started on making your first batch of classic French crepes!
Why are French crepes so versatile?
Versatility: French crepes are a culinary canvas, inviting endless creativity with both sweet and savory fillings. Quick to Prepare: Whipping up a batch takes only minutes, making them a perfect last-minute dish. Gluten-Free Option: Easily adapt the recipe using gluten-free flour without sacrificing taste. Crowd-Pleaser: Whether at a brunch gathering or family dinner, everyone can customize their crepes just the way they like. Elevate your dessert game with delicious fillings or enjoy a heartier meal with options like ham and cheese. This is an opportunity to expand your cooking repertoire, much like serving up a warm slice of Moist Carrot Cake or delightful Christmas Toffee.
Classic Thin Crepe Ingredients
Discover the essential elements for crafting the perfect classic thin crepes.
For the Batter
- Flour – Provides structure; use all-purpose or gluten-free flour for a gluten-free option.
- Milk – Adds moisture and richness; substitute with almond or oat milk for a dairy-free alternative.
- Eggs – Bind the batter together and contribute to texture; consider flaxseed meal mixed with water as a vegan replacement.
- Sugar – Adds a hint of sweetness; you can omit it for savory crepes or use honey for a natural touch.
- Salt – Enhances flavor, bringing out the best in your crepes.
- Butter – Infuses richness and flavor; use non-dairy margarine for a dairy-free version.
For Serving (Optional)
- Powdered Sugar – A lovely dusting for sweet crepes, adding a touch of elegance.
- Fresh Fruits – Perfect for sweet fillings, consider berries for a burst of flavor.
- Savory Fillings – Stuff with ham, cheese, or cooked vegetables for a hearty dish.
When you have all your ingredients ready, you’ll be on your way to creating classic thin crepes that are a delightful treat for any meal!
Step‑by‑Step Instructions for Classic Thin Crepe
Step 1: Prepare the Dry Ingredients
In a mixing bowl, whisk together 1 cup of flour, 2 tablespoons of sugar, and a pinch of salt until fully combined. Creating a well in the center of the dry mixture allows you to easily add in the wet ingredients later. Aim for a consistent texture to ensure your classic thin crepes are smooth and even.
Step 2: Incorporate the Eggs
Crack 2 large eggs into the well you created in the dry ingredients. Whisk the eggs gently, gradually drawing in the flour mixture from the edges. Continue until a thick paste forms. This step is crucial for incorporating air into the batter, which contributes to the lightness of your classic thin crepes.
Step 3: Add the Milk
Slowly pour in 1 cup of milk while continuously whisking to achieve a smooth batter. It should be thin and pourable, resembling heavy cream. If you desire a gluten-free option, replace the all-purpose flour with gluten-free flour. Once ready, allow the batter to sit for about 15 minutes for optimal texture.
Step 4: Stir in Melted Butter
Melt 2 tablespoons of butter and let it cool slightly. Add the melted butter to the batter, stirring until fully combined. This addition enhances the flavor and helps prevent the classic thin crepes from sticking to the pan. The mixture should remain smooth and relatively thin, just right for cooking.
Step 5: Heat the Pan
Place a non-stick skillet or crepe pan on medium heat and lightly grease it with butter or oil. Allow the pan to heat for about 2 minutes until hot, but not smoking. A properly heated pan is essential for achieving the perfect golden-brown color without burning your classic thin crepes.
Step 6: Cook the Crepes
Ladle about 1/4 cup of batter into the center of the heated pan. Quickly tilt and swirl the skillet to spread the batter into a thin, even layer. Cook for approximately 1-2 minutes until the edges lift and the bottom turns a light golden color. This means your classic thin crepe is ready to flip!
Step 7: Flip the Crepe
Using a spatula, gently lift the edges of the crepe and flip it over. Cook for an additional 30 seconds to 1 minute until the second side is also golden brown. This quick cooking time helps maintain the tenderness and flexibility of your classic thin crepes, ensuring they remain soft and pliable.
Step 8: Keep Warm and Serve
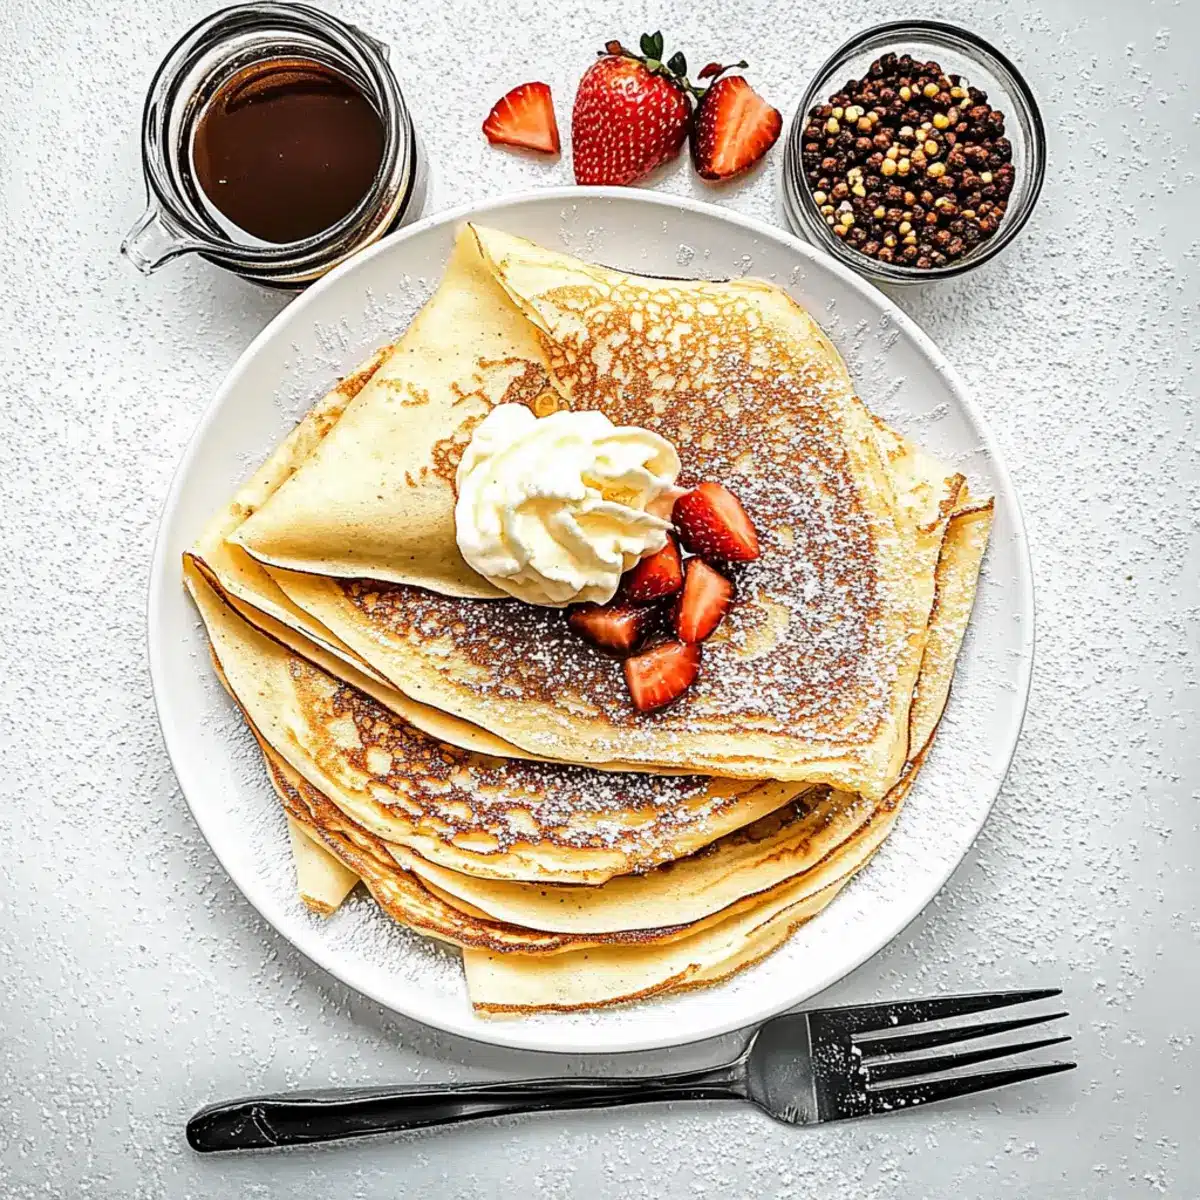
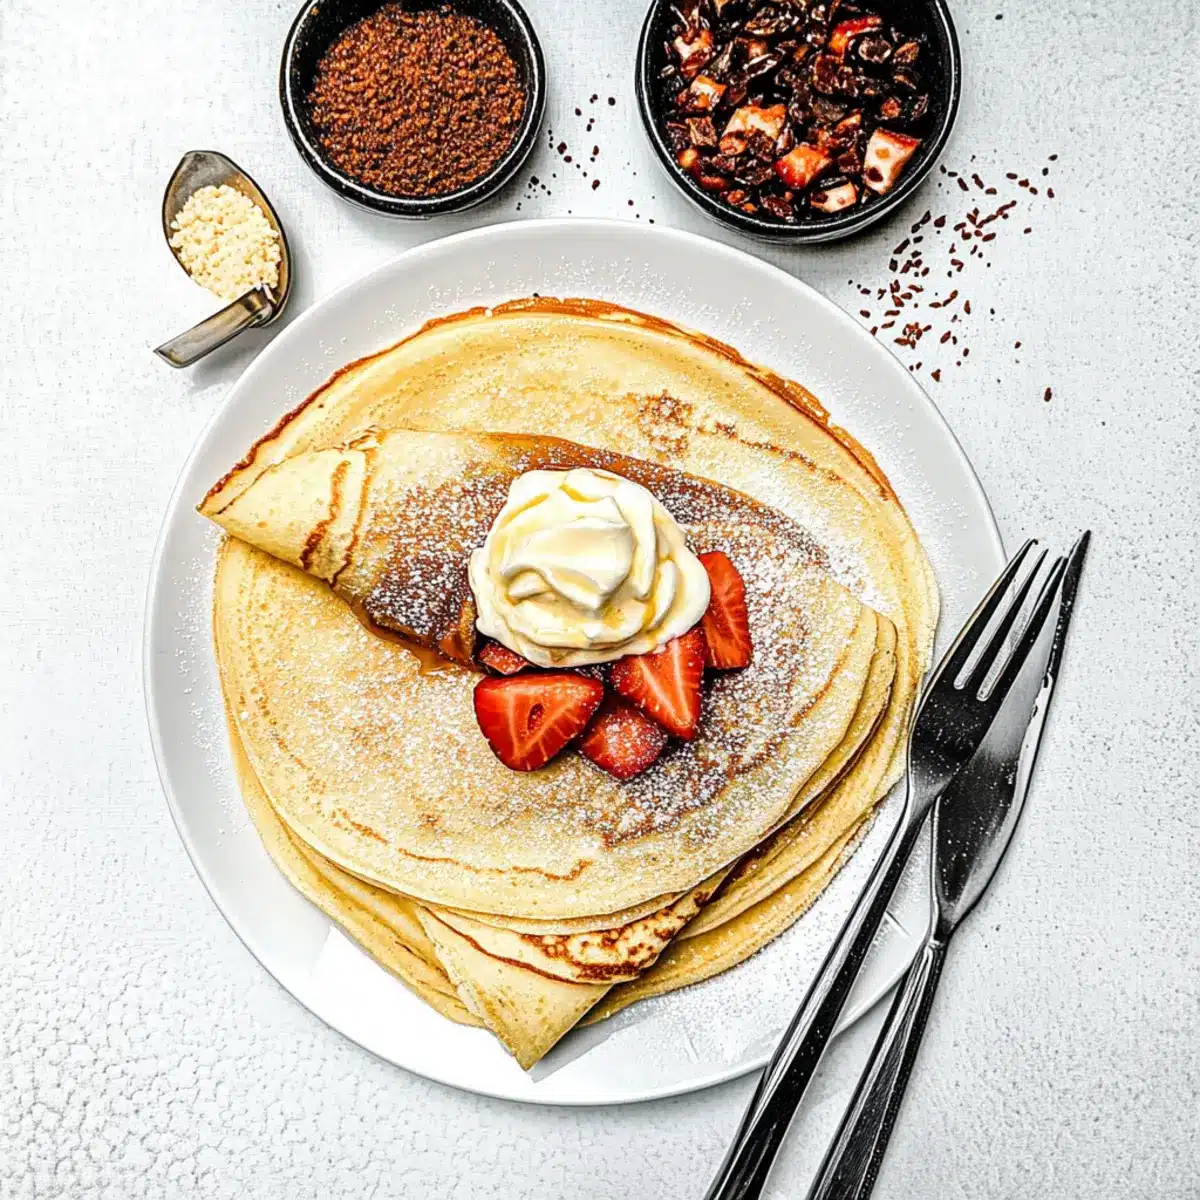
Transfer the cooked crepe to a plate and cover it with a kitchen towel to keep it warm while you repeat with the remaining batter. Stack the crepes as you go. Serve your impressive stack of classic thin crepes with your favorite fillings or toppings, whether sweet or savory, to delight family and friends!
Classic Thin Crepe Variations
Feel free to get creative with your classic thin crepes—there’s a world of flavors waiting to unfold!
-
Gluten-Free: Swap all-purpose flour for gluten-free flour, making deliciously light crepes suitable for everyone.
-
Dairy-Free: Use almond milk or oat milk instead of regular milk for a delightful dairy-free option that doesn’t skimp on flavor.
-
Vegan: Substitute eggs with flaxseed meal mixed with water for a plant-based alternative that binds the batter beautifully.
-
Sweet Spice: Add a pinch of cinnamon or nutmeg to the batter for a warm, aromatic twist that elevates your dessert crepes.
-
Nutty Delight: Incorporate a tablespoon of almond or hazelnut flour into the batter for a subtly nutty flavor that pairs wonderfully with sweet fillings.
-
Savory Herbs: Mix in fresh herbs like chopped basil or dill for a fragrant twist that complements savory fillings such as cheese or smoked salmon.
-
Chocolate Lovers: For a richer taste, add cocoa powder to your batter; these chocolatey crepes can be the perfect vessel for sweet or fruity toppings.
-
Spicy Kick: Create a southwest-inspired version by adding a dash of cayenne pepper to the batter, and fill with spiced chicken or sautéed veggies.
With this canvas to play on, you can whip up something special! Consider pairing your creations with a tasty treat like Classic Homemade Orange Candy for a delightful finish. Enjoy your crepe adventure!
How to Store and Freeze Classic Thin Crepes
Fridge: Store cooked classic thin crepes in an airtight container for up to 1-2 days; place parchment paper between layers to prevent sticking.
Freezer: For longer storage, freeze crepes in a stack, separated by parchment paper, for up to 3 months. Use a freezer-safe bag or wrap them in plastic wrap to prevent freezer burn.
Reheating: To reheat, remove desired crepes from the fridge or freezer, and warm in a non-stick pan over low heat for 1-2 minutes on each side until heated through, preserving their delicate texture.
What to Serve with Classic Thin Crepes?
Delightful accompaniments can transform your classic thin crepes into a memorable meal, whether you’re craving breakfast, lunch, or dessert.
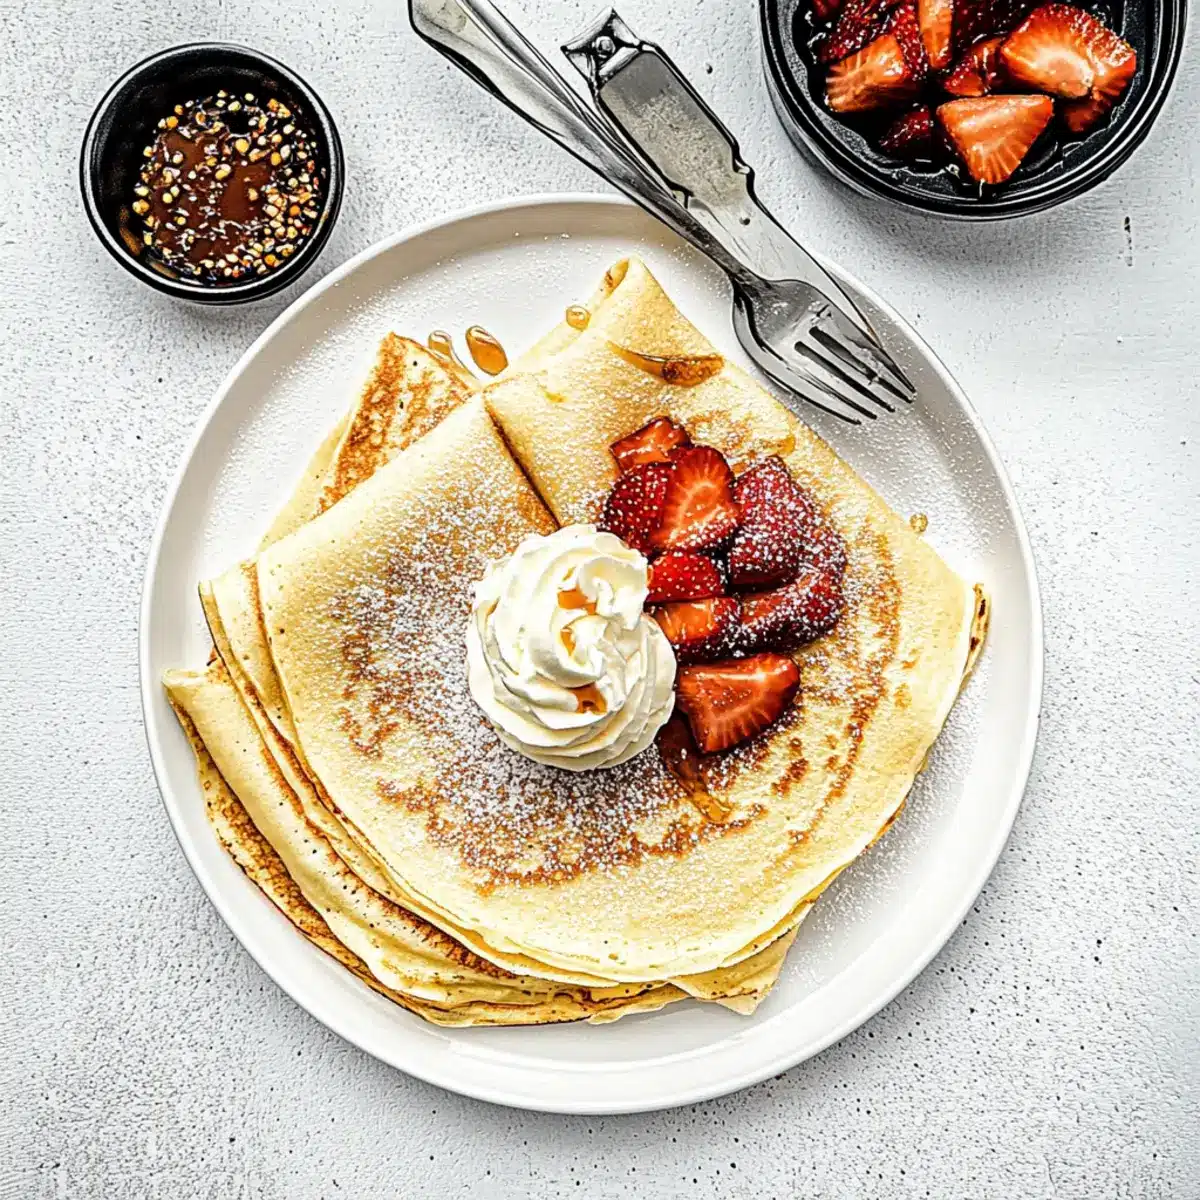
- Fresh Berries: Juicy strawberries, blueberries, or raspberries add a vibrant, sweet contrast that brightens every bite. Their natural sweetness enhances the crepes without overpowering them.
- Whipped Cream: Light and airy, this addition brings a touch of indulgence to sweet crepes, creating a delightful texture interplay. Top with a sprinkle of cocoa for an elegant finish.
- Ham and Cheese: For a savory twist, the combination of melty cheese and savory ham fits perfectly inside the crepes, offering warmth and comfort in every mouthful.
- Sautéed Spinach: This lightly seasoned addition adds a fresh, earthy flavor that complements the crepes beautifully. The vibrant green color adds visual appeal to your dish.
- Lemon Zest: A simple sprinkle elevates your crepes, providing a refreshing zesty kick that brightens the overall flavor. Pair with powdered sugar for a classic touch.
- Maple Syrup: A drizzling of golden syrup brings sweetness and depth, especially delightful with both sweet and savory fillings alike. Its rich flavor melds harmoniously with every bite.
- Nutella: Spread this creamy hazelnut chocolate spread inside sweet crepes for a decadent dessert option, perfect for satisfying any sweet tooth craving.
- Sparkling Wine: A glass of bubbly adds a festive touch, making your meal feel special. The effervescence cleanses the palate beautifully between bites.
Expert Tips for Classic Thin Crepes
-
Batter Consistency: Ensure your batter is thin and pourable for perfect classic thin crepes. Too thick can make them chewy instead of delicate.
-
Preheat the Pan: A well-heated pan is key. If it’s not hot enough, crepes will stick, and if too hot, they will burn.
-
Resting Time: Letting the batter sit for 15 minutes helps the ingredients meld, resulting in smoother classic thin crepes.
-
Avoid Overcooking: Keep an eye on cooking time; overcooking leads to crispy edges, compromising the soft texture we love in crepes.
-
Non-Stick Advantage: Using a non-stick skillet or a specialty crepe pan will help achieve the perfect flip without tearing your classic thin crepes.
Make Ahead Options
These classic thin crepes are perfect for meal prep enthusiasts! You can prepare the crepe batter up to 24 hours in advance by whisking together the flour, sugar, salt, eggs, and milk, then storing it in an airtight container in the refrigerator. If you want to save even more time, you can cook the crepes ahead of time—stack them between layers of parchment paper, wrap them in plastic, and refrigerate for up to 3 days. When you’re ready to serve, simply reheat the crepes in a skillet over low heat for a minute on each side until warmed through. This way, you’ll enjoy restaurant-quality classic thin crepes with minimal effort, making busy weeknights a breeze!
Classic Thin Crepes Recipe FAQs
How do I choose the right flour for classic thin crepes?
Absolutely! For classic thin crepes, you can use all-purpose flour for a traditional taste. If you need a gluten-free option, select a good quality gluten-free flour mix. Look for flours that contain xanthan gum for improved texture.
How long can I store cooked classic thin crepes in the fridge?
You can keep cooked classic thin crepes in an airtight container in the fridge for up to 1-2 days. Just be sure to place parchment paper between layers to prevent them from sticking together.
Can I freeze my classic thin crepes?
Yes, absolutely! To freeze your classic thin crepes, stack them, and place a sheet of parchment paper between each crepe. Wrap the stack in plastic wrap or place it in a freezer-safe bag. They can be stored for up to 3 months.
What are some common problems when making crepes?
One common issue is a lumpy batter. Make sure to whisk the ingredients thoroughly and gradually mix the milk into the dry ingredients to avoid lumps. If your crepes are tearing, it might be due to overcooking or not allowing the batter to rest. Always ensure your pan is at the right temperature—hot, but not smoking!
Are there any dietary considerations I should keep in mind?
Definitely! If you or your guests have dietary restrictions, you can easily adapt classic thin crepes. For a dairy-free option, use almond or oat milk and substitute butter with non-dairy margarine. For vegan crepes, replace eggs with a mixture of flaxseed meal and water (1 tablespoon flaxseed meal with 2.5 tablespoons water per egg).
How do I reheat frozen crepes while keeping them soft?
To reheat frozen classic thin crepes, remove as many as you need from the freezer and let them thaw in the refrigerator for a couple of hours. Then, warm them in a non-stick skillet over low heat for 1-2 minutes on each side to ensure they stay soft and pliable.
Delicious Classic Thin Crepe: Perfect for Any Filling
Ingredients
Equipment
Method
- In a mixing bowl, whisk together flour, sugar, and salt until fully combined.
- Add eggs into the center of the dry mixture, whisking gently and incorporating flour from the edges.
- Slowly pour in milk while whisking to achieve a smooth batter, then let it rest for 15 minutes.
- Melt butter and stir it into the batter until combined.
- Heat a non-stick skillet and lightly grease it; ensure it's hot but not smoking.
- Ladle about 1/4 cup of batter into the pan, tilting it to spread evenly and cook for 1-2 minutes.
- Gently flip the crepe using a spatula and cook the other side for 30 seconds to 1 minute.
- Transfer cooked crepes to a plate and cover to keep warm; serve with preferred fillings.
Leave a Reply