
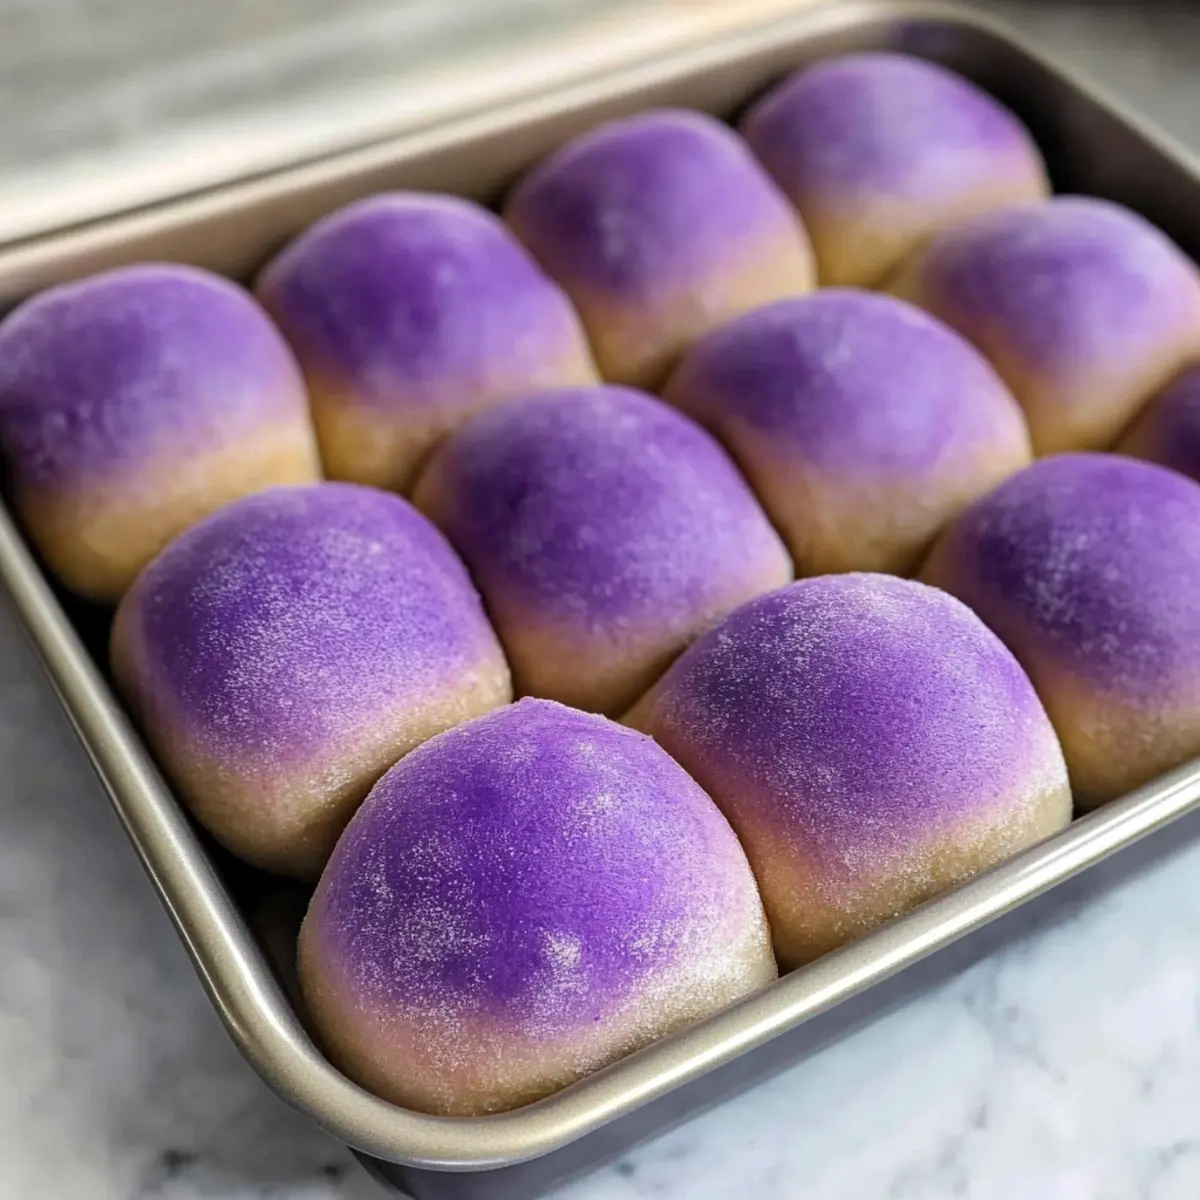
As I pulled the warm, fluffy Hawaiian Taro Rolls from the oven, the captivating purple hue instantly drew everyone’s attention—a gentle reminder that food can be as visually stunning as it is delicious. These rolls are more than just a pretty sight; the sweet, light texture pairs beautifully with savory dishes, making them a go-to side for any meal. What I love most about this recipe is how easy it is to whip up; the simple ingredients come together to create a delightful twist on traditional dinner rolls. Plus, they’re incredibly versatile: whether served at a festive gathering or as a comforting addition to a weeknight dinner, they are sure to impress. Are you ready to bring a taste of Hawaii into your home?
Why Are Taro Rolls So Special?
Uniquely Hawaiian: Taro rolls celebrate the flavors of Hawaii, offering a distinctive twist on classic dinner rolls.
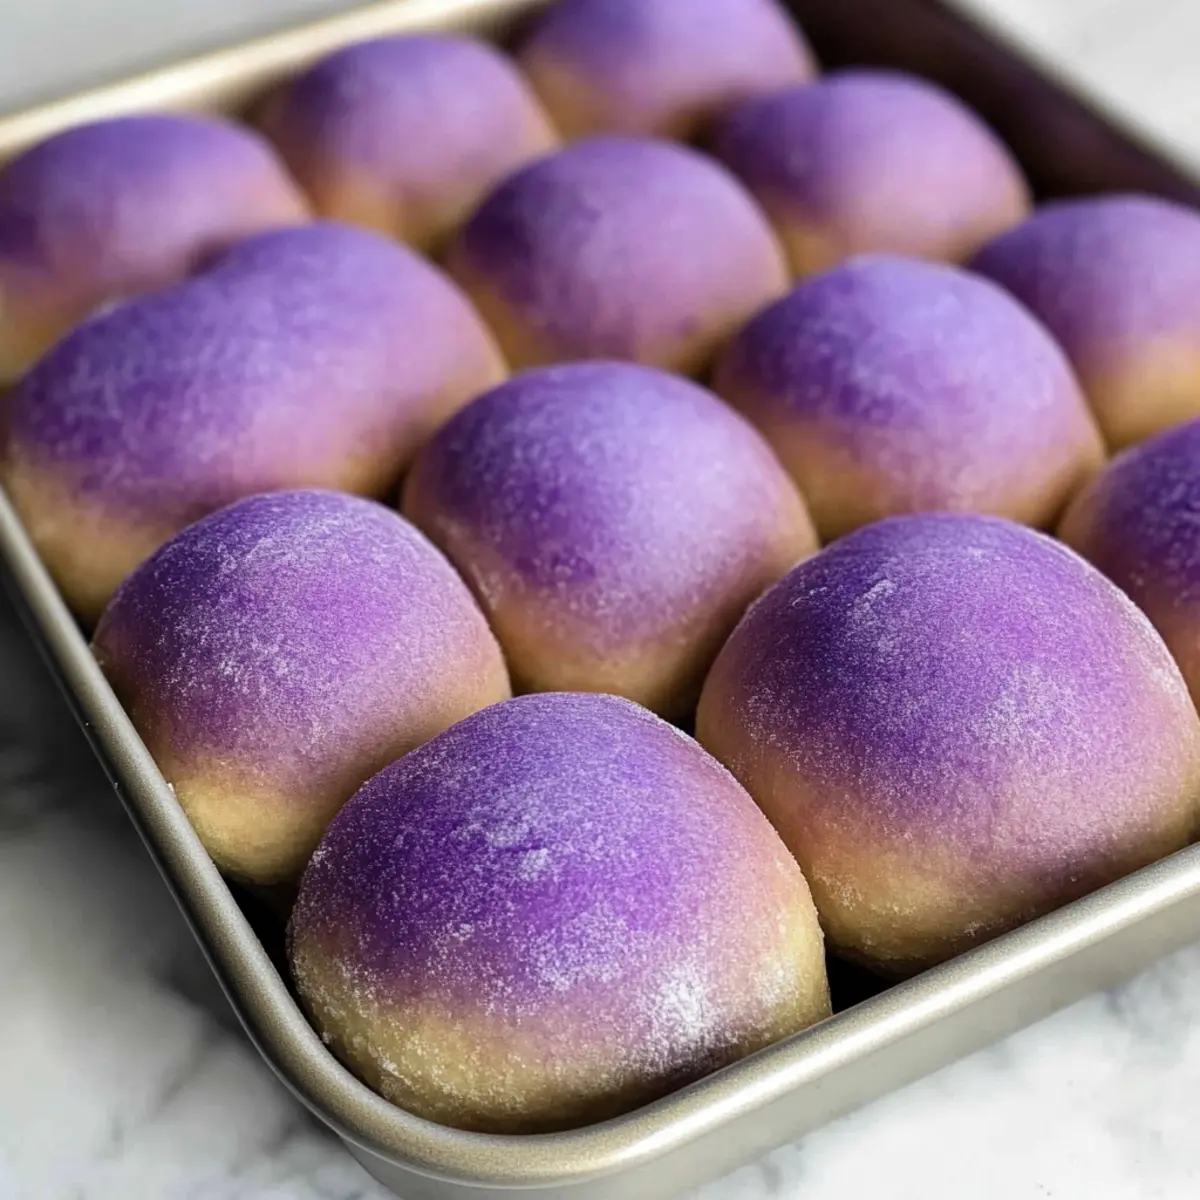
Visually Stunning: Their vibrant purple hue adds an eye-catching element to your table, impressing family and friends.
Simplicity Made Delightful: Easy to prepare, this recipe takes minimal time but yields lavish results.
Perfectly Versatile: Serve them alongside any dish, from grilled meats to your favorite curry, or enjoy them as a sweet snack.
Freezer Friendly: Make a double batch for effortless entertaining later; they freeze well and reheat beautifully.
Elevate your cuisine with these delightful rolls and consider pairing them with Air Fryer Rolls for a fun treat!
Taro Rolls Ingredients
For the Dough
• Bread Flour – Provides structure and chewiness to the rolls. Note: Substitute with gluten-free bread flour for a gluten-free option (a test recommended for best results).
• Sugar – Adds sweetness, complementing the natural flavor of taro. No direct substitution recommended; however, adjust quantity to taste.
• Instant Yeast – Helps the dough rise, creating a light texture. Active dry yeast can be used but requires proofing before mixing.
• Salt – Enhances flavor and controls yeast activity. Optional adjustments may be made based on dietary restrictions.
• Warm Milk – Adds moisture and helps activate the yeast. Dairy-free alternatives include almond or oat milk.
• Poi – A traditional Hawaiian ingredient made from taro; it gives characteristic flavor and moisture. If unavailable, consider using a taro root puree.
• Egg – Adds richness and helps bind the dough. Vegan substitution: use a flax egg (1 tbsp ground flaxseed + 2.5 tbsp water).
• Butter (softened) – Provides flavor and tenderness. Can substitute with coconut oil for a dairy-free version.
• Purple Food Coloring – Ensures vibrant color. Omit for a more natural appearance or use natural colorants like beet juice.
Step‑by‑Step Instructions for Taro Rolls
Step 1: Prepare Dough
In a large mixing bowl, combine 4 cups of bread flour, 1/4 cup of sugar, and 2 teaspoons of instant yeast. In a separate bowl, whisk together 1 cup of warm milk, 1/2 cup of poi, 1 egg, and 1/4 cup of softened butter until smooth. Gradually pour the wet mixture into the dry ingredients, mixing until a shaggy dough forms.
Step 2: Incorporate Color
Add a few drops of purple food coloring to the dough and continue mixing until the color is uniformly distributed. You want the dough to take on a beautiful lavender hue, reflecting the vibrant essence of Hawaiian Taro Rolls. If needed, adjust with a little more coloring for a richer tint before moving to the next step.
Step 3: Knead Dough
Transfer the dough to a floured surface or use a stand mixer fitted with a dough hook. Knead the dough for about 10 minutes, until it becomes smooth and elastic. The dough should feel slightly tacky, but it should no longer stick to your hands. This step is crucial for achieving that fluffy, airy texture you desire.
Step 4: Shape & Rise
Divide the kneaded dough into 15 equal pieces and shape each piece into a ball. Place the dough balls in a greased 9×13 baking dish, leaving a bit of space between each. Cover the dish with a clean kitchen towel and allow the dough to rise in a warm area for about 1 hour, or until the rolls have doubled in size.
Step 5: Bake
Preheat your oven to 325°F (163°C). Once the rolls have risen beautifully, place the baking dish in the oven. Bake for about 20-25 minutes, or until they are golden brown on top and have a delightful aroma. Keep an eye on them—when they turn golden, they’re ready for the next step!
Step 6: Cool & Enjoy
Remove the Taro Rolls from the oven and let them cool slightly in the baking dish. After about 10 minutes, transfer them to a wire rack to cool further. These rolls are best enjoyed warm, perhaps with a pat of butter melting on top, allowing their sweet, fluffy texture to shine.
Taro Rolls Variations & Substitutions
Feel free to adapt these delightful Hawaiian taro rolls to suit your tastes and dietary needs!
-
Dairy-Free: Use almond or coconut milk instead of warm milk to create a deliciously vegan-friendly option. You’ll still get that perfect soft texture!
-
Gluten-Free: Substitute with a high-quality gluten-free bread flour mix. This way, everyone can enjoy the fluffy goodness of taro rolls without the gluten!
-
Sweetness Boost: Replace regular sugar with brown sugar or coconut sugar for deeper caramel notes that enhance the sweetness. It takes the flavor to a whole new level!
-
Spice It Up: Add a teaspoon of cinnamon or ginger to the dough for a fragrant twist. The spices blend beautifully with the sweet undertones of the taro.
-
Herb-Infused: Incorporate fresh herbs like rosemary or thyme into the dough for an aromatic experience. Their earthy flavors provide a unique contrast to the sweetness of the rolls.
-
Fun with Color: Instead of purple food coloring, try natural colorants like beet juice or butterfly pea flower powder for a healthful twist. They keep the vibrant hue while adding nourishment!
-
Try Different Sweeteners: If you’re feeling adventurous, consider using honey or maple syrup as a sweetener, adjusting liquid levels accordingly. It offers a lovely depth to the rolls!
-
Serving Ideas: These rolls go wonderfully with savory spreads! Pair them alongside dishes like BBQ or grilled meats, or try them as an accompaniment to Pie Crescent Rolls for added sweetness.
Experiment with these variations and watch how they elevate your Hawaiian Taro Rolls!
Make Ahead Options
These Hawaiian Taro Rolls are perfect for meal prep enthusiasts! You can prepare the dough up to 24 hours in advance, allowing you to save time on busy days. After following the first three steps, shape the dough into balls and place them in a greased baking dish. Cover and refrigerate overnight to develop flavor while staying fresh. When ready to enjoy your rolls, simply remove them from the refrigerator and let them rise for about 30 minutes at room temperature before baking. This method ensures that they are just as fluffy and delicious, making it easy to present warm, homemade rolls that will impress everyone at the table!
How to Store and Freeze Taro Rolls
Room Temperature: Keep the rolls at room temperature in an airtight container for up to 4-5 days, ensuring they remain soft and fluffy.
Freezer: Taro rolls can be frozen for up to 3 months. Place them in a freezer-safe bag or container. For best results, flash freeze before transferring, so they don’t stick together.
Reheating: To enjoy frozen rolls, thaw them in the fridge overnight, then reheat in the oven at 350°F (175°C) for 10-15 minutes until warmed through and soft.
Make Ahead: Consider making a double batch of Taro Rolls for effortless entertaining! Just freeze the extras for a delightful addition to any meal later on.
Expert Tips for Taro Rolls
• Dough Moisture Control: Add warm milk gradually to monitor the dough’s moisture; different poi brands can affect consistency.
• Allow Adequate Rising: Patience is key! Let the dough rise until doubled in size, ensuring airy and fluffy taro rolls.
• Egg Wash for Shine: For a beautifully golden crust, brush the tops with a whisked egg before baking. It adds a lovely sheen.
• Storage Made Simple: Keep leftovers in an airtight container for 4-5 days at room temperature, or freeze for up to 3 months for future enjoyment.
• Experiment with Flavors: Don’t hesitate to mix in coconut flakes or spices to create a customized twist on your traditional taro rolls.
What to Serve with Hawaiian Taro Rolls
These colorful rolls are perfect for building a delightful meal that warms the heart and pleases the palate.
- BBQ Chicken: Smoky and tender, the richness of BBQ chicken pairs beautifully with the slightly sweet rolls, creating a harmony of flavors.
- Lemon Garlic Shrimp: The zesty brightness of lemon garlic shrimp offers a tantalizing contrast to the sweet, fluffy texture of the taro rolls. It’s a perfect match for a summer feast.
- Grilled Vegetables: Charred seasonal veggies bring a smoky depth that compliments the rolls’ sweetness, adding a touch of freshness that enhances every bite.
- Coconut Curry: The rich, creamy sauce of curry beautifully absorbs into the rolls, making each bite a spoonful of tropical delight. The sweetness of the rolls balances the spices perfectly.
- Savory Herb Butter: Spread a dollop of herb-infused butter on warm rolls for an extra layer of flavor that elevates the entire dining experience. It’s a simple yet lovely addition.
- Tropical Fruit Salad: Fresh fruits like mango and pineapple provide a vibrant, refreshing contrast that cuts through the sweetness of the taro rolls, making for a balanced meal.
- Hawaiian Punch: For drinks, a fruity Hawaiian punch or a coconut-infused mocktail will enhance the tropical theme while keeping everyone refreshed and delighted!
- Chocolate Coconut Cake: Conclude your meal on a sweet note with this luscious dessert, which brings a hint of nostalgia and the taste of the islands to your table.
These pairings promise to turn your meal into a memorable feast filled with delightful flavors and heartwarming moments.
Hawaiian Taro Rolls Recipe FAQs
What is the best way to select ripe taro?
Absolutely! When choosing taro, look for small to medium-sized roots that are firm and heavy for their size. Avoid any with soft spots or dark blemishes. The skin should be smooth, and if it has sprouted, you can still use it, but fresh roots will give the best flavor and texture.
How long can I store baked Taro Rolls?
Very good question! After baking, allow the Taro Rolls to cool completely before placing them in an airtight container. They can be stored at room temperature for about 4-5 days. If your home is particularly warm or humid, consider refrigerating them.
Can I freeze Taro Rolls?
Certainly! To freeze Taro Rolls, place them in a freezer-safe bag or container. For best results, flash freeze them on a baking sheet first so they don’t stick together. They can be frozen for up to 3 months! To reheat, thaw overnight in the fridge and warm them in the oven at 350°F (175°C) for about 10-15 minutes.
What should I do if my dough is too sticky?
No worries at all! If you find that your dough is too sticky while kneading, sprinkle in a little extra bread flour, about a tablespoon at a time, until it becomes manageable. Keep in mind that it’s important to add flour gradually to avoid making the dough too dry.
Are Taro Rolls safe for pets or those with allergies?
Absolutely! The ingredients in Taro Rolls, including bread flour, sugar, and butter, are typically safe for humans but not for pets, especially dogs, which can have issues digesting certain ingredients. If you or someone you’re serving has allergies, make sure to substitute ingredients accordingly—like using gluten-free flour for those with gluten intolerance or opting for plant-based butter alternatives for dairy allergies.
Can I make Taro Rolls vegan?
Yes, you can easily make Taro Rolls vegan! Substitute the egg with a flax egg (1 tablespoon ground flaxseed mixed with 2.5 tablespoons water) and choose a plant-based butter. Also, use almond milk or any other non-dairy milk to replace the warm milk, then you’re all set for a delightful vegan treat!
Fluffy Taro Rolls with a Sweet Hawaiian Twist
Ingredients
Equipment
Method
- In a large mixing bowl, combine 4 cups of bread flour, 1/4 cup of sugar, and 2 teaspoons of instant yeast. In a separate bowl, whisk together 1 cup of warm milk, 1/2 cup of poi, 1 egg, and 1/4 cup of softened butter until smooth. Gradually pour the wet mixture into the dry ingredients, mixing until a shaggy dough forms.
- Add a few drops of purple food coloring to the dough and continue mixing until the color is uniformly distributed.
- Transfer the dough to a floured surface or use a stand mixer fitted with a dough hook. Knead the dough for about 10 minutes, until it becomes smooth and elastic.
- Divide the kneaded dough into 15 equal pieces and shape each piece into a ball. Place the dough balls in a greased 9x13 baking dish, leaving a bit of space between each. Cover the dish with a clean kitchen towel and allow the dough to rise in a warm area for about 1 hour.
- Preheat your oven to 325°F (163°C). Once the rolls have risen beautifully, place the baking dish in the oven. Bake for about 20-25 minutes, or until they are golden brown on top.
- Remove the Taro Rolls from the oven and let them cool slightly in the baking dish. After about 10 minutes, transfer them to a wire rack to cool further.
Leave a Reply