
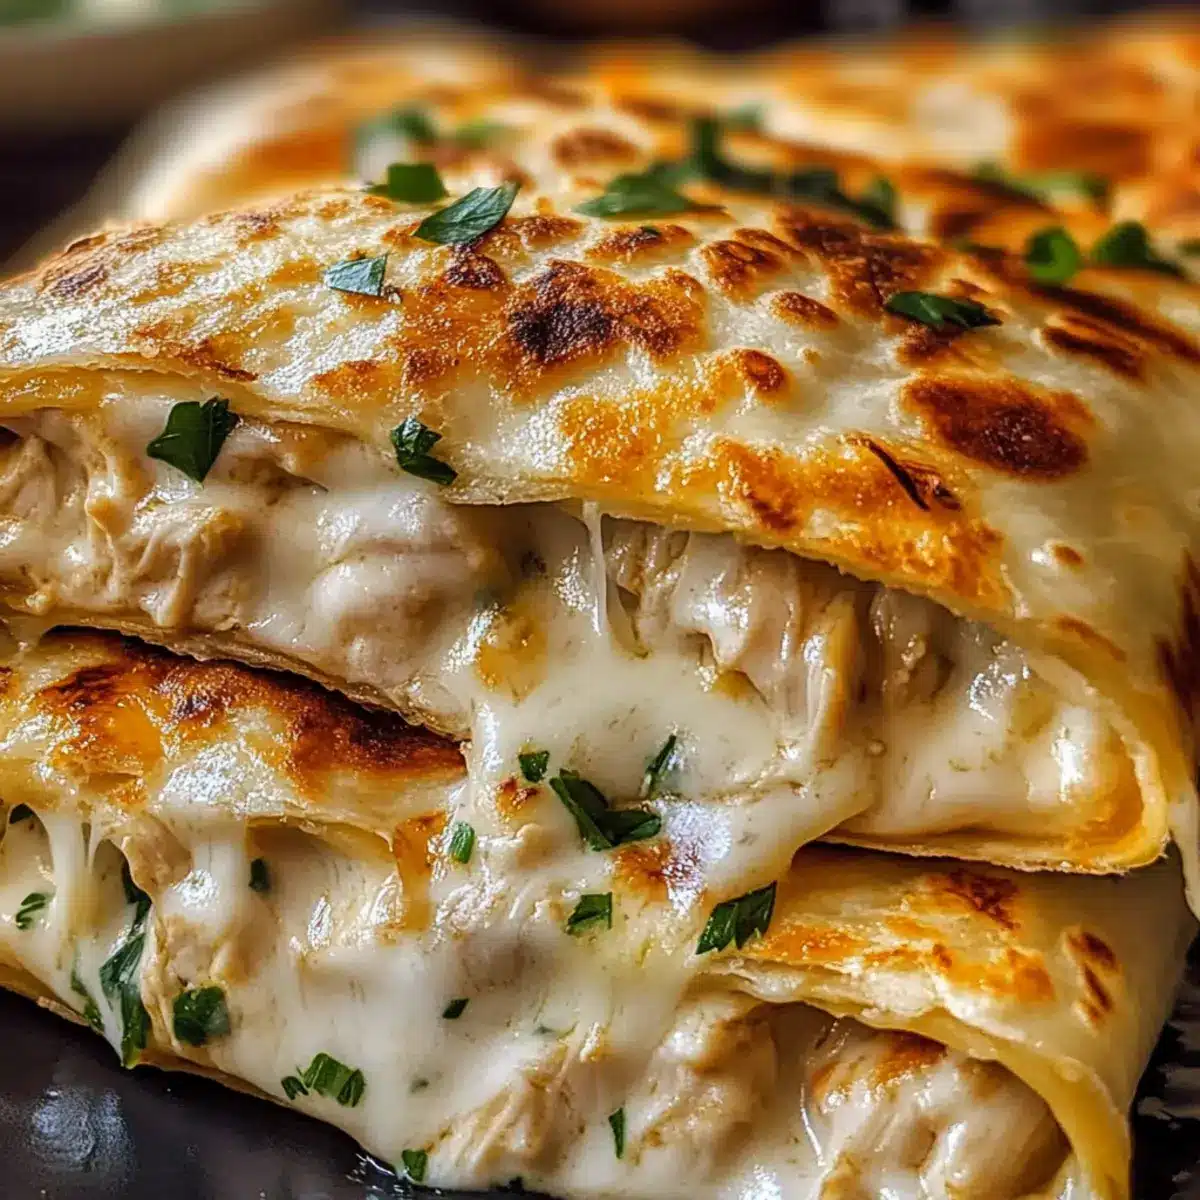
As I unwrapped the foil, the warm aroma of crispy garlic and melted cheese wafted through the kitchen, instantly uplifting my mood. These Cheesy Garlic Chicken Wraps are a delightful solution for anyone craving comfort food without the fuss of elaborate preparation. Not only are they packed with the perfect blend of gooey cheese and tender chicken, but they’re also incredibly quick to whip up—ideal for busy weeknights or packed lunches. What makes them even better is their versatility! You can easily customize these wraps with vegetarian options like grilled tofu or sautéed mushrooms, ensuring everyone at your table finds joy in this dish. Ready to discover how to craft this comforting handheld treat? Let’s dive in!
Why are These Wraps a Must-Try?
Versatile Options: You can easily customize Cheesy Garlic Chicken Wraps with vegetarian substitutes like grilled tofu or sautéed mushrooms, making them perfect for everyone at the table.
Quick Preparation: Simply whip up these wraps in no time—ideal for busy weeknights or satisfying lunches.
Flavor Explosion: The combination of gooey cheese, tender chicken, and crispy garlic butter offers a comforting taste that won’t disappoint.
Crowd-Pleaser: They deliver the comfort of classic grilled cheese and garlic bread, making them a hit with kids and adults alike!
Meal Prep Friendly: Perfect for make-ahead meals, you can store these wraps in the fridge or freeze them for later—easy comfort cooking at its finest.
Cheesy Garlic Chicken Wraps Ingredients
For the Filling
• Cooked Shredded Chicken – Provides protein and bulk to the wrap; feel free to substitute grilled tofu or sautéed mushrooms for a vegetarian option.
• Cream Cheese – Creates a creamy filling; Greek yogurt can serve as a lighter alternative.
• Mayonnaise – Adds creaminess to the filling; replace with Greek yogurt for a healthier twist.
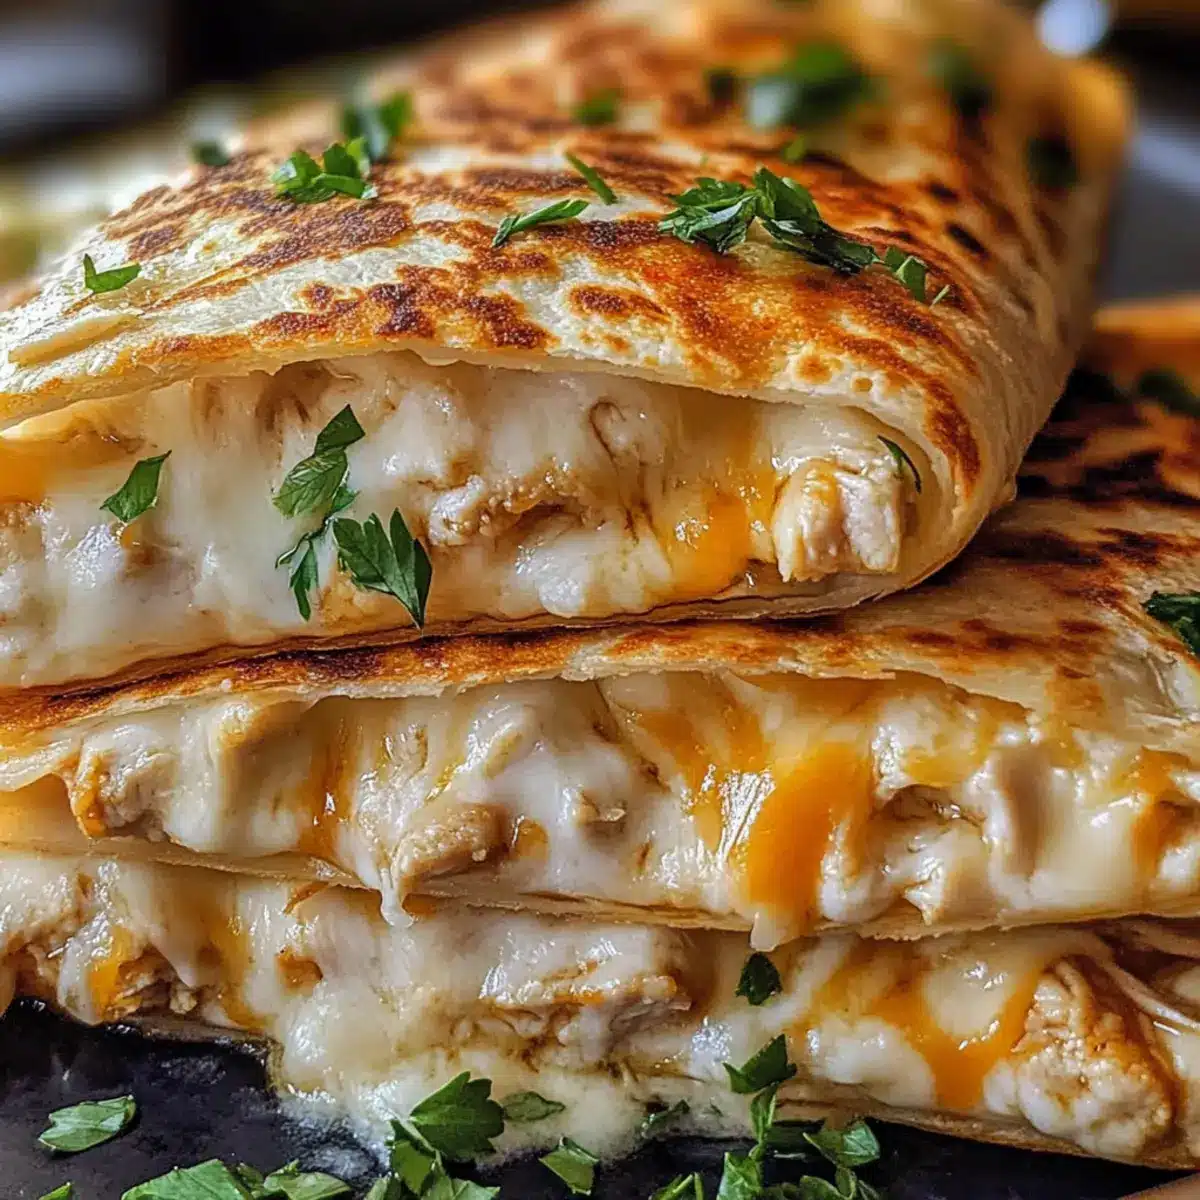
• Shredded Mozzarella Cheese – Melts beautifully, creating a gooey texture; provolone or Monterey Jack can replace it.
• Shredded Cheddar Cheese – Adds sharpness and flavor; can be switched with more mozzarella or a cheese blend.
• Garlic Powder – Boosts the garlicky flavor profile; fresh garlic can be used for a stronger taste.
• Onion Powder – Enhances flavor depth; fresh onions can be substituted, though it may alter texture.
• Salt and Black Pepper – Season to taste; adjust based on dietary needs.
• Chopped Fresh Parsley – Adds freshness and optional texture; dried parsley can be used, although fresh is preferred.
For the Wrap
• Large Flour Tortillas – Encapsulates the filling; gluten-free tortillas are a viable alternative.
• Olive Oil – Adds moisture and richness; any cooking oil will work as a substitute.
• Melted Butter – For brushing, provides flavor and aids in crisping; can be substituted with olive oil.
• Minced Garlic – Enhances the garlic flavor in the butter mix; garlic powder can serve as an alternative if necessary.
Optional Add-ins
• Optional Vegetables – Such as baby spinach, shredded lettuce, or sliced tomatoes, for added nutrition and texture.
• Sautéed Mushrooms – A great way to add earthy flavor, especially in vegetarian versions of the Cheesy Garlic Chicken Wraps.
Step‑by‑Step Instructions for Cheesy Garlic Chicken Wraps
Step 1: Prep Filling
In a mixing bowl, combine the cooked shredded chicken, garlic powder, onion powder, salt, and pepper. Stir in the mozzarella, cheddar, cream cheese, mayonnaise, and chopped parsley until well mixed and creamy. This filling should have a delicious, rich aroma that hints at the comforting flavors of the upcoming Cheesy Garlic Chicken Wraps.
Step 2: Build Wraps
Lay the large flour tortillas flat on a clean surface. Spoon a generous amount of the creamy chicken filling into the center of each tortilla. Add any optional vegetables you desire, like baby spinach or sliced tomatoes, then fold in the sides and roll tightly to create a secure wrap. Be sure to seal the filling inside snugly for the best results.
Step 3: Butter Coating
Melt butter in a small bowl and mix in the minced garlic for added flavor. Using a brush, generously coat the outside of each wrap with the garlic butter mixture. This step is crucial, as it will create a golden-brown, crispy crust that will elevate your Cheesy Garlic Chicken Wraps and infuse them with mouthwatering garlic goodness.
Step 4: Toast
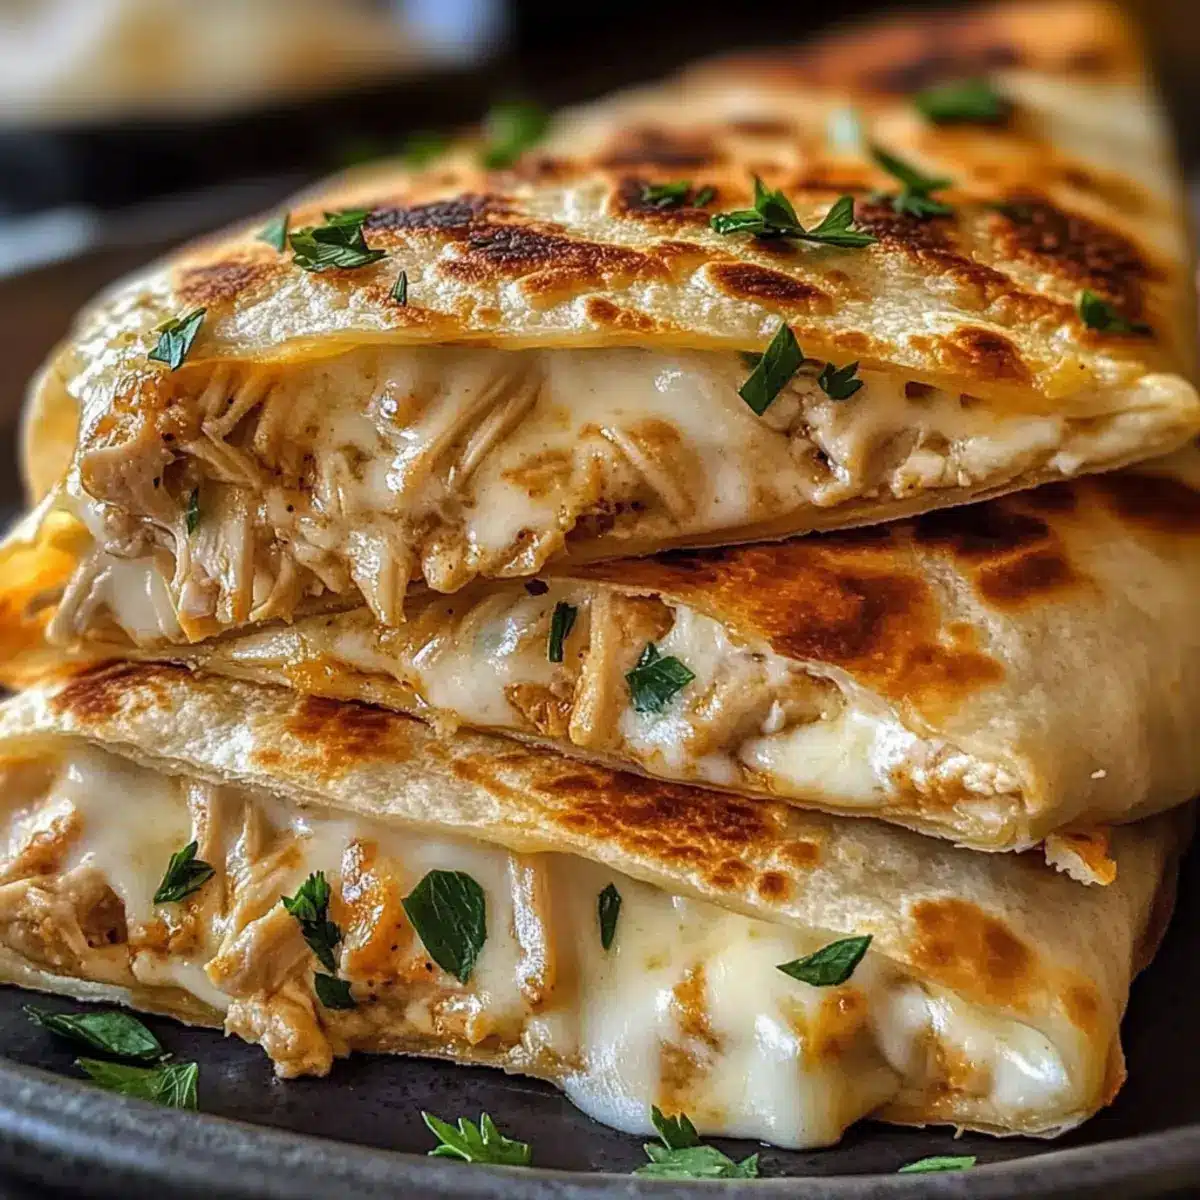
Preheat a skillet over medium heat. Carefully place the wraps seam-side down in the skillet, and toast for 2-3 minutes until they turn golden brown. Flip the wraps carefully and cook for an additional 2-3 minutes on the other side until crisp and the cheese inside is melty, creating a delicious contrast to the crunchy exterior.
Step 5: Serve
Remove the toasted wraps from the skillet and slice each one in half. Serve warm with your favorite dipping sauces, like ranch, garlic aioli, or marinara. As you enjoy the delicious aroma and comforting flavors of these Cheesy Garlic Chicken Wraps, you’ll find they are a delightful addition to any meal!

Cheesy Garlic Chicken Wraps Variations
Feel free to unleash your creativity and customize these wraps to suit your taste and dietary needs!
-
Vegetarian Option: Swap out the chicken for grilled tofu or sautéed mushrooms to create a satisfying meat-free wrap.
-
Cheese Change: Use provolone or Monterey Jack instead of mozzarella and cheddar for a unique twist on cheese flavor that melts beautifully.
-
Lighten It Up: Replace mayonnaise with Greek yogurt for a lighter, tangy filling that doesn’t compromise on creaminess.
-
Herb Boost: Add fresh basil or cilantro to the filling for a bright pop of flavor that enhances every bite.
-
Extra Crunch: Toss in some finely chopped bell peppers or shredded carrots for a delightful crunch and added nutrients.
-
Spicy Kick: Mix in a pinch of crushed red pepper flakes or diced jalapeños to give your wraps a spicy edge that’ll tantalize your taste buds.
-
Gluten-Free: Opt for gluten-free tortillas to make this dish safe for those with gluten sensitivities while retaining all the flavor.
-
Flavorful Greens: Incorporate baby spinach, arugula, or kale for a healthful green addition that packs a nutritional punch and complements the cheesy filling.
These variations not only make the Cheesy Garlic Chicken Wraps adaptable but also ensure they can cater to diverse palates and preferences. Dive deeper into flavor with each twist you try! If you’re looking for more delicious chicken recipes, check out my Healthy Baked Chicken or even give these scrumptious Chicken Fillet Garlic wraps a try!
Make Ahead Options
These Cheesy Garlic Chicken Wraps are perfect for meal prep enthusiasts looking to save time during the week! You can prepare the filling (chicken, cheeses, and seasonings) up to 24 hours in advance and store it in an airtight container in the refrigerator. The assembled wraps can be refrigerated for up to 3 days; just be sure to wrap them tightly in foil or plastic wrap to maintain their moisture and prevent them from drying out. For the best texture, consider freezing un-toasted wraps, letting them thaw overnight before toasting as directed. When ready to enjoy, simply follow the toasting instructions for that crispy outer layer, and your delicious Cheesy Garlic Chicken Wraps will taste just as fresh as when they were made!
How to Store and Freeze Cheesy Garlic Chicken Wraps
Fridge: Allow the wraps to cool completely, then store them in an airtight container for up to 3 days. This keeps them fresh and ready for quick meals.
Freezer: For optimal texture, freeze un-toasted wraps individually. They can be stored for up to 2 months. Thaw overnight in the fridge before toasting.
Reheating: To regain crispness, reheat your cheesy garlic chicken wraps in a skillet over medium heat for about 3-4 minutes per side. Avoid microwaving, as this can make the wraps soggy.
Make-Ahead: Assemble wraps ahead of time and store them in the fridge for easy meal prep. Perfect for busy weeknights!
Expert Tips for Cheesy Garlic Chicken Wraps
Mix Well: Ensure all ingredients in the filling are thoroughly combined for a creamy texture—this prevents dry bites.
Don’t Overfill: Be cautious not to overload your wraps with filling; this makes rolling difficult and can lead to spills while toasting.
Crispier Crust: For an extra crispy exterior, brush both sides with garlic butter before toasting—this is key for perfect Cheesy Garlic Chicken Wraps.
Test Cooking Time: Keep an eye on toasting time; every stove is different. Adjust the heat to avoid burning, ensuring a golden-brown finish.
Storing Tips: Let cooked wraps cool before wrapping individually in foil or using airtight containers for storage to maintain freshness.
What to Serve with Cheesy Garlic Chicken Wraps
These satisfying handheld wraps can be complemented with delightful sides and drinks to elevate your meal.
- Crispy Seasoned Fries: The crunchy texture balances the gooey wraps, making every bite delicious.
- Fresh Garden Salad: A light salad with mixed greens and a tangy vinaigrette adds freshness and helps cut through the richness.
- Creamy Tomato Soup: Serve alongside a warm bowl of tomato soup for a comforting dip that enhances the flavors of the wraps.
- Garlic Aioli: A zesty dipping sauce provides an extra layer of garlic delight, perfect for those who crave more of that flavor.
- Lemonade: The bright, citrusy drink refreshes the palate, balancing the richness of the cheesy goodness in the wraps.
- Roasted Vegetables: Crisp-tender veggies add color and nutrition to your plate, making your meal more vibrant and wholesome.
Cheesy Garlic Chicken Wraps Recipe FAQs
What is the best way to choose ripe ingredients for my wraps?
Absolutely! For the best flavor in your Cheesy Garlic Chicken Wraps, choose ripe vegetables. Look for fresh spinach with vibrant green leaves, tomatoes that are slightly firm but give a little when squeezed, and mushrooms that are smooth and firm without dark spots. Fresh herbs like parsley should be bright and fragrant. The quality of your ingredients directly influences the final taste of your dish!
How should I store leftover Cheesy Garlic Chicken Wraps?
Very! Store your cooled wraps in an airtight container or wrap them individually in foil. They can be stored in the fridge for up to 3 days. For those busy days ahead, you can make a batch, and they stay fresh and ready to eat. Just remember, the sooner you consume them, the better they’ll taste!
Can I freeze these wraps for later use?
Absolutely! For freezing, I recommend preparing the wraps but not toasting them. Wrap each one tightly in plastic wrap or aluminum foil, then place them in a freezer-safe bag or container. They can be stored for up to 2 months. When you’re ready to enjoy them, simply thaw overnight in the fridge, then toast as instructed. This way, you’ll have crispy, delicious wraps on demand!
What if I have allergies or dietary restrictions?
The more the merrier! If you’re catering to different dietary needs, consider using gluten-free tortillas for those with gluten sensitivities. For dairy allergies, you can substitute the cream cheese and mayonnaise with dairy-free alternatives like cashew cream or tahini. If you’re keeping it vegetarian, grilled tofu or sautéed mushrooms make fantastic substitutes for the chicken, ensuring everyone can enjoy this comforting dish.
What if my wraps are soggy after cooking?
Oh no! If your Cheesy Garlic Chicken Wraps turn out soggy, it might be due to one of two things: either excessive filling or overcooking. Make sure not to overfill your wraps, as this can lead to leaks during cooking. If this happens, skip the microwave for reheating. Instead, use a skillet over medium heat for about 3-4 minutes per side to regain that desired crispness. Keeping an eye on the cooking time also helps—every stove cooks differently!
Irresistible Cheesy Garlic Chicken Wraps for Easy Comfort Cooking
Ingredients
Equipment
Method
- In a mixing bowl, combine the cooked shredded chicken, garlic powder, onion powder, salt, and pepper. Stir in the mozzarella, cheddar, cream cheese, mayonnaise, and chopped parsley until well mixed and creamy.
- Lay the large flour tortillas flat on a clean surface. Spoon a generous amount of the creamy chicken filling into the center of each tortilla. Add any optional vegetables you desire, then fold in the sides and roll tightly.
- Melt butter in a small bowl and mix in the minced garlic. Coat the outside of each wrap with the garlic butter mixture.
- Preheat a skillet over medium heat. Place the wraps seam-side down in the skillet, and toast for 2-3 minutes until golden brown. Flip and cook for an additional 2-3 minutes.
- Remove the toasted wraps from the skillet and slice each one in half. Serve warm with your favorite dipping sauces.
Leave a Reply