
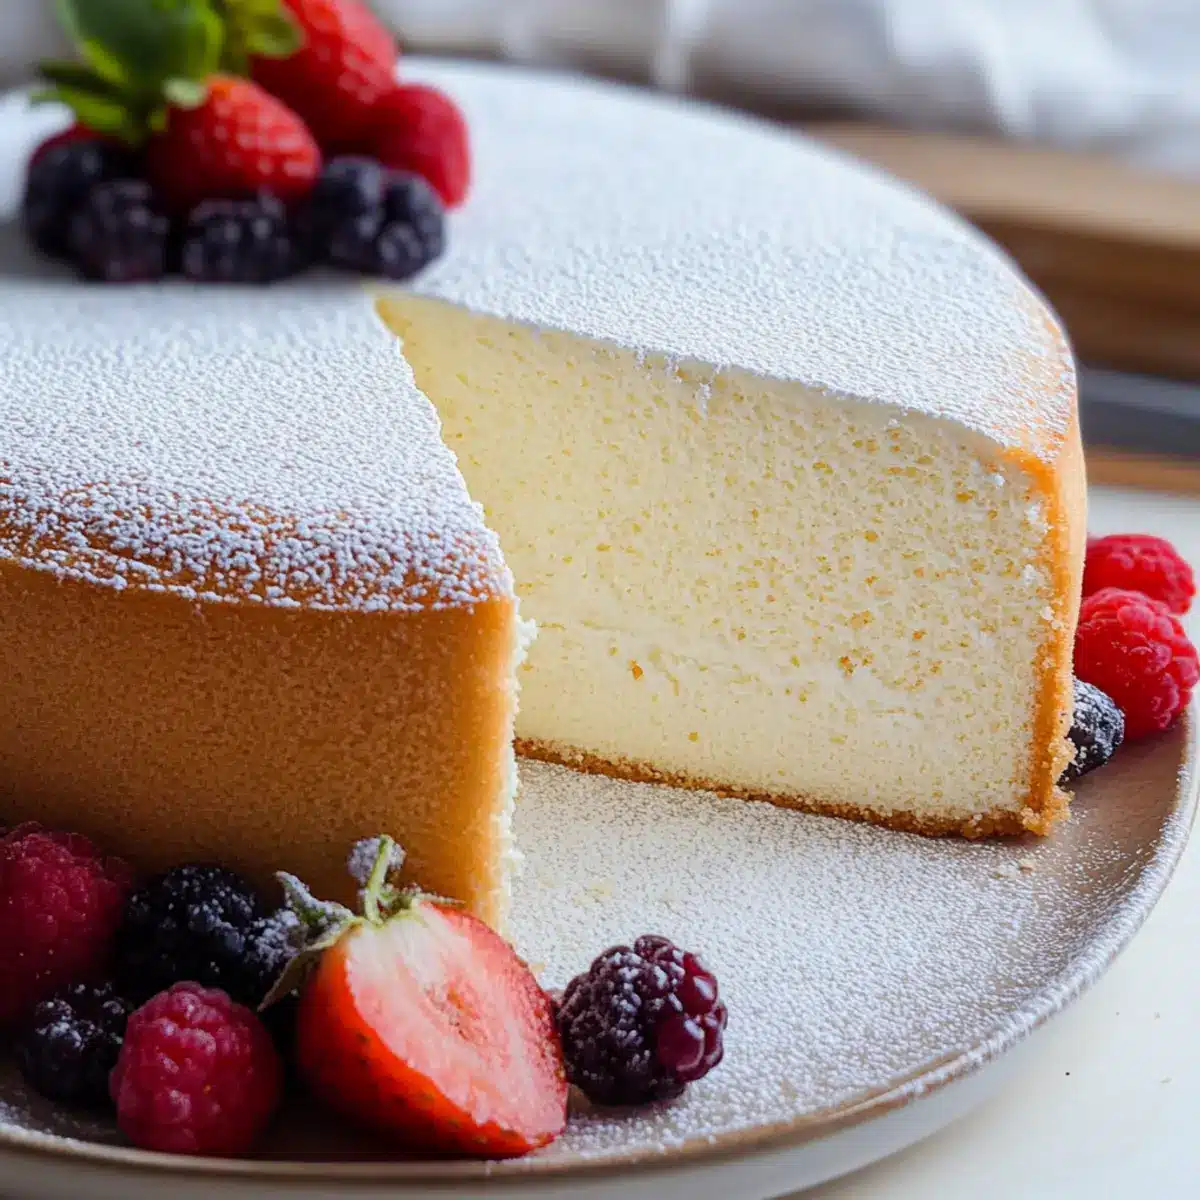
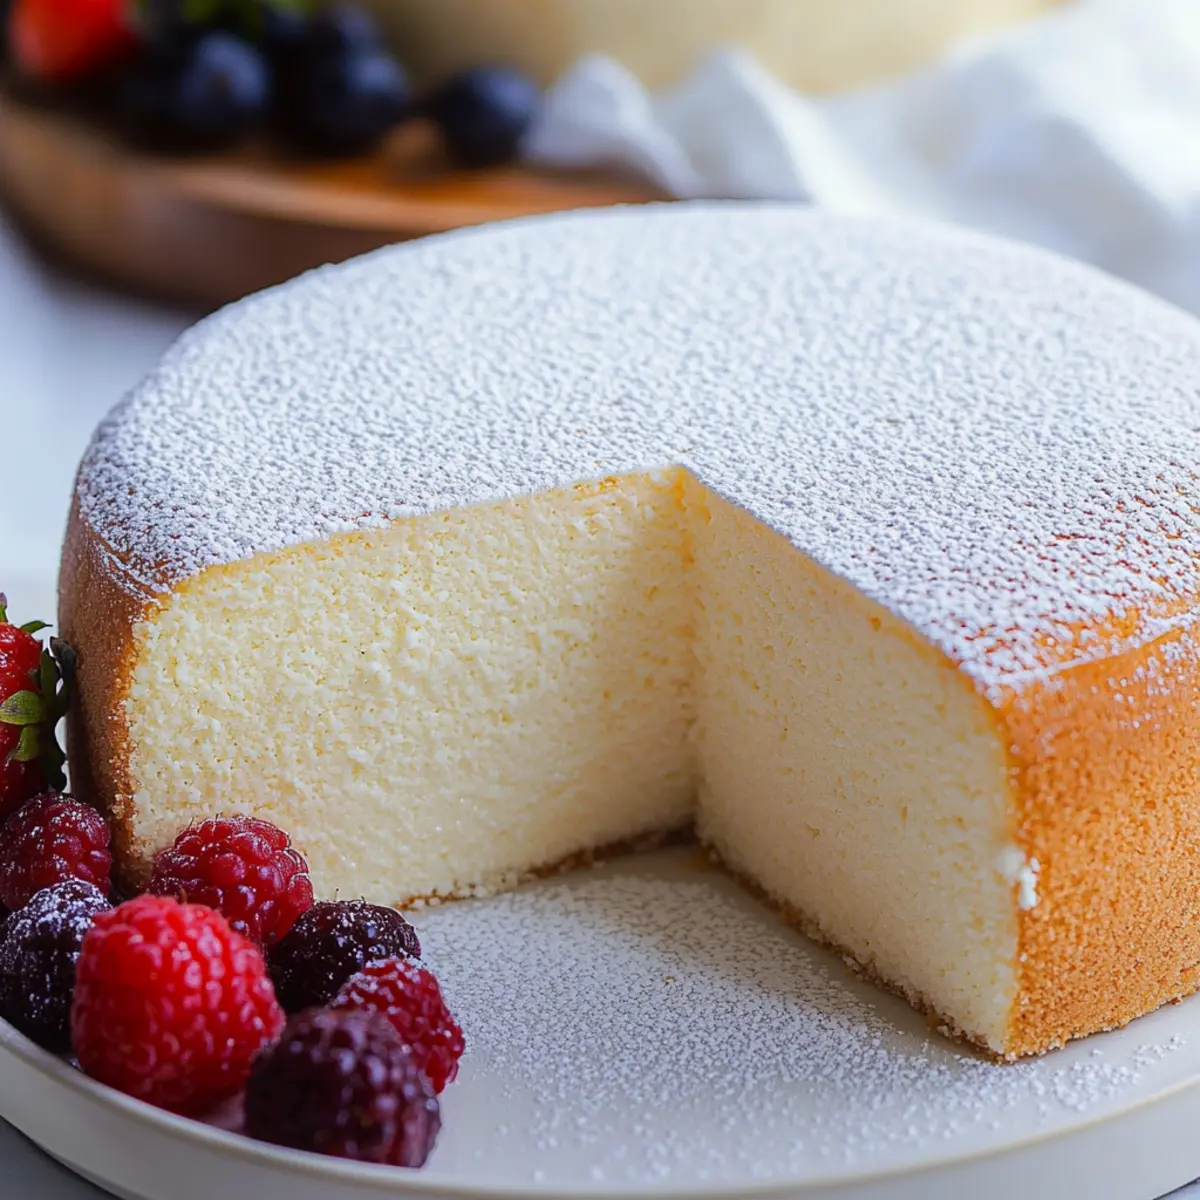
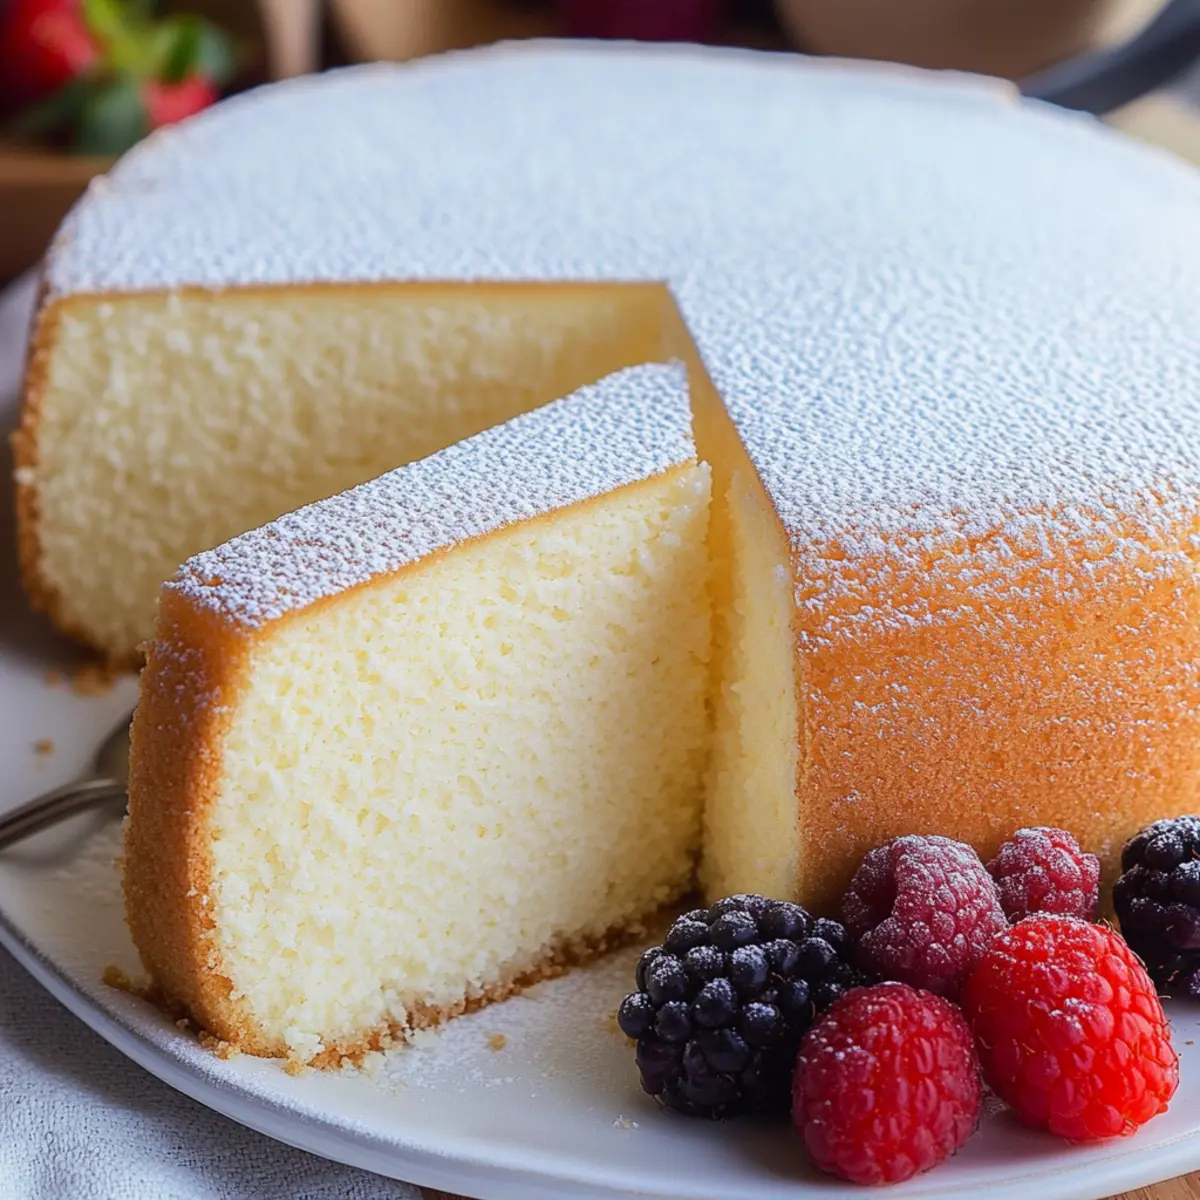
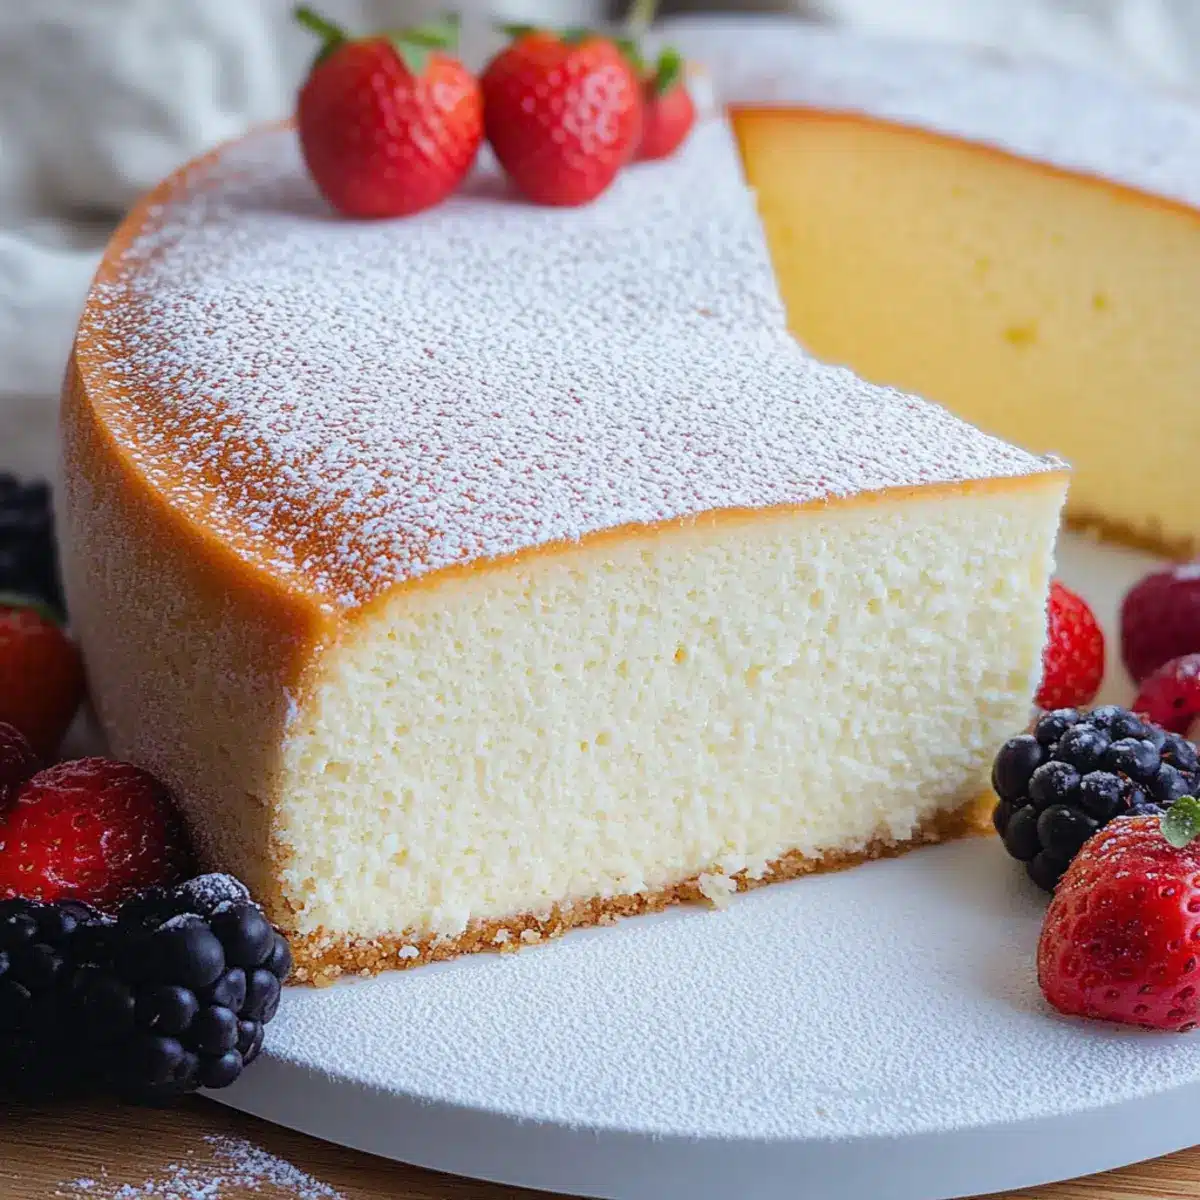
As I wandered through a bustling Tokyo market, the scent of sweet delights wafted through the air, leading me directly to a small stall. There it was, the iconic Japanese Cheesecake, known for its jiggly, cotton-like texture that beckoned like a fluffy pillow for your taste buds. This delightful dessert, with its light, airy nature and a whisper of tang from lemon zest, offers a wonderful alternative to the heavier cheesecakes many of us are used to. Not only is this light and fluffy Japanese cotton cheesecake a showstopper for gatherings, but it also requires minimal sugar, making it a guilt-free indulgence. Embrace the art of dessert-making with my detailed recipe and expert tips that will guide you step by step. Curious to dive into the blissful world of soufflé cheesecakes? Let’s get started!
Why is Japanese Cheesecake so special?
Irresistible Texture: The unique jiggly consistency is unlike any other dessert, offering a delightful experience that melts in your mouth.
Less Sugar, More Flavor: Enjoy the mildly sweet taste paired with a refreshing hint of lemon zest—perfect for those who seek a lighter treat.
Elevated Presentation: Its fluffy appearance makes it an eye-catching centerpiece for any gathering, sure to impress all your guests.
Easy to Make: With straightforward steps, this recipe is perfect for both novice and seasoned bakers alike. If you love indulgent desserts without the heft, this Light and Fluffy Japanese Cotton Cheesecake might remind you of other favorites like Vanilla Bean Cheesecake or Cheesecake Pumpkin Swirl.
Versatile Toppings: Customize your cheesecake with your choice of toppings, such as fresh fruits or a drizzle of apricot jam, to elevate your dessert experience.
Japanese Cheesecake Ingredients
For the Batter
• Eggs (6 large, separated) – Essential for aeration; the meringue makes the cheesecake light and fluffy.
• Cream Cheese (8 ounces, softened) – The core ingredient that provides the creamy, rich flavor; full-fat is recommended.
• Heavy Cream (¼ cup) or Milk – Adds moisture; heavy cream gives richness, while milk can lighten the texture.
• Unsalted Butter (4 tablespoons, cut into smaller pieces) – Adds a lovely richness; ensure it’s softened for easier mixing.
• Cake Flour (½ cup, fluffed, spooned, and leveled) – Key for achieving a tender crumb; substitute with all-purpose flour if needed.
• Lemon Zest (1 tablespoon, from about 1 lemon) – Adds a refreshing brightness; optional but enhances the flavor profile.
• Vanilla Extract (1½ teaspoons) – Offers a subtle aromatic flavor; can be omitted if desired.
• Granulated Sugar (⅓ cup) – Vital for stabilizing the meringue and providing just the right amount of sweetness.
• Lemon Juice (2 teaspoons, about ⅓ of a lemon) – Helps stabilize egg whites and brightens the overall flavor.
Optional Toppings
• Powdered Sugar for Dusting – Adds a delicate sweetness on top.
• Apricot Jam for Glazing – Enhances flavor and offers a beautiful sheen.
• Berries or Sweetened Whipped Cream – Perfect for serving alongside your Japanese cheesecake!
Indulge in the delightful process of creating this Japanese Cheesecake that will leave you and your loved ones craving for more!
Step‑by‑Step Instructions for Japanese Cheesecake
Step 1: Preheat and Prepare
Begin by preheating your oven to 300°F (150°C). Prepare an 8-inch round cake pan by lining the bottom with parchment paper and spraying the sides with non-stick spray. Additionally, place a 9×9-inch baking pan filled with hot water on the oven’s lower rack to create a water bath, which helps to bake the Japanese cheesecake evenly and prevent cracks.
Step 2: Create the Base Batter
In a heatproof bowl, combine 8 ounces of softened cream cheese, 4 tablespoons of softened unsalted butter, and ¼ cup of heavy cream. Set this bowl over a pot of simmering water (double boiler method) and stir the mixture until smooth and homogenous. Once melted, remove it from heat, mix in 6 egg yolks, and then sift in ½ cup of cake flour. Whisk until fully incorporated, followed by adding 1 tablespoon of lemon zest and 1½ teaspoons of vanilla extract.
Step 3: Prepare the Meringue
In a clean mixing bowl, begin to whip 6 large egg whites and 2 teaspoons of lemon juice using an electric mixer on medium speed until frothy. Gradually incorporate ⅓ cup of granulated sugar in three additions, beating the mixture until it reaches medium-soft peaks—this will give the Japanese cheesecake its airy structure. Watch for glossy peaks that gently hold their shape.
Step 4: Fold Meringue into Batter
Gently add one-third of the meringue into your cheese batter and fold using a spatula, taking care not to deflate the meringue. Once incorporated, add another third, continuing the folding motion until just combined. Repeat this process with the remaining meringue, ensuring you maintain a light and fluffy texture characteristic of Japanese cheesecake.
Step 5: Bake the Cheesecake
Pour the combined batter into the prepared cake pan, tapping gently to release any air bubbles. Carefully place the pan into the preheated oven, in the water bath, and bake for 80 to 90 minutes. The cheesecake should rise slightly, turning golden brown on top, while the center remains jiggly yet set when finished.
Step 6: Cool the Cheesecake
Once baked, gently remove the cheesecake from the oven and the water bath. Allow it to cool in the pan for about 10 minutes before rotating the cheesecake to prevent sinking. Carefully run a knife around the edges, then remove the cake from the pan and let it cool completely on a wire rack.
Step 7: Serve Your Cheesecake
Once cooled, slice your delightful Japanese cheesecake into wedges. It can be served warm for that comforting experience or chilled for a denser texture. Consider dusting the top with powdered sugar or glazing with apricot jam for extra flair. Enjoy the light and fluffy nature of your homemade dessert!
Make Ahead Options
These Light and Fluffy Japanese Cheesecake are perfect for busy home cooks looking to save time! You can prepare the cheesecake batter up to 24 hours in advance by mixing the cream cheese, yolks, and flour, then cover it tightly in the refrigerator. The meringue can also be whipped up and stored in an airtight container for up to 3 days before gently folding it into the batter when you’re ready to bake. This way, everything is ready to go; just pour the combined ingredients into your prepared pan, bake, and enjoy your delightful dessert with minimal effort. With these make-ahead tips, you’ll have a delicious cheesecake that’s just as fluffy and light as when made fresh!
How to Store and Freeze Japanese Cheesecake
Fridge: Store leftovers in an airtight container in the fridge for up to 3-4 days. Ensure it’s covered to maintain its light texture and prevent drying out.
Freezer: Freeze the cheesecake for up to 2 months by slicing it into portions, wrapping each tightly in plastic wrap, followed by aluminum foil to prevent freezer burn.
Thawing: To enjoy after freezing, transfer your wrapped slices to the fridge to thaw overnight. This preserves the airy quality and flavor of your Japanese cheesecake.
Reheating: If desired, gently warm individual slices in the microwave for 10-15 seconds to regain some of its original softness without losing its fluffy essence.
Japanese Cheesecake Variations & Substitutions
Feel free to unleash your creativity and customize this delightful cheesecake to your taste!
- Lighter Version: Substitute heavy cream with full-fat milk to make it even lighter while still retaining moisture.
- Flavor Alteration: Omit the lemon zest and juice for a neutral flavor base or swap in orange zest for a refreshing twist. Imagine a citrusy delight that dances on your palate!
- Gluten-Free: Use a mix of gluten-free flour and cornstarch to mimic cake flour for a gluten-free version without compromising texture.
- Sweetness Control: Reduce the sugar to ¼ cup for a less sweet cheesecake that lets the flavors shine through, especially if you’re topping it with sweet fruits.
- Rich Creaminess: For an ultra-rich dessert, add an extra egg yolk or two to the batter. It creates a velvety mouthfeel reminiscent of lovely desserts like Vanilla Bean Cheesecake.
- Chocolate Lovers: Incorporate some melted chocolate into the batter for a decadent chocolate version, swirling it in for a marbled effect.
- Herb Infusion: Add a hint of fresh herbs like basil or mint to the cream cheese blend for a unique flavor twist that complements the sweetness beautifully.
- Spiced Delight: Mix in ground cinnamon or nutmeg to the batter for a warm, comforting flavor profile that’s perfect for fall gatherings or holiday sips!
No matter how you choose to customize, let each slice be a journey of flavors, bringing joy to your table and heart!
Expert Tips for Japanese Cheesecake
- Room Temperature Ingredients: Ensure eggs and cream cheese are at room temperature for smooth mixing. This helps achieve the airy texture that makes Japanese cheesecake so unique.
- Use a Water Bath: Always bake your cheesecake in a water bath. This technique keeps the temperature even and prevents cracks on the surface. Wrap your pan with foil to avoid water seepage.
- Be Gentle with Meringue: When folding the meringue into the batter, use a gentle hand to maintain its volume. Overmixing will deflate the meringue, compromising the light, fluffy texture of the Japanese cheesecake.
- Watch Your Oven Temperature: Every oven is different, so consider using an oven thermometer to ensure your cheesecake bakes at the right temperature. Too hot can lead to a burnt top while undercooking leads to a soggy center.
- Cool Completely Before Slicing: Let the cheesecake cool fully on a wire rack before slicing. This ensures a smooth, clean cut and that the texture is just right.
- Experiment with Flavors: Feel free to customize your Japanese cheesecake with different extracts or citrus zests. However, keep the sugar content minimal to retain that light, fluffy quality.
What to Serve with Light and Fluffy Japanese Cotton Cheesecake
Pairing your delightful dessert with complementary flavors and textures can enhance the experience and delight everyone at your table.
-
Fresh Berries: Juicy strawberries or blueberries provide a refreshing burst of flavor that perfectly contrasts the creaminess of the cheesecake. Brighten your plate with their vibrant colors for a visually appealing presentation.
-
Sweetened Whipped Cream: A dollop of lightly sweetened whipped cream adds a luscious texture that complements the cheesecake’s lightness. It’s like wrapping your mouth in clouds!
-
Green Tea: The earthy notes of matcha or traditional green tea create a soothing balance to the sweetness of the cheesecake, making each bite a harmonious delight.
-
Apricot Jam Glaze: A gentle layer of apricot jam not only enhances the cheesecake’s visual appeal but also adds a sweet and fruity glaze that ties together the flavors beautifully.
-
Chocolate Drizzle: For those who enjoy a hint of decadence, a rich chocolate drizzle can elevate your cheesecake beautifully while adding a touch of indulgence.
-
Toasted Almonds: Crunchy, toasted almonds provide a delightful contrast in texture, with their nutty flavor enhancing the overall experience of this Japanese cheesecake.
-
Coconut Sorbet: A scoop of refreshing coconut sorbet offers a cool, tropical note that complements the cheesecake’s softness, making for a refreshing palate cleanser.
-
Mango Purée: The silky smoothness and natural sweetness of mango purée create a lovely tropical fusion with the cheesecake—it’s like a vacation on your plate!
-
Sparkling White Wine: A glass of chilled sparkling white wine or Prosecco adds a celebratory touch and cuts through the richness of the cheesecake, bringing balance to the dessert.
Japanese Cheesecake Recipe FAQs
What should I look for in ripe eggs?
Absolutely! Fresh eggs are ideal for making Japanese cheesecake, as they provide the best volume for meringue. Look for eggs that have a clean, uncracked shell and are within their expiration date. The fresher the eggs, the better your meringue will whip up!
How should I store leftover Japanese cheesecake?
I recommend storing leftovers in an airtight container in the refrigerator for up to 3-4 days. This will help maintain its light, fluffy texture. Make sure to cover it well, as exposure to air can dry it out, and you want all that deliciousness to last!
Can I freeze Japanese cheesecake?
Certainly! To freeze your Japanese cheesecake, slice it into individual portions and wrap each slice tightly in plastic wrap, followed by aluminum foil to prevent freezer burn. It can be frozen for up to 2 months. When you’re ready to enjoy it, simply thaw overnight in the fridge for the best results.
What if my meringue doesn’t reach soft peaks?
Very important! If your meringue doesn’t reach medium-soft peaks, it may be due to the egg whites being too cold, or there might be fat residue in the bowl from previous mixing. Ensure your mixing bowl and beaters are completely clean, and use room-temperature egg whites. Start mixing slowly, then increase the speed as you add sugar in gradual increments until the peaks form.
Can I make this recipe gluten-free?
Definitely! To make a gluten-free Japanese cheesecake, substitute the cake flour with a gluten-free all-purpose flour blend. Be sure to check that the blend contains xanthan gum, which mimics the texture of cake flour. You can also mix in a little cornstarch to help achieve that fluffy texture!
Is there a way to add different flavors?
Of course! You can easily customize the flavor of your Japanese cheesecake. Consider adding orange zest instead of lemon, or even a splash of almond extract for a nutty touch. Just keep the sugar content low to preserve that beautifully airy texture.
Fluffy Japanese Cheesecake That's a Slice of Heaven
Ingredients
Equipment
Method
- Preheat your oven to 300°F (150°C) and prepare an 8-inch round cake pan.
- Combine cream cheese, unsalted butter, and heavy cream in a heatproof bowl over simmering water until smooth.
- In a clean bowl, whip egg whites and lemon juice until frothy, then gradually add sugar until medium-soft peaks form.
- Fold meringue into the cheese batter gently until just combined.
- Pour the batter into the pan and bake in a water bath for 80 to 90 minutes.
- Cool the cheesecake in the pan for about 10 minutes before removing it.
- Slice and serve warm or chilled, optionally dusted or glazed.
Leave a Reply