
As I stood in my kitchen, the scent of summer filled the air, whispering promises of sweet memories yet to be savored. This is where my No-Bake Strawberry Banana Pudding Dream comes to life—a dessert that’s more than just a treat; it’s a delightful escape from the chaos of everyday meals. With just 20 minutes of prep time, this recipe offers the ultimate convenience, perfect for those moments when you crave a homemade dessert without the fuss. Layered with fresh strawberries and bananas, each spoonful brings a refreshing twist that’s both comforting and indulgent. Plus, the no-bake aspect means you won’t be tied to the oven, freeing you up to enjoy more time with loved ones. What special occasions could use a burst of fruity flavor? Let’s dive into this dreamy creation together!
Why is this pudding a must-try?
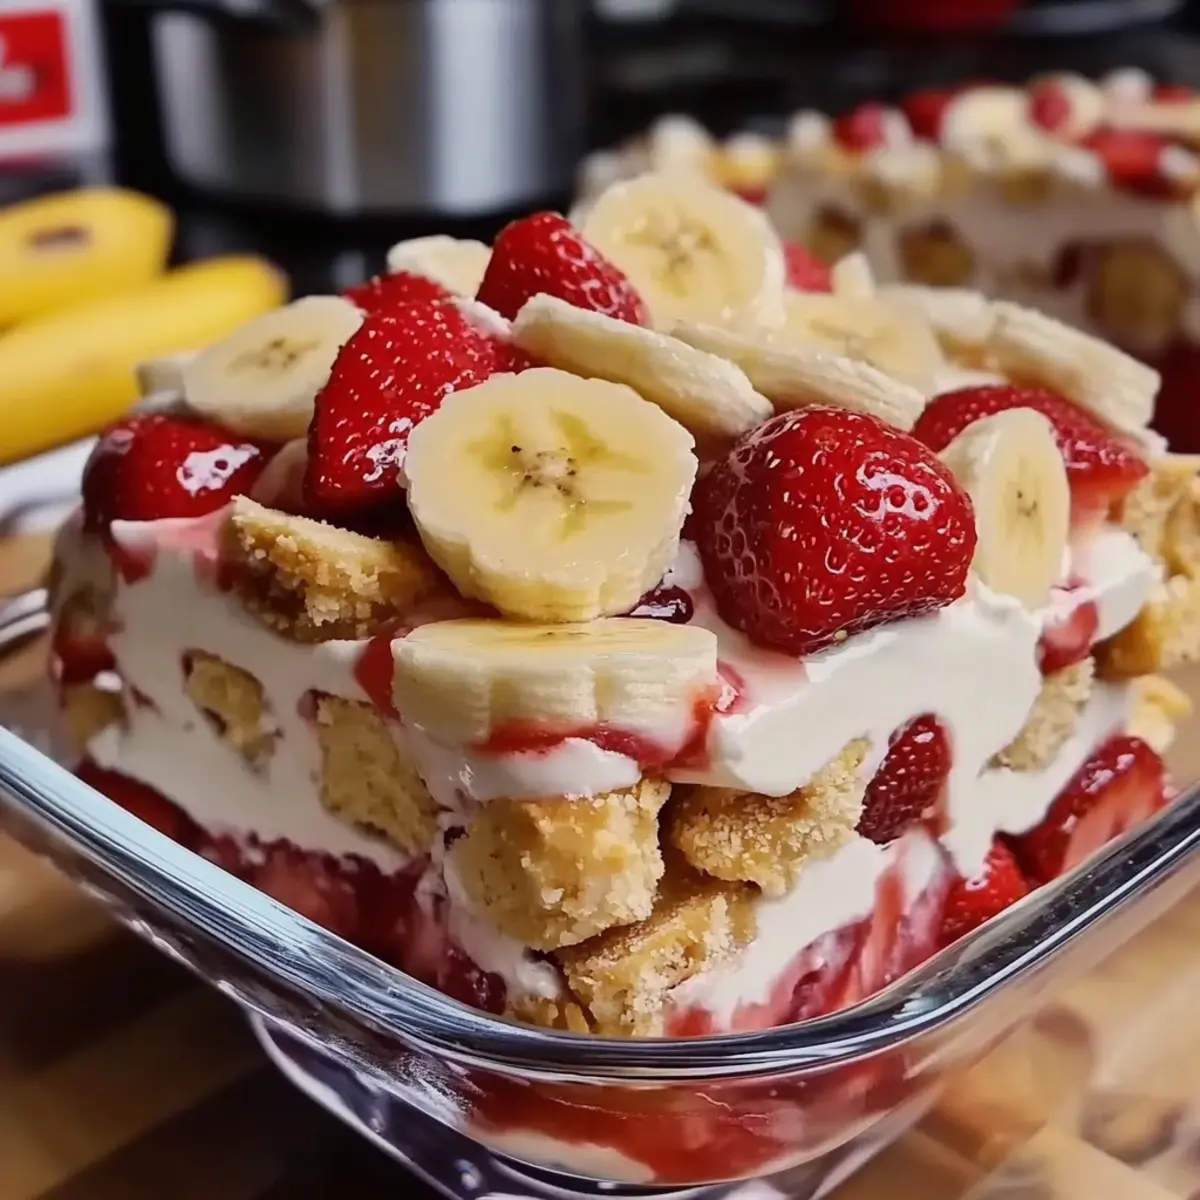
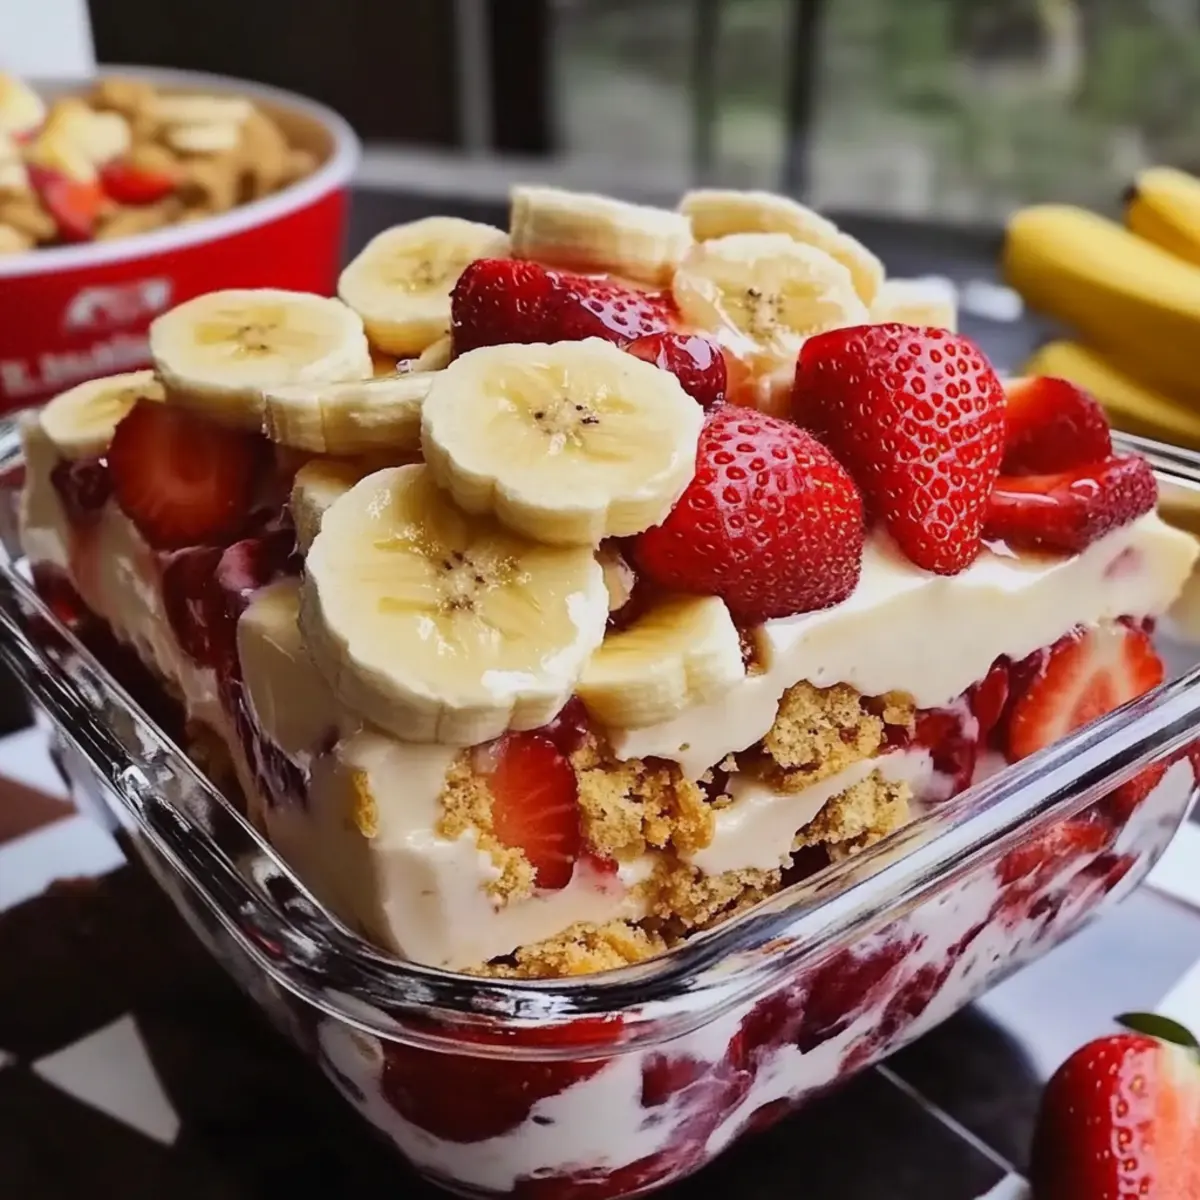
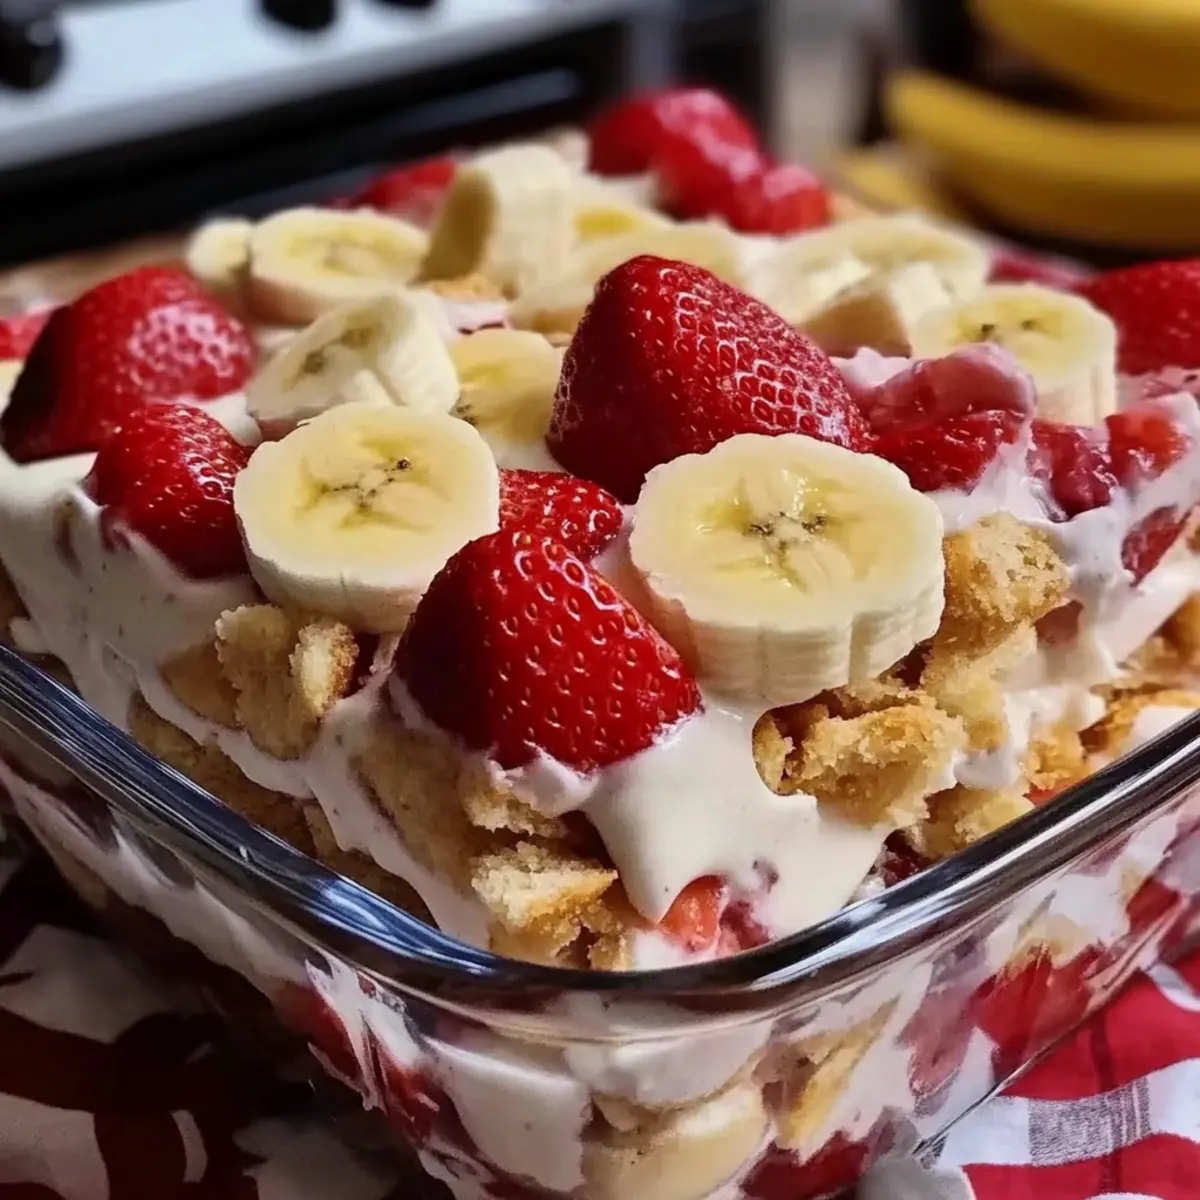
Irresistible Layers: The No-Bake Strawberry Banana Pudding Dream showcases deliciously stacked layers of fresh fruit, creamy pudding, and crunchy wafers that create a delightful bite every time.
Quick and Easy: With only 20 minutes of prep, you can whip up a stunning dessert that leaves you plenty of time to relax.
Versatile Delight: This recipe is a canvas for your creativity; feel free to switch up the fruits or add chocolate layers for a personal touch!
Perfect for Gatherings: Whether it’s a family BBQ or a cozy get-together, this crowd-pleaser is bound to steal the show and satisfy everyone’s sweet tooth.
Diet-Friendly Options: Plus, the recipe can easily cater to dietary needs with its gluten-free and vegetarian friendly components, making it inclusive for all your guests.
And if you’re looking for more tasty ideas, you might also enjoy these Fried Strawberry Cheesecake treats or explore the comforting flavors of Chris Corn Pudding.
Strawberry Banana Pudding Dream Ingredients
For the Creamy Base
- Cream Cheese – Provides a rich, creamy base for the pudding; substitute with Greek yogurt or dairy-free cream cheese for lighter options.
- Sweetened Condensed Milk – Adds sweetness and creaminess; no direct substitutes recommended as it contributes to the unique flavor profile.
- French Vanilla Pudding Mix – Creates the pudding texture; ensure it’s combined well to avoid lumps.
- Milk – Helps to blend the pudding mix; can use any kind of milk (dairy or non-dairy).
For the Layers
- Vanilla Wafers – Offers structure and crunch; for gluten-free versions, use gluten-free wafers.
- Bananas – Adds freshness and sweetness; choose ripe bananas for the best flavor.
- Strawberries – Provides a juicy flavor; fresh is preferred, but can substitute with thawed frozen strawberries.
For the Topping
- Whipped Topping – Lightens the final layer, adding fluffiness; optional to substitute with homemade whipped cream.
This delectable Strawberry Banana Pudding Dream will bring sunshine to your table with its vivid flavors and textures!
Step‑by‑Step Instructions for Strawberry Banana Pudding Dream
Step 1: Mix the Creamy Base
In a medium mixing bowl, beat together softened cream cheese and sweetened condensed milk until the mixture is smooth and lump-free, which should take about 2-3 minutes. Using a hand mixer or a whisk will help achieve the desired texture. This creamy base will set the stage for your luscious Strawberry Banana Pudding Dream, adding richness to each layer.
Step 2: Prepare the Pudding
Gradually add the French vanilla pudding mix and milk to the creamy base in the mixing bowl. Blend everything until completely combined and no lumps remain, which should take around 2 minutes. The mixture will begin to thicken and take on a pudding-like consistency. This is crucial for creating those delectable layers in your pudding dream!
Step 3: Create the First Layer
In a large trifle dish or glass bowl, begin layering by placing a generous layer of vanilla wafers at the bottom. Arrange sliced bananas and fresh strawberries on top of the wafers, ensuring an even distribution. These vibrant fruits will add fresh flavors and color to your Strawberry Banana Pudding Dream, and you’ll want to aim for an appealing presentation.
Step 4: Add the Pudding Mixture
Evenly pour half of the prepared pudding mixture over the first fruit and wafer layer, using a spatula to spread it gently. Make sure the pudding fully covers the fruits and wafers, allowing them to be enveloped in creamy goodness. This step showcases the rich flavors of the pudding, creating a delightful backdrop for the fruit.
Step 5: Repeat the Layers
Now, repeat the layering process by adding another round of vanilla wafers, sliced bananas, and strawberries on top of the pudding. Press down gently to hold the layers in place, then pour the remaining pudding mixture over this second layer. This not only builds height but also enriches the flavor, making each spoonful of your Strawberry Banana Pudding Dream even more delightful.
Step 6: Finish with Whipped Topping
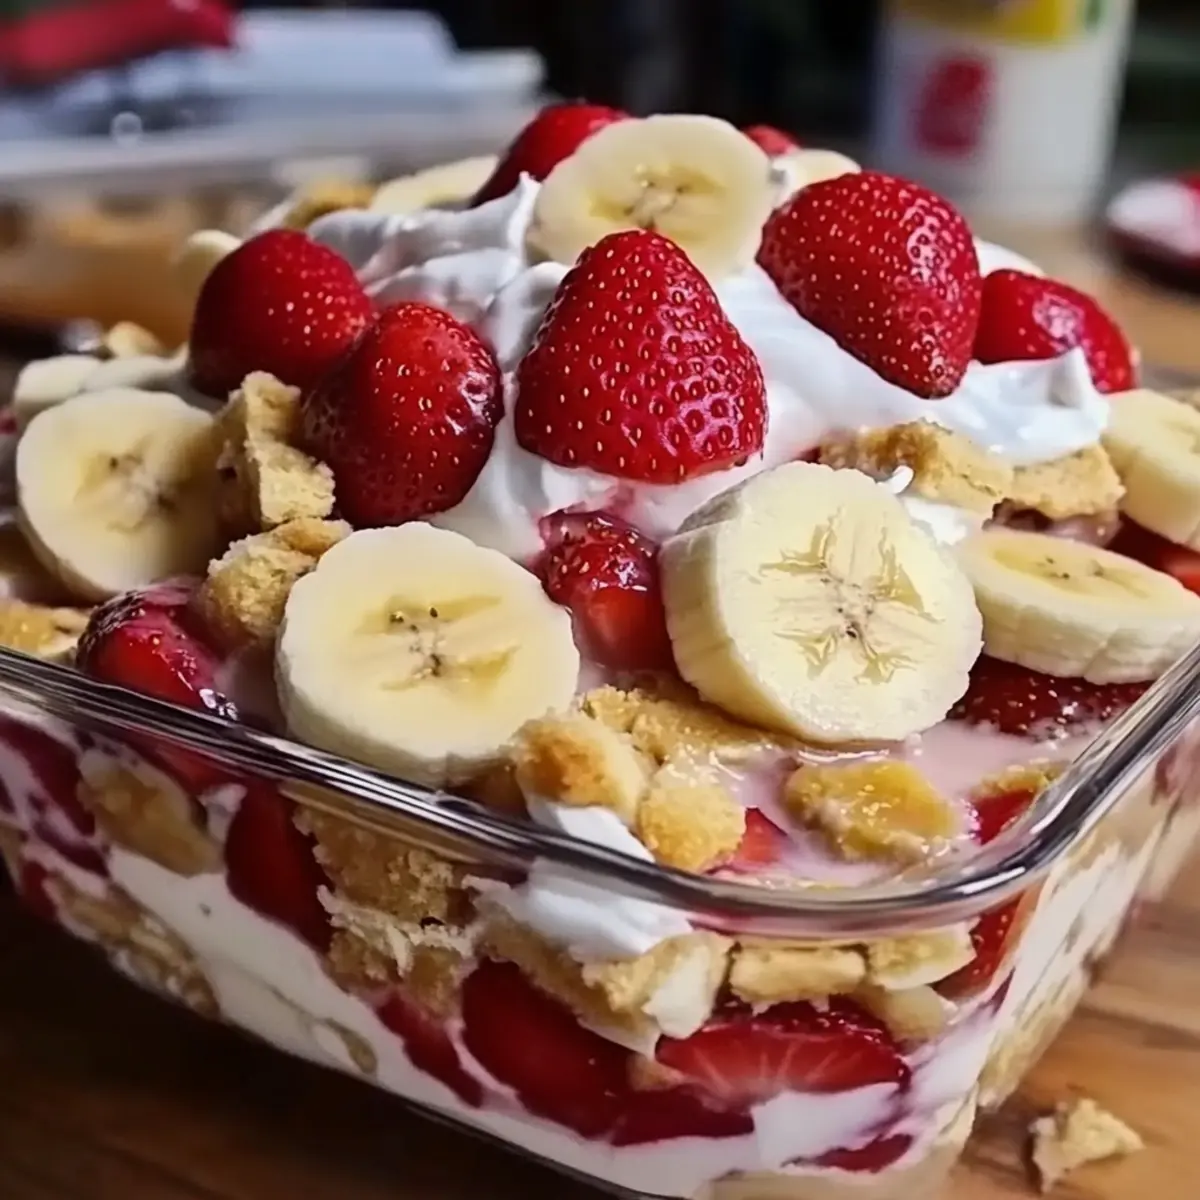
To add a light and fluffy finish, spread a layer of whipped topping evenly on the top of your pudding. This final touch creates a beautiful and inviting surface, completing your delicious dessert. Use a spatula for even coverage, enticing everyone for a spoonful of this refreshing Strawberry Banana Pudding Dream.
Step 7: Chill and Serve
Cover your dessert with plastic wrap and refrigerate for at least 4 hours, or overnight for best results. This chilling period allows the flavors to meld together and enhances the overall taste. When ready to serve, scoop out portions and relish the textural contrast and fresh flavors of the Strawberry Banana Pudding Dream!
Make Ahead Options
These No-Bake Strawberry Banana Pudding Dreams are a fantastic choice for meal prep, saving you valuable time during busy weeks! You can prepare the creamy base (cream cheese, sweetened condensed milk, pudding mix, and milk) up to 24 hours in advance; simply store it in an airtight container in the refrigerator to maintain its freshness. Additionally, you can slice your bananas and strawberries a few hours ahead of time—just be sure to refrigerate them in a covered bowl to prevent browning. When you’re ready to serve, layer the vanilla wafers, the prepped fruit, and the pudding mixture as instructed, topping with whipped cream right before serving for a delightful, fresh presentation. Don’t worry; your No-Bake Strawberry Banana Pudding Dream will be just as delicious when made ahead!
Expert Tips for Strawberry Banana Pudding Dream
- Softened Cream Cheese: Ensure your cream cheese is at room temperature for easier mixing; this prevents lumps and creates a smooth base.
- Chill Long Enough: Refrigerate for at least 4 hours, but overnight is best to let flavors develop in your Strawberry Banana Pudding Dream.
- Fresh Bananas: Opt for ripe, but not overly ripe bananas to keep them from becoming mushy in the pudding layers.
- Layering Technique: Be sure to evenly distribute fruit and wafers; this ensures every bite is a harmonious blend of flavors and textures.
- Storage Solutions: Keep the pudding covered in the refrigerator to maintain its freshness; it lasts about three days without losing quality.
Strawberry Banana Pudding Dream Variations
Feel free to customize your dessert adventure with these delightful twists that cater to your taste buds!
- Berry Medley: Use a mix of fresh berries like blueberries, raspberries, and blackberries to create a vibrant, colorful dessert.
- Chocolate Layer: For a decadent touch, add a layer of chocolate pudding or sprinkle crushed chocolate cookies between the fruit layers.
- Mango Magic: Swap bananas and strawberries for ripe peaches or mangoes for a tropical explosion of flavor.
- Dairy-Free Delight: Replace cream cheese with dairy-free cream cheese and substitute the whipped topping for coconut whipped cream to make it vegan-friendly.
- Nutty Crunch: Fold in chopped nuts such as pecans or walnuts for a satisfying crunch that complements the creamy layers.
- Maple Infusion: Drizzle maple syrup between layers or in the pudding mix for a warm, inviting sweetness that pairs wonderfully with fruit.
- Coconut Bliss: Add shredded coconut into the pudding mix for a blissful tropical taste that will transport you to a sun-kissed beach.
- Spicy Twist: Incorporate a pinch of cinnamon or nutmeg into the pudding mix for a subtle warmth that elevates your fruit flavors.
With these creative variations, your No-Bake Strawberry Banana Pudding Dream will be a new adventure every time you make it. And when you’re in the mood for more delightful treats, don’t miss out on these Fried Strawberry Cheesecake or the comforting Chris Corn Pudding! Enjoy exploring the endless possibilities!
How to Store and Freeze Strawberry Banana Pudding Dream
Fridge: Keep your Strawberry Banana Pudding Dream covered tightly in the refrigerator for up to 3 days to maintain its freshness and creamy texture.
Freezer: For longer storage, you can freeze the pudding without the whipped topping. It stays good for up to 2 months. Thaw in the fridge before serving.
Reheating: This dessert is best enjoyed chilled, so there’s no need to reheat. Simply scoop out your desired portion and enjoy the refreshing layers.
Airtight Container: To preserve flavor and texture, always store in an airtight container, ensuring that the layers remain intact and the pudding stays luscious.
What to Serve with Strawberry Banana Pudding Dream
Enhance your dessert experience with delightful pairings that complement the refreshing Strawberry Banana Pudding Dream perfectly.
-
Creamy Mashed Potatoes: The smooth, buttery texture of mashed potatoes adds a comforting touch, balancing the lightness of the pudding.
-
Grilled Chicken Skewers: These savory skewers bring a smoky flavor that pairs beautifully with the sweet pudding, creating a harmonious contrast.
-
Fresh Garden Salad: A crisp salad with seasonal vegetables and a light vinaigrette heightens freshness while providing a healthy counterbalance to the creamy dessert.
-
Lemon Sorbet: The zesty chill of lemon sorbet cleanses the palate and enhances the fruity notes of your pudding, making for a refreshing duo.
-
Chocolate Dipped Strawberries: The rich chocolate pairs exquisitely with the fruity layers, elevating your dessert table’s indulgence factor.
-
Iced Herbal Tea: A refreshing glass of iced herbal tea offers a gentle sweetness, perfect for washing down layers of creamy goodness.
Remember, every bite of the No-Bake Strawberry Banana Pudding Dream shines brighter when paired with these tantalizing companions!
Strawberry Banana Pudding Dream Recipe FAQs
What type of bananas should I use for my Strawberry Banana Pudding Dream?
Ripe bananas work best as they bring sweetness and a lovely texture to your dessert. Look for bananas with a few small brown spots, as these are perfectly sweet. However, avoid overly ripe bananas with dark spots all over, since they may turn mushy in the pudding.
How can I store my Strawberry Banana Pudding Dream?
Make sure to keep your Strawberry Banana Pudding Dream covered tightly in the refrigerator for up to 3 days. An airtight container works best to retain its creamy texture and freshness. Just a little care in storage goes a long way in keeping this dreamy dessert delicious!
Can I freeze this dessert for later enjoyment?
Absolutely! You can freeze the Strawberry Banana Pudding Dream, but be sure to leave off the whipped topping before doing so. It can last in the freezer for up to 2 months. When you’re ready to enjoy, simply transfer it to the refrigerator to thaw for several hours or overnight.
What additives can I consider if I have dietary restrictions?
This recipe is versatile! For a gluten-free option, just swap the vanilla wafers with gluten-free alternatives. You can also substitute cream cheese with Greek yogurt or dairy-free cream cheese if you need a lighter option or have dairy concerns. It’s all about creating a version that works perfectly for you!
How can I prevent lumps in my pudding mixture?
To ensure a smooth pudding for your Strawberry Banana Pudding Dream, make sure to whisk the French vanilla pudding mix thoroughly into the cream cheese and milk mixture. Gradually add the pudding mix – this helps to avoid lumps forming. Be persistent and thorough, and you’ll achieve that luscious, creamy texture!
Strawberry Banana Pudding Dream: A No-Bake Summer Delight
Ingredients
Equipment
Method
- In a medium mixing bowl, beat together softened cream cheese and sweetened condensed milk until smooth.
- Gradually add French vanilla pudding mix and milk to the creamy base, blending until combined and thickened.
- Layer vanilla wafers at the bottom of a trifle dish, followed by sliced bananas and strawberries.
- Pour half of the pudding mixture over the fruit and wafers, spreading gently.
- Add another layer of vanilla wafers, bananas, and strawberries, then pour remaining pudding mixture on top.
- Spread whipped topping evenly over the pudding layer to finish.
- Cover with plastic wrap and refrigerate for at least 4 hours before serving.
Leave a Reply