
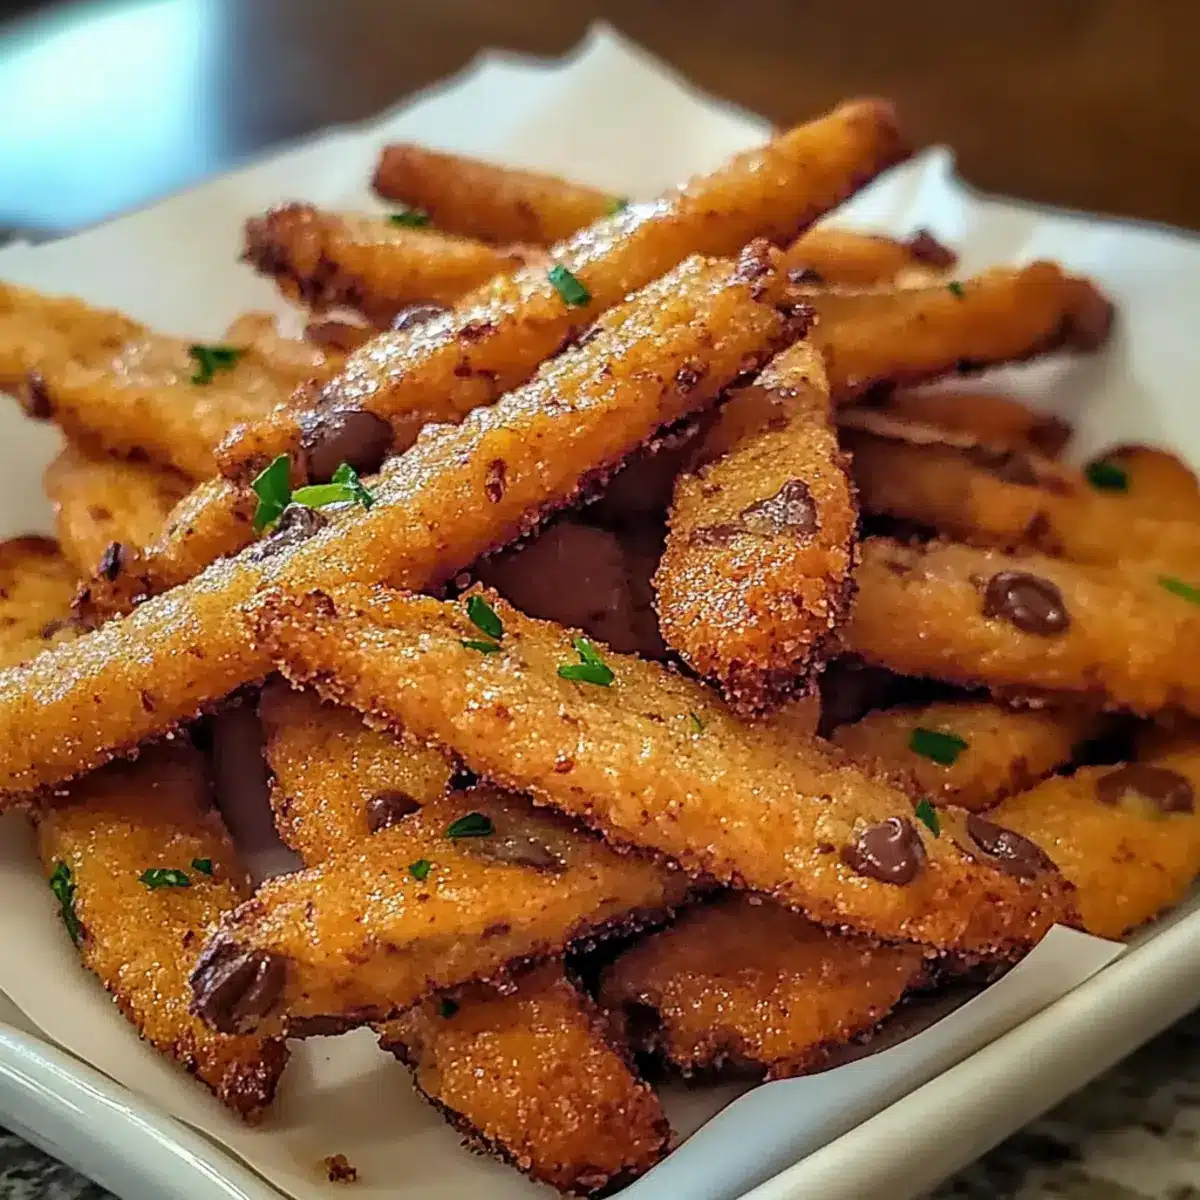
The rich, buttery aroma of chocolate chip cookies wafting through the kitchen evokes nostalgia, doesn’t it? As a lifelong fan of homemade treats, I find joy in creating these classic cookies that seem to possess an irresistible charm. This recipe for Classic Homemade Chocolate Chip Cookies is not just easy and quick to whip up, but it also allows for countless delicious variations—whether you prefer dark, milk, or even white chocolate chips. These soft and chewy delights are perfect for cheering up a rainy day or impressing your friends at gatherings. Plus, they can be stored for later, making them a fantastic make-ahead indulgence! Curious about which twist you might try first? Let’s dive into the details of crafting these delectable cookies together.
Why Are These Cookies So Irresistible?
Nostalgic memories come flooding back with each bite of these classic chocolate chip cookies, reminiscent of warm kitchens filled with delightful scents. Customizable for every taste preference, you can easily incorporate different types of chocolate, nuts, or even oats. Quick and easy to make, these cookies require minimal effort yet deliver maximum flavor—perfect for everyone from busy parents to aspiring chefs. Versatile enough to suit any occasion, whether it’s a cozy family gathering or a casual meet-up with friends. Plus, they keep well, making them a great option to prep ahead—just like my Healthy Baked Chicken for quick meals during the week!
Chocolate Chip Cookie Ingredients
• Here’s everything you need to get started on these delightful cookies!
For the Dough
- All-purpose flour – Provides structure; can substitute with gluten-free flour for a gluten-free option.
- Granulated sugar – Adds sweetness and contributes to cookie spread; use less for a milder taste.
- Brown sugar – Enhances moisture and adds a caramel flavor; if you’re out, you can swap with more granulated sugar, though the flavor will differ.
- Unsalted butter – Gives richness and flavor; use salted butter as an alternative, reducing added salt if needed.
- Eggs – Binds ingredients; consider a flax egg for a vegan alternative.
- Vanilla extract – Adds depth; almond extract works well for a different twist.
- Baking soda – Essential for leavening; don’t skip this ingredient!
- Salt – Enhances flavors; can omit if using salted butter.
For the Chocolate
- Semi-sweet chocolate chips – The main flavor component and heart of these cookies; switch to dark or milk chocolate chips for variation, or even add white chocolate for a sweeter bite.
Unleash your baking creativity and satisfy your snack cravings with these classic chocolate chip cookies that embody the essence of homemade goodness!
Step‑by‑Step Instructions for Classic Homemade Chocolate Chip Cookies
Step 1: Preheat the Oven
Begin by preheating your oven to 350°F (175°C). This temperature is essential for getting that perfect golden-brown finish. While the oven heats up, gather your baking sheets and line them with parchment paper to ensure your cookies bake evenly and don’t stick.
Step 2: Cream the Butters and Sugars
In a large mixing bowl, combine softened unsalted butter, granulated sugar, and brown sugar. Use a hand mixer or stand mixer on medium speed to cream the ingredients together until the mixture is light and fluffy, about 2-3 minutes. This step is key to achieving a soft and chewy texture in your chocolate chip cookies.
Step 3: Add Egg and Vanilla
Next, crack in one egg and pour in the vanilla extract. Beat the mixture on low speed until fully incorporated and smooth, about 1 minute. You should see a glossy texture; this is an indication that your batter is coming together beautifully.
Step 4: Mix Dry Ingredients
In a separate bowl, whisk together the all-purpose flour, baking soda, and salt. This helps to evenly distribute the baking soda while preventing clumping. Gradually add this dry mixture into your wet ingredients, mixing on low speed just until combined—avoid overmixing for tender cookies.
Step 5: Fold in Chocolate Chips
Once your dough is nearly mixed, gently fold in semi-sweet chocolate chips using a spatula, creating a delightful chocolate-filled dough. Aim to distribute the chips evenly throughout the mixture, as they are the highlight of your classic homemade chocolate chip cookies.
Step 6: Scoop the Dough
Using a tablespoon or a cookie scoop, portion out the dough onto the prepared baking sheets. Make sure to leave enough space between each scoop to allow for spreading during baking. Aim for uniform sizes to ensure even baking and consistent cookie shapes.
Step 7: Bake the Cookies
Place the baking sheets in the preheated oven and bake the cookies for 10-12 minutes. Keep an eye on them; the edges should turn golden brown while the centers look set but slightly soft. This will ensure they remain chewy in the middle once cooled.
Step 8: Cool on Baking Sheet
After baking, remove the cookies from the oven and let them cool on the baking sheet for about 5 minutes. This short resting time allows them to firm up just enough for safe transfer without falling apart. You’ll enjoy the delightful aroma filling your kitchen!
Step 9: Transfer to Wire Rack
Finally, use a spatula to transfer the cookies to a wire rack and cool completely. This step is crucial for achieving the perfect texture in your cookies, as it allows air to circulate around them. Now, you can bask in the joy of having made classic homemade chocolate chip cookies that are ready to be enjoyed!
Make Ahead Options
These Classic Homemade Chocolate Chip Cookies are perfect for meal prep! You can prepare the dough up to 24 hours in advance by mixing all the ingredients and storing the dough in an airtight container in the refrigerator. This not only saves time on busy baking days but also allows flavors to meld, resulting in even tastier cookies. Alternatively, scoop the dough into individual portions and freeze them for up to 3 months. When you’re ready to bake, simply place the frozen dough on a baking sheet and add an extra minute or two to the baking time. Enjoy the warm, freshly baked cookies without the hassle—just as delicious as if they were made from scratch that day!
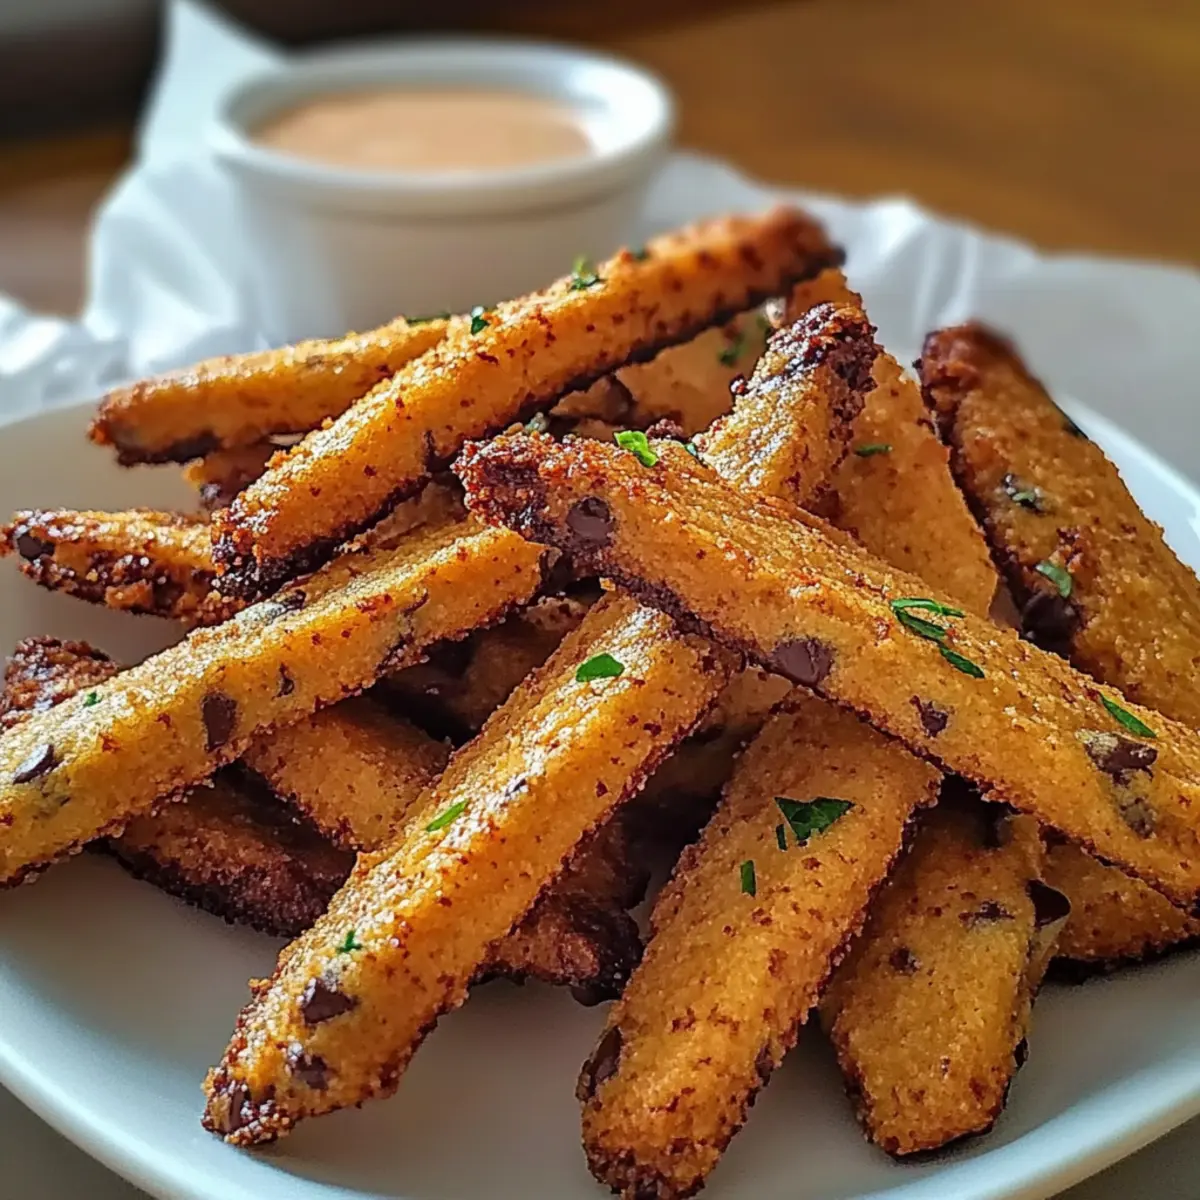
What to Serve with Classic Homemade Chocolate Chip Cookies?
Indulging in warm, gooey chocolate chip cookies is just the beginning of a delightful home-cooked experience. Consider these comforting pairings that elevate your cookie enjoyment!
-
Cold Glass of Milk: Nothing complements chocolate chip cookies like a classic cold glass of milk, enhancing the sweetness and richness of each bite.
-
Rich Vanilla Ice Cream: Serve these cookies warm with a scoop of creamy vanilla ice cream for a delightful dessert. The cold and creamy contrast is absolutely heavenly.
-
Fresh Berries: A handful of fresh raspberries or strawberries adds a bright, tart contrast to the sweet, oat-like flavors of your cookies, balancing the indulgence perfectly.
-
Nutty Granola: For a satisfying crunch, enjoy your cookies with a handful of nutty granola. The textures play well together and make for a perfect snack.
-
Espresso or Coffee: A bold cup of espresso or coffee brings out the chocolate flavor in your cookies while providing a comforting warmth that’s hard to resist.
-
Chocolate Drizzle: For a richer treat, try drizzling melted chocolate over your cookies just before serving. This adds an elegant touch and intensifies the chocolatey flavor.
These delightful pairings will leave your taste buds dancing and create a memorable experience worth sharing!
How to Store and Freeze Chocolate Chip Cookies
Room Temperature: Store your cookies in an airtight container at room temperature for up to 1 week. This keeps them soft and chewy while preventing them from drying out.
Fridge: For longer freshness, you can keep your cookies in the fridge for up to 2 weeks. Be sure to use a sealed container to maintain their flavor and texture.
Freezer: Wrap individual cookies tightly in plastic wrap and place them in a freezer-safe bag. They can be frozen for up to 3 months for a delightful treat anytime!
Reheating: To enjoy warm cookies, pop them in the oven at 350°F (175°C) for 5-10 minutes after thawing. This helps restore their freshly baked quality, making each bite a comforting delight!
Expert Tips for Classic Homemade Chocolate Chip Cookies
-
Room Temperature Butter: Ensure your butter is at room temperature for easy creaming; cold butter hinders proper mixing and texture.
-
Don’t Overmix: Once you add the dry ingredients, mix just until combined. Overmixing can result in tough cookies instead of soft, chewy treats.
-
Watch Baking Time: Check your cookies at the 10-minute mark. They will continue to cook as they cool, so don’t wait for a fully set center.
-
Chill the Dough: For thicker cookies, consider chilling the dough for 30 minutes before baking. This helps prevent excessive spreading and enhances flavors.
-
Add a Sprinkle of Sea Salt: A pinch of sea salt on top before baking enhances the sweet flavor, creating a delightful contrast in every bite of your crispy homemade cookies!
Variations & Substitutions for Crispy Oven Baked Sweet Potato Fries
Feel free to let your creativity shine by customizing these sweet potato fries for an exciting twist on a classic favorite!
-
Spicy Kick: Add cayenne pepper or chili powder to the seasoning for a delightful heat that makes each bite exciting.
-
Herb Infusion: Toss with fresh or dried herbs like rosemary or thyme before baking for a fragrant, savory flavor that elevates these fries.
-
Cheesy Delight: Sprinkle with grated Parmesan or nutritional yeast after baking for a cheesy, umami finish that takes these fries to the next level.
-
Sweet Surprise: Drizzle with honey or maple syrup post-baking for a sweet contrast that pairs beautifully with the natural sweetness of sweet potatoes.
-
Texture Twist: For extra crunch, mix in panko breadcrumbs or crushed cornflakes with the spices before baking for a deliciously crispy coating.
-
Dipping Duo: Serve with a range of dips like zesty garlic aioli or a creamy avocado dip. These complements enhance the experience of your sweet potato fries, giving you options for any palate.
If you’re looking for additional deliciousness, why not check out my Sweet Potato Goat Cheese Sage recipe for a scrumptious pairing idea? You can’t go wrong with these versatile fries!
Classic Homemade Chocolate Chip Cookies Recipe FAQs
What type of flour is best for chocolate chip cookies?
All-purpose flour works exceptionally well for chocolate chip cookies because it provides the necessary structure. If you’re looking for a gluten-free option, you can substitute it with a gluten-free flour blend, which will yield great results too!
How should I store my chocolate chip cookies?
Store your cookies in an airtight container at room temperature for up to 1 week to keep them soft and chewy. If you want them to last longer, you can refrigerate them for about 2 weeks, ensuring they are well-sealed to maintain freshness.
Can I freeze chocolate chip cookies?
Absolutely! To freeze, wrap each individual cookie tightly in plastic wrap and place them in a freezer-safe bag. They can last for up to 3 months. When ready to enjoy, simply thaw at room temperature or reheat in the oven at 350°F (175°C) for about 5-10 minutes for that fresh-out-of-the-oven taste.
How can I prevent my cookies from spreading too much?
To prevent spreading, make sure your butter is softened but not melted, as too much grease can cause cookies to flatten. Refrigerating the dough for about 30 minutes before baking can also help achieve thicker, chewier cookies.
Can I use different types of chocolate chips?
Absolutely! You can customize your cookies by using dark, milk, or even white chocolate chips for a twist. If you’re a fan of nuts, consider adding chopped walnuts or pecans to enhance the flavor and texture!
Are chocolate chip cookies safe for pets?
Chocolate is harmful to dogs and other pets, so keep your delicious cookies away from them. Always ensure that any treats you give to your furry friends are specifically made for their dietary needs.

Crispy Oven Baked Sweet Potato Fries That Wow Every Bite
Ingredients
Equipment
Method
- Preheat your oven to 350°F (175°C). Line your baking sheets with parchment paper.
- Cream the softened unsalted butter, granulated sugar, and brown sugar until light and fluffy.
- Add one egg and vanilla extract to the mixture and beat until smooth.
- Whisk together the flour, baking soda, and salt in a separate bowl then mix into the wet ingredients.
- Fold in the semi-sweet chocolate chips evenly throughout the dough.
- Scoop the dough onto the prepared baking sheets, leaving space for spreading.
- Bake the cookies for 10-12 minutes until edges are golden brown.
- Cool the cookies on the baking sheet for about 5 minutes then transfer to a wire rack to cool completely.
Leave a Reply