
Late on a rainy afternoon, the aroma of chocolate enveloped my kitchen, swirling around like the perfect hug. I was whipping up a batch of Molten Chocolate Lava Muffins, and I couldn’t wait to share them with you. These little gems combine the best of both worlds—rich chocolatey goodness and the comforting softness reminiscent of a freshly baked muffin. Not only are they incredibly indulgent, but they are make-ahead-friendly too, making it easy to treat yourself anytime. Imagine biting into the warm muffin to reveal that delightful gooey center! Whether it’s for a cozy family gathering or a sweet surprise after dinner, these muffins are bound to become a new favorite. Ready to transform your baking game with this irresistible recipe? Let’s dive in!
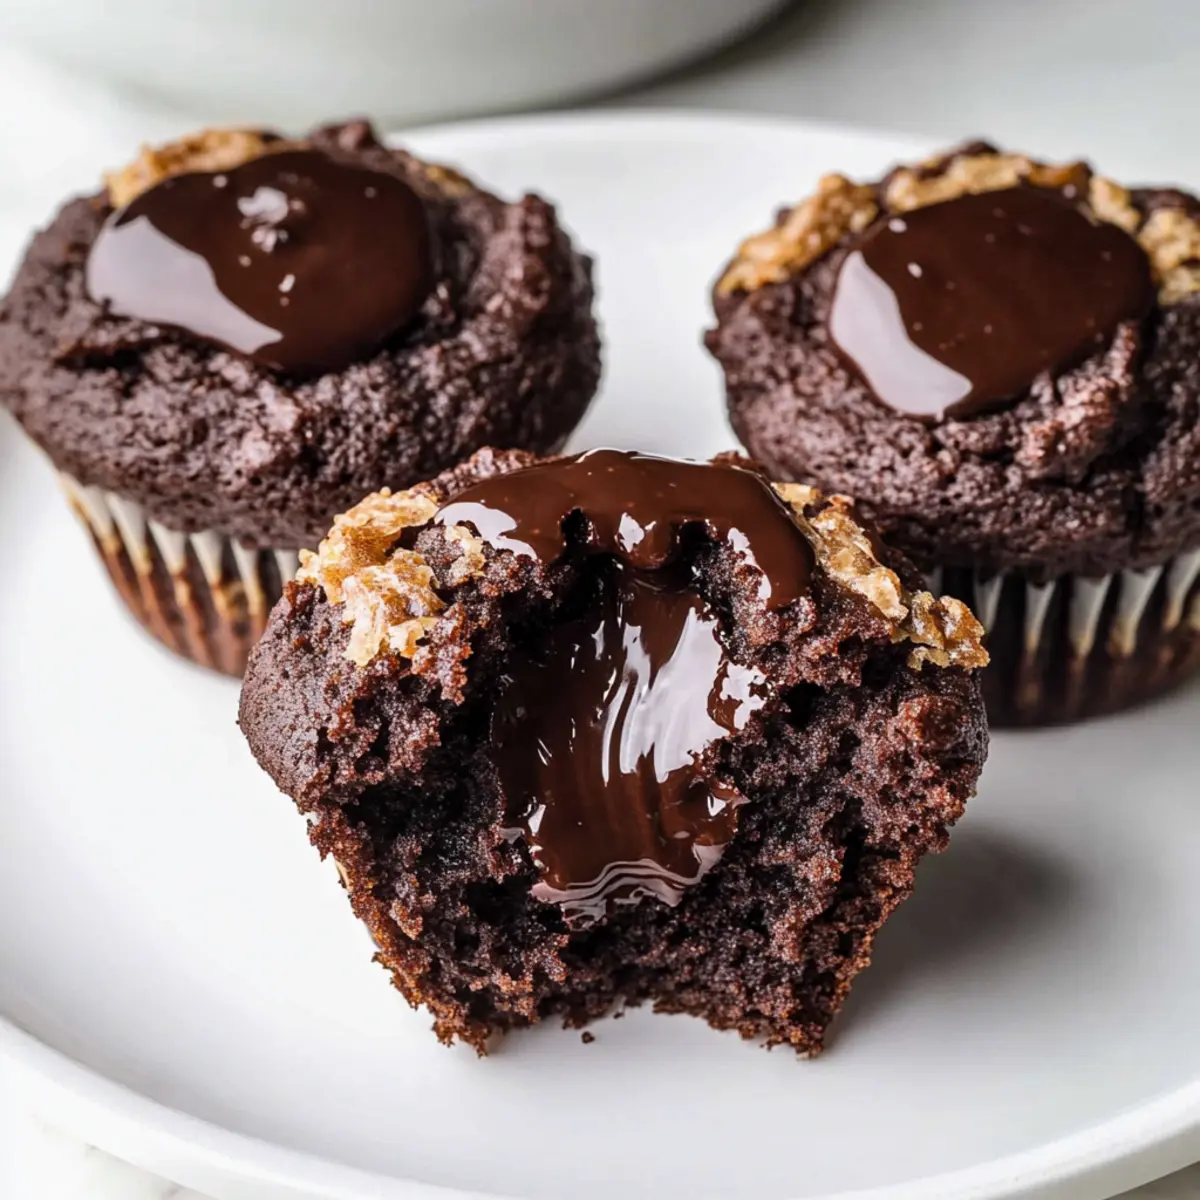
Why are these muffins a must-try?
Irresistible Gooeyness: Each muffin bursts with a warm, chocolatey filling that flows as you take a bite, making every mouthful a decadent treat.
Make-Ahead Friendly: Prep these muffins in advance and enjoy fresh bakery-style indulgence anytime—perfect for busy weeks or surprise guests!
Versatility at Its Best: Feeling adventurous? Try the sourdough variation for extra depth or change the chocolate filling for a fun twist!
Bakery-Quality Flavor: The rich, deep cocoa flavor and moist crumb make these muffins taste like they came straight from your favorite patisserie.
Crowd-Pleasing Delight: Bake a batch for parties or family dinners, and watch everyone swoon over this gourmet treat that’s surprisingly easy to make!
Elevate your dessert game by pairing these with a scoop of vanilla ice cream, just like with my Chocolate Orange Cheesecake for an extra indulgent experience.
Molten Chocolate Muffins Ingredients
For the Muffins
- Brown Sugar – Adds sweetness and moisture; choose light or dark for varying flavor intensity.
- Large Eggs – Provide structure and moisture; room temperature eggs yield better results.
- Whole Milk – Enhances richness; feel free to substitute with any non-dairy milk.
- Vegetable Oil – Keeps the muffins moist and ensures a tender crumb; melted butter or coconut oil are good alternatives.
- Vanilla Extract – Boosts flavor; opt for pure vanilla for the best depth.
- Apple Cider Vinegar – Helps with lift and a tender rise; an essential ingredient you shouldn’t skip.
- All-Purpose Flour – Gives structure; use a 1:1 gluten-free flour blend for a gluten-free version.
- Unsweetened Cocoa Powder (Dutch Processed) – Delivers deep chocolate flavor; avoid natural cocoa as it reacts differently with baking soda.
- Baking Powder & Baking Soda – Leavening agents for a perfect rise; make sure they’re fresh.
- Instant Espresso Powder (optional) – Intensifies the chocolate flavor; can be omitted if preferred.
- Salt – Balances sweetness; don’t forget this essential ingredient!
- Chocolate Chips – Adds delightful bursts of chocolate; choose semi-sweet or dark chocolate based on your taste.
- Coarse Sugar (optional) – Sprinkle on top for a crunchy texture; a simple finishing touch.
For the Filling
- Granulated Sugar – Sweetens the molten chocolate filling; adds just the right amount of sweetness.
- Heavy Cream – Creates a smooth, rich filling; substitute with half-and-half for a lighter option.
- Unsweetened Cocoa Powder (for filling) – Essential for achieving that deep chocolate flavor; don’t skip!
- Butter (for filling) – Adds richness; vegan butter works well for a dairy-free alternative.
- Salt (for filling) – Enhances flavor; just a pinch makes a difference.
Dive into the deliciousness of Molten Chocolate Muffins, and prepare to be amazed by the gooey goodness inside!
Step‑by‑Step Instructions for Molten Chocolate Muffins
Step 1: Prep Oven & Muffin Pan
Preheat your oven to 350°F (175°C) and while it warms up, prepare a 12-cup muffin pan by lining it with paper liners. For added convenience, give each liner a light spritz of nonstick spray to ensure your molten chocolate muffins release easily after baking.
Step 2: Mix Wet Ingredients
In a large mixing bowl, whisk together brown sugar, large eggs, whole milk, vegetable oil, vanilla extract, and apple cider vinegar until the mixture is smooth and well-combined. This step creates a rich base that adds moisture and flavor to your muffins. Make sure the eggs are at room temperature for the best integration.
Step 3: Sift Dry Ingredients
Place a fine-mesh sieve over the wet mixture and sift in the all-purpose flour, unsweetened cocoa powder, baking powder, baking soda, and salt. Gently mix with a spatula just until no dry spots remain, taking care not to overmix to maintain a tender crumb. The dry ingredients will give your molten chocolate muffins structure and a deep cocoa flavor.
Step 4: Combine Mixtures
Fold the dry ingredients into the wet mixture with a spatula, stirring gently until fully combined. Once the batter is smooth, carefully fold in the chocolate chips to create little pockets of gooey chocolate throughout the muffins. This adds even more delightful richness to your already indulgent molten chocolate muffins.
Step 5: Fill Muffin Cups
Using a spoon or an ice cream scoop, fill each muffin cup all the way to the top with batter, making sure to evenly distribute the batter for consistent baking. If desired, sprinkle coarse sugar on top for an added crunchy texture. This will give your muffins a beautiful finish once baked.
Step 6: Bake
Place the muffin pan in the preheated oven and bake for 20-25 minutes. Check for doneness by inserting a toothpick in the center; it should come out mostly clean but with a few moist crumbs indicating the gooey center. The tops should look set and slightly domed when ready.
Step 7: Cool Muffins
After baking, allow the muffins to rest in the pan for 5 minutes. Then, gently transfer them to a wire rack to cool completely. This step is crucial to letting them firm up slightly while maintaining that delicious molten center you crave.
Step 8: Prepare Filling
In a saucepan over low heat, combine granulated sugar, heavy cream, cocoa powder, butter, and a pinch of salt. Stir continuously until the mixture is smooth and glossy, ensuring everything melts together beautifully to create a rich filling that will oozes warmth when you bite into the muffins.
Step 9: Fill Muffins
Once your molten chocolate muffins are still warm, use a paring knife to create a tunnel in the center of each muffin. Pipe or spoon the warm filling generously into each tunnel until it oozes out slightly, creating that captivating gooey vibe that will have everyone eager for a taste.
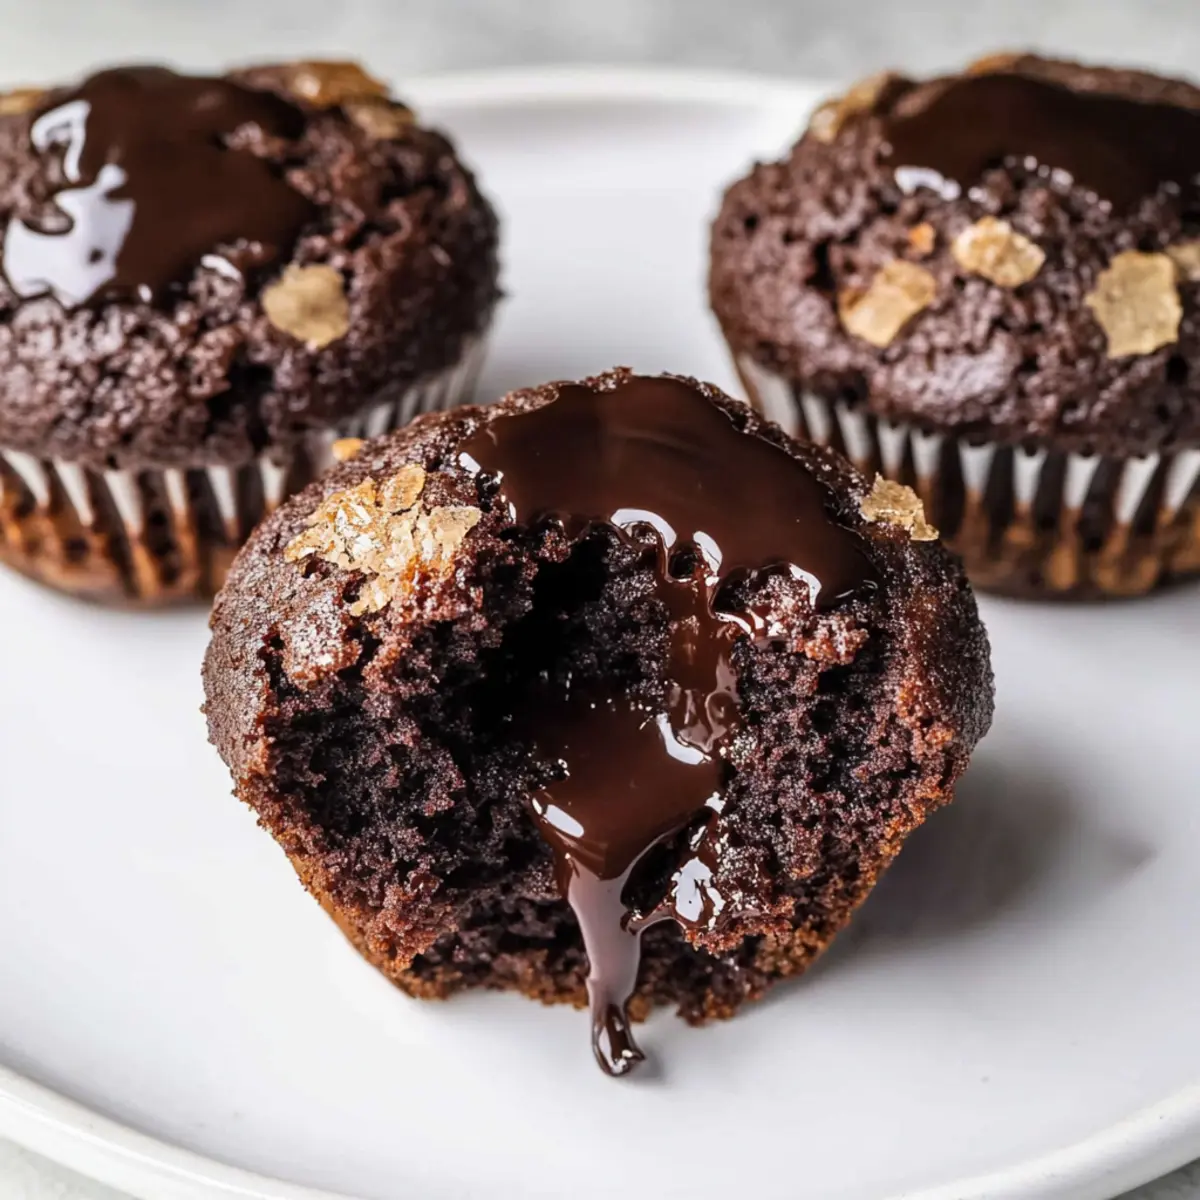
What to Serve with Molten Chocolate Lava Muffins
Indulging in warm, chocolatey goodness invites the perfect opportunity to craft a delightful meal or gathering.
-
Vanilla Ice Cream: A classic pairing that adds creamy texture and coolness, balancing the rich, molten chocolate beautifully.
-
Fresh Berries: Strawberries or raspberries add a tart contrast, enhancing the sweetness of the muffins and bringing freshness to each bite.
-
Whipped Cream: Light and airy, whipped cream provides a luxurious cloud-like topping that complements the dense muffin base.
-
Espresso: Enjoy a bold shot of espresso alongside these sweet muffins to elevate the chocolate flavor and counterbalance the sweetness.
-
Fruit Compote: A warm compote made from berries or stone fruits adds a vibrant burst of flavor and a lovely, juicy contrast.
-
Chocolate Sauce: Drizzle some extra chocolate sauce over the top for an ultra-indulgent experience that takes your treat to the next level!
Imagine savoring each mouthful, a heavenly blend of flavors and textures, leaving you craving one more delightful bite.
Molten Chocolate Muffins: Exciting Variations
Feel free to let your creativity shine and customize your muffins with these enticing twists!
-
Sourdough Variation: Swap in a sourdough starter instead of regular flour for a tangy depth that complements the chocolate beautifully. This transformation introduces a unique flavor profile!
-
Nutty Indulgence: Add in some finely chopped nuts like walnuts or hazelnuts for a delightful crunch and richness. The added texture makes each bite even more satisfying!
-
Spicy Kick: Stir in a pinch of cayenne pepper or chili powder to the batter for an unexpected, warming heat that pairs surprisingly well with chocolate. This twist will excite your taste buds and elevate the indulgence!
-
Fruit Fusion: Incorporate diced fruits like raspberries or cherries into the muffin batter for bursts of tartness to balance the chocolate’s sweetness. The fruity addition keeps things fresh and vibrant!
-
Different Fillings: Experiment with flavored chocolate fillings like peppermint or orange for a seasonal flair. You could also swap in nut butters, such as almond or peanut, for a lovely surprise in every bite.
-
Vegan Delight: Create a vegan version by swapping eggs for flaxseed meal mixed with water and using a plant-based milk alternative. Make sure to use vegan butter in the filling for a dairy-free indulgence!
-
Salted Caramel Twist: Add a drizzle of salted caramel into the molten center for a sweet and salty experience your guests won’t forget. The combination of flavors will be divine!
-
Chocolate Chip Variations: Try using different types of chocolate chips like white chocolate or milk chocolate for a diverse flavor experience, or mix them together for a variety in each muffin. You can even fold in some dark chocolate chunks for extra gooeyness!
These substitutions will not only keep your baking exciting, but they’ll also create personalized touches that can become beloved family traditions. Pair these muffins with a scoop of ice cream, just like with my Triple Chocolate Mousse, and enjoy a delightful dessert experience!
How to Store and Freeze Molten Chocolate Muffins
Fridge: Store cooked muffins in an airtight container for up to 3 days to keep them fresh. Warm them in the microwave for 15-20 seconds before serving for that gooey chocolate center.
Freezer: For longer storage, freeze the muffins in a well-sealed freezer bag for up to 2 months. Thaw overnight in the fridge, then reheat in the microwave for a warm, indulgent treat.
Room Temperature: If enjoyed within a few hours, you can leave the muffins at room temperature, but ensure they’re in a cool, dry place to maintain their texture.
Reheating: For a quick fix, warm muffins in the microwave or oven at 350°F for 5-7 minutes to restore their freshly baked appeal and ensure that molten chocolate filling is perfect for indulging!
Expert Tips for Molten Chocolate Muffins
-
Optimal Whisking: Mix the wet ingredients thoroughly to ensure all sugar is dissolved and incorporated, which contributes to the moistness of the molten chocolate muffins.
-
Temperature Matters: Use room temperature eggs and milk for better emulsification, helping the muffins rise perfectly and develop that desired tender crumb.
-
Fill While Warm: To achieve that delightful gooey center, fill the muffins while they are still warm rather than letting them cool completely; this allows the filling to meld beautifully into the muffin.
-
Prevent Spillage: When filling with the molten chocolate filling, use a piping bag for better precision and to avoid making a mess.
-
Storage Savvy: These muffins can be made ahead and stored in the refrigerator. Simply reheat in the microwave for 15-20 seconds for that fresh-from-the-oven experience.
Make Ahead Options
These Molten Chocolate Lava Muffins are perfect for meal prep enthusiasts! You can prepare the batter and refrigerate it for up to 24 hours, making it an excellent choice for busy days when you crave something indulgent without the fuss. Additionally, the muffins can be fully baked and cooled, then stored in an airtight container for up to 3 days. To maintain their gooey centers, simply reheat them in the microwave for 15-20 seconds before serving. This way, you’ll enjoy the same warm, delicious experience as if they were fresh out of the oven, saving you time while still providing a delightful treat to share with family or friends!
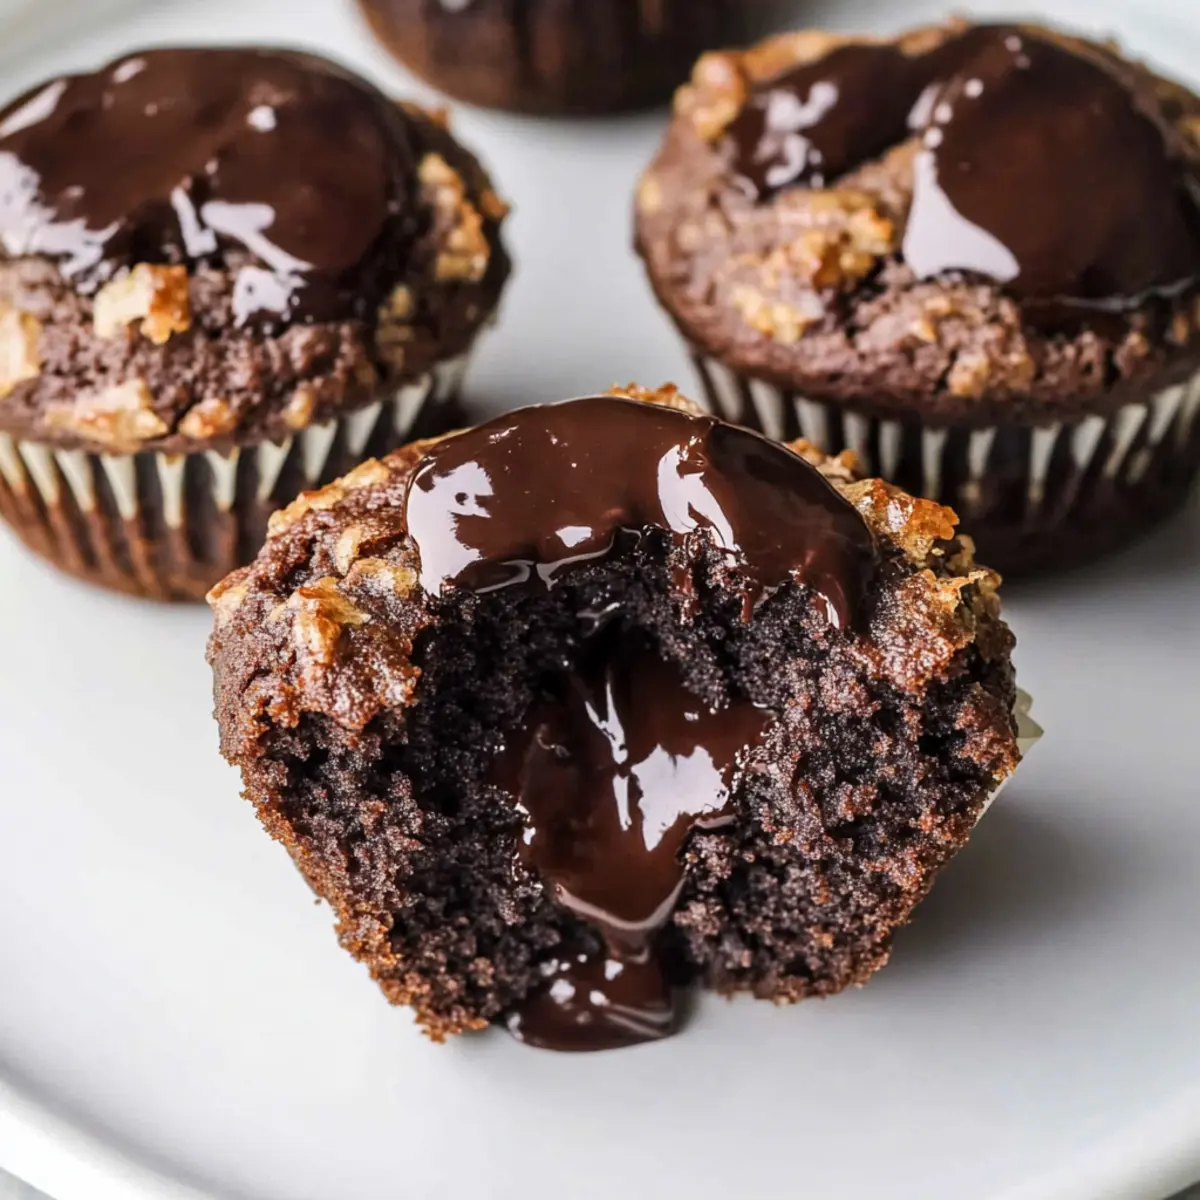
Molten Chocolate Lava Muffins Recipe FAQs
What type of chocolate is best for these muffins?
Using semi-sweet or dark chocolate chips is ideal for these molten chocolate muffins, as they provide a nice balance of sweetness and rich cocoa flavor. If you prefer a more intense taste, opt for dark chocolate. Remember, high-quality chocolate can elevate your muffins to bakery-level goodness!
How do I know if my muffins are fresh?
To keep your muffins fresh, store them in an airtight container in the fridge for up to 3 days. If you notice they’re dry or have lost their lovely texture, it’s time to make a new batch! You can always reheat them in the microwave for about 15-20 seconds to revive that gooey chocolate center.
Can I freeze molten chocolate muffins?
Absolutely! To freeze, place your cooled muffins in a well-sealed freezer bag and store them in the freezer for up to 2 months. When you’re ready to enjoy, thaw overnight in the fridge and reheat in the microwave or oven at 350°F for about 5-7 minutes for that fresh-baked experience.
What should I do if my muffins don’t rise properly?
If you find your muffins are flat or dense, check the freshness of your baking powder and baking soda, as these leavening agents are key for a proper rise. Also, be careful not to overmix your batter—this can lead to tough, dense muffins instead of fluffy delights.
Can I make these muffins gluten-free?
Yes, you can! For a gluten-free option, simply replace the all-purpose flour with a 1:1 gluten-free flour blend. Make sure to check that your baking powder and other ingredients are gluten-free to keep your treats safe for everyone to enjoy!
Are there any dietary considerations for pets or allergies?
While these molten chocolate muffins are a delightful treat for humans, chocolate is toxic for dogs and should never be shared with them. Also, be mindful of any allergies—particularly to eggs, dairy, or gluten, and consider using substitutes as needed to accommodate dietary restrictions.
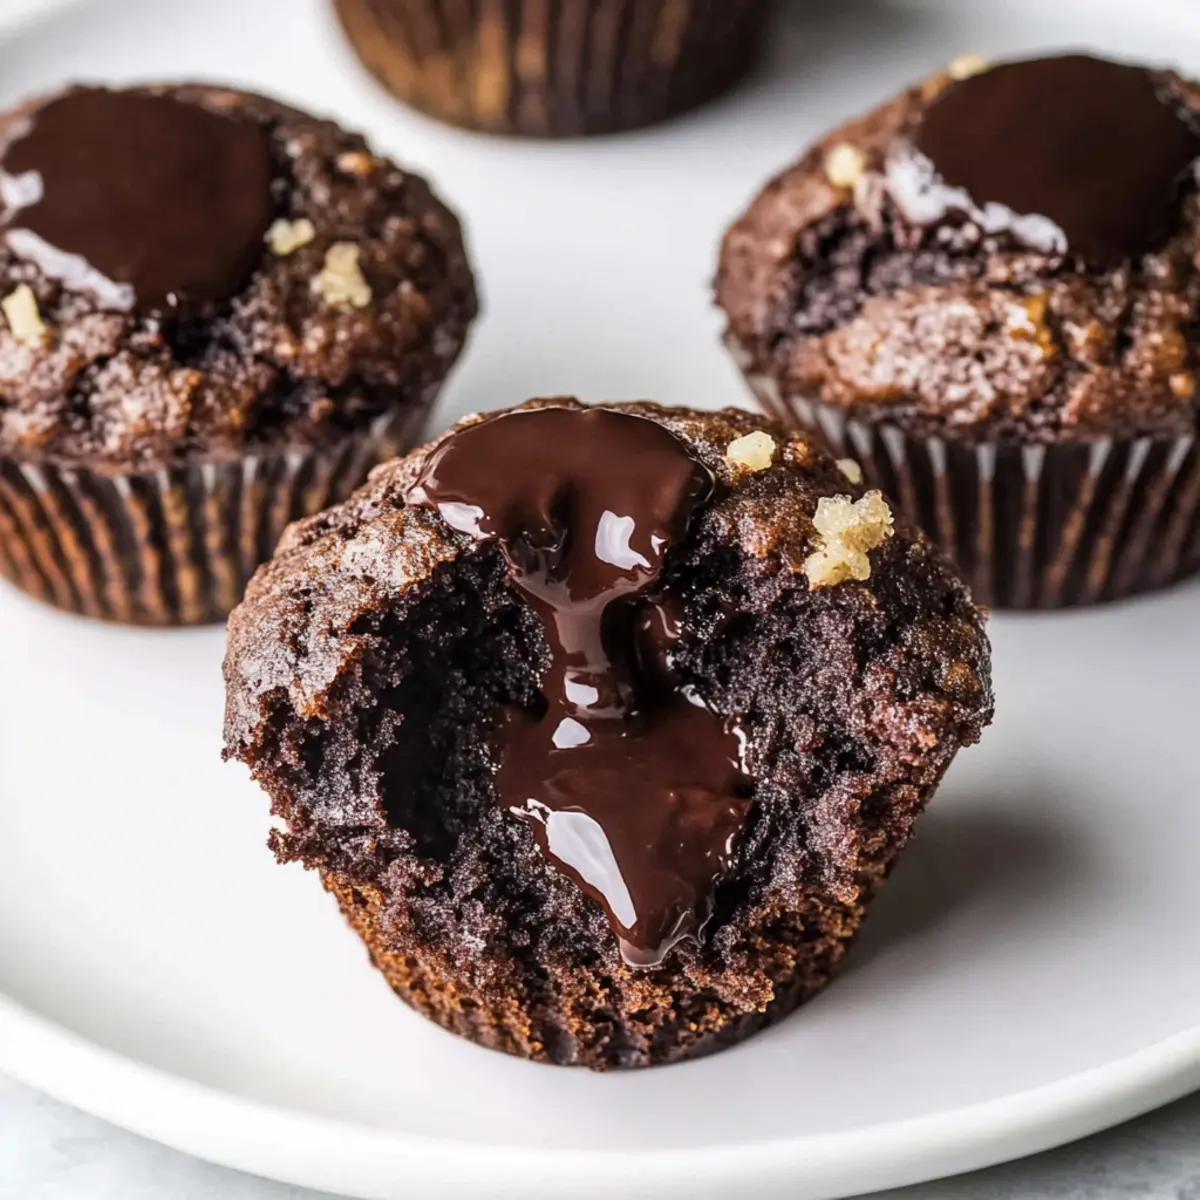
Decadent Molten Chocolate Muffins with Gooey Centers
Ingredients
Equipment
Method
- Preheat your oven to 350°F (175°C) and prepare a 12-cup muffin pan with liners and nonstick spray.
- In a large bowl, whisk together brown sugar, eggs, milk, oil, vanilla, and vinegar until smooth.
- Sift in flour, cocoa powder, baking powder, baking soda, and salt. Mix gently until no dry spots remain.
- Fold dry ingredients into wet mixture, then gently fold in chocolate chips.
- Fill each muffin cup to the top with batter and sprinkle coarse sugar on top if desired.
- Bake in the preheated oven for 20-25 minutes until tops are set and a toothpick comes out mostly clean.
- Let muffins cool in the pan for 5 minutes, then transfer to a wire rack to cool completely.
- In a saucepan, combine sugar, cream, cocoa, butter, and salt. Stir over low heat until smooth and glossy.
- Create a tunnel in the center of each warm muffin with a knife and fill with the warm molten filling.
Leave a Reply