
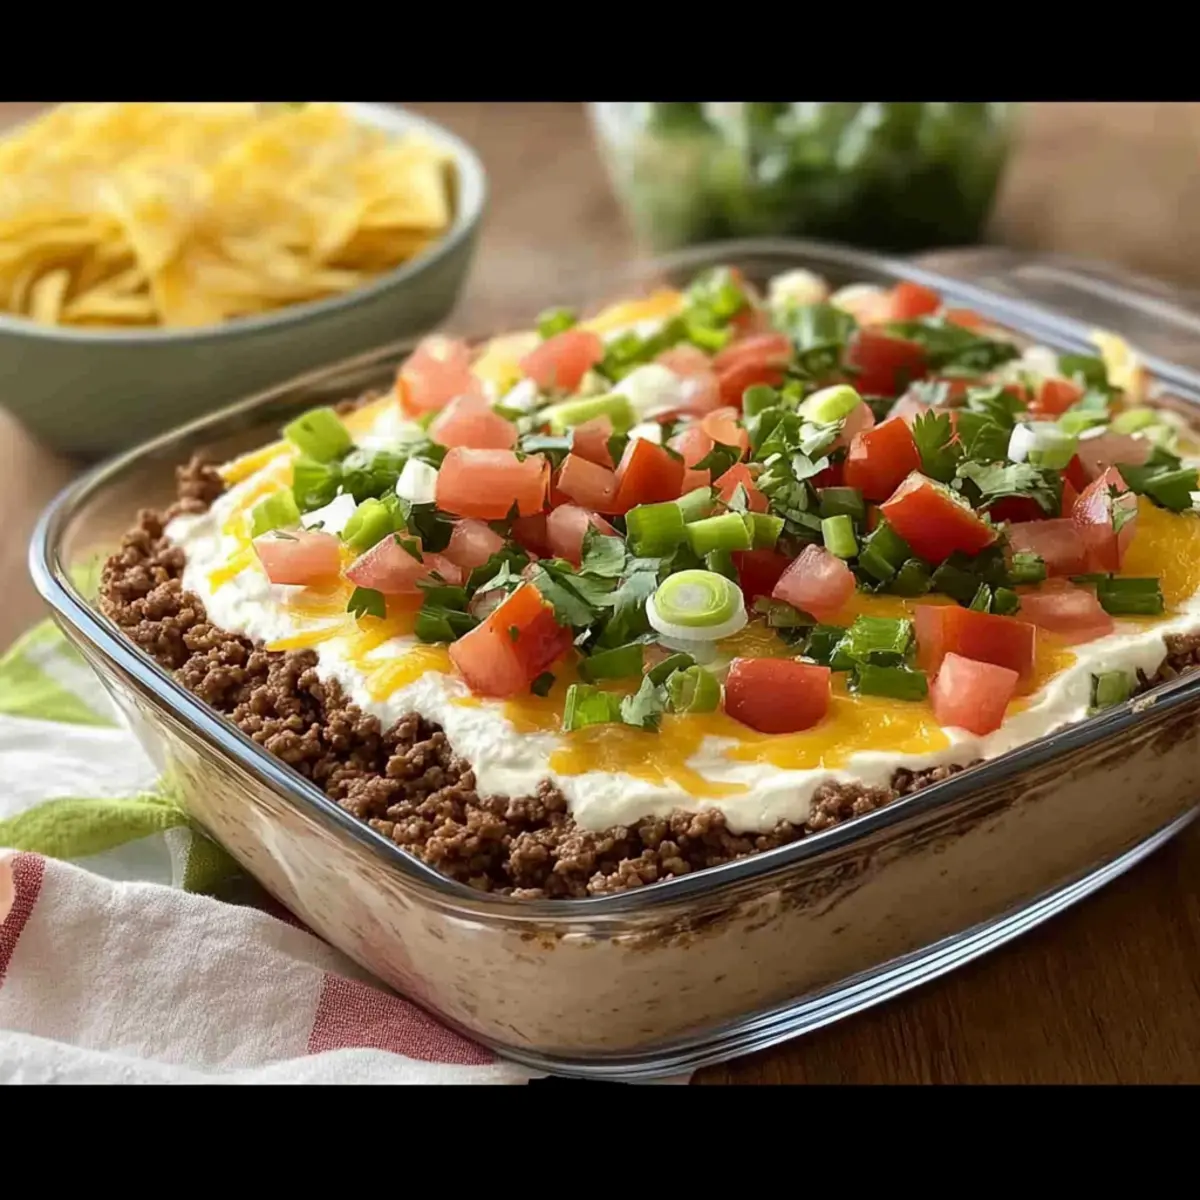
There I was, contemplating what appetizer to whip up for our game night, when it hit me—a vibrant, zesty taco dip! This Creamy and Spicy Taco Dip Recipe is a guaranteed crowd-pleaser, perfect for anyone looking to elevate their snacking game with minimal effort. Each layer combines savory ground beef, rich cheeses, and a kick of salsa, taking your taste buds on a delightful trip to Mexico without leaving home. Plus, it’s customizable—whether you prefer a vegetarian twist or an extra spicy kick, this dip adapts to your cravings. As you gather your ingredients, imagine the cheers from friends as they dive into this delicious dish. What exciting toppings will you add to make it your own?
Why is this Taco Dip a Must-Try?
Unforgettable Flavor: Each layer of this creamy taco dip blends savory ground beef, tangy salsa, and rich cheeses for a taste explosion!
Quick Preparation: In just a few simple steps, you can whip up a crowd-pleasing appetizer that fits perfectly into any gathering.
Customizable Delights: Whether you want a vegetarian version using black beans or a spicy kick with jalapeños, this dip easily transforms to match your cravings.
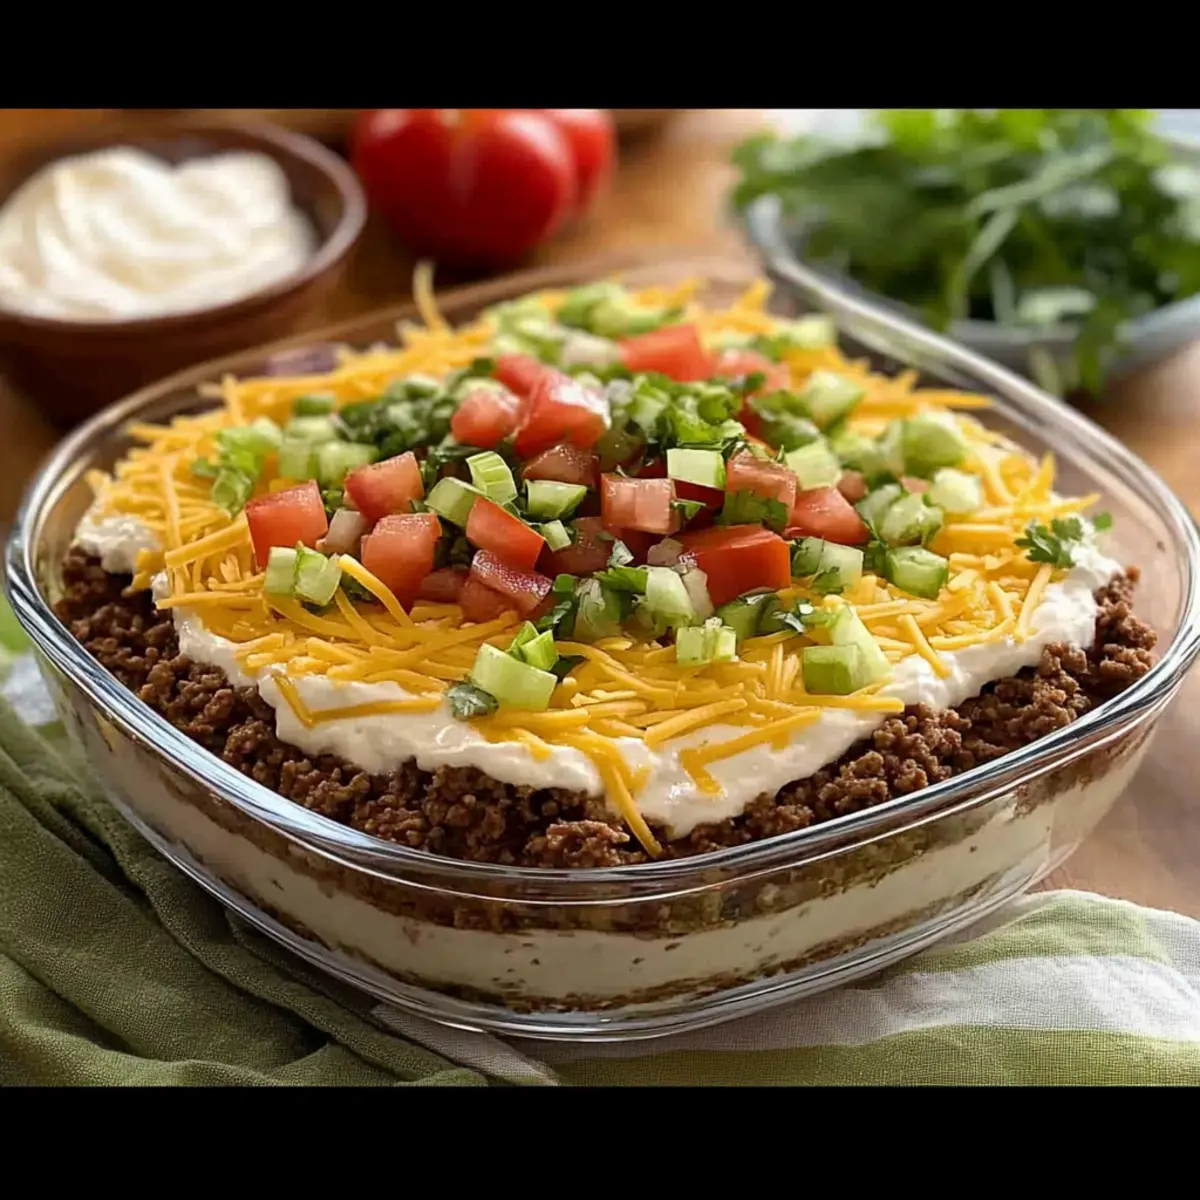
Perfect for Sharing: Its vibrant colors and appealing texture make it an eye-catching centerpiece for parties and game nights, ensuring guests keep coming back for more!
Pairable Enjoyment: Serve it with chips or fresh veggies for a delightful tasting experience, much like my air fryer apple fritters!
Taco Dip Recipe Ingredients
• Dive into your kitchen to create this zesty taco dip that will impress everyone!
For the Dip Base
- Ground Beef – Provides a savory base; opt for lean ground beef or substitute with plant-based meat for a vegetarian twist.
- Taco Seasoning Packet (1 oz) – Infuses essential spices; consider homemade seasoning for fully customizable flavor.
- Sour Cream (1 cup) – Adds creaminess and tang; Greek yogurt makes a great lighter option.
- Cream Cheese (8 oz, softened) – Contributes rich texture; ensure it’s softened for easy mixing.
For the Layering
- Salsa (1 cup) – Adds moisture and flavor; choose your heat preference for a spicy taco dip experience.
- Shredded Cheddar Cheese (1 ½ cups, divided) – Provides that classic cheesy goodness; dairy-free cheese can easily replace it.
- Shredded Lettuce (1 cup) – Brings crunch and freshness; spinach works well if you’re looking for a different green.
- Diced Tomatoes (½ cup) – Offers juiciness and vibrant color; try halved cherry tomatoes for a fun twist.
- Sliced Black Olives (¼ cup) – Adds a briny kick; feel free to omit if olives aren’t your thing.
- Chopped Green Onions (¼ cup) – Provides a mild onion flavor; substitute with chives for a similar taste.
- Chopped Fresh Cilantro (2 tbsp) – Enhances freshness; this is optional, but highly recommended!
Garnishes & Extras
- Optional Garnishes: Fresh cilantro and diced tomatoes make everything look even better!
- Suggested Pairings: Ideal with tortilla chips; add some Mexican beer for the complete experience.
This Taco Dip Recipe is not just a dish; it’s an experience that brings friends and flavors together!
Step‑by‑Step Instructions for Taco Dip Recipe
Step 1: Cook the Ground Beef
In a large skillet over medium heat, brown 1 pound of ground beef until no pink remains, about 5–7 minutes. Drain any excess grease to avoid a greasy dip. Stir in the taco seasoning packet along with the recommended water, and let it simmer for 3–4 minutes until bubbling and fragrant. This seasoned beef will be the savory base of your taco dip recipe.
Step 2: Prepare the Cream Mixture
In a mixing bowl, combine 8 ounces of softened cream cheese and 1 cup of sour cream. Use a hand mixer or spatula to blend these until smooth and creamy, ensuring there are no lumps. Once fully combined, spread this luscious mixture evenly across the base of your serving dish, setting the stage for the delicious layers of the taco dip.
Step 3: Layer the Ingredients
Starting with the cream mixture as your foundation, layer the taco dip by first adding the seasoned ground beef. Next, top with 1 cup of salsa, followed by 1 cup of shredded cheddar cheese, 1 cup of shredded lettuce, ½ cup of diced tomatoes, ¼ cup of sliced black olives, and ¼ cup of chopped green onions. Gently press down each layer to create a cohesive texture.
Step 4: Top with Cheese
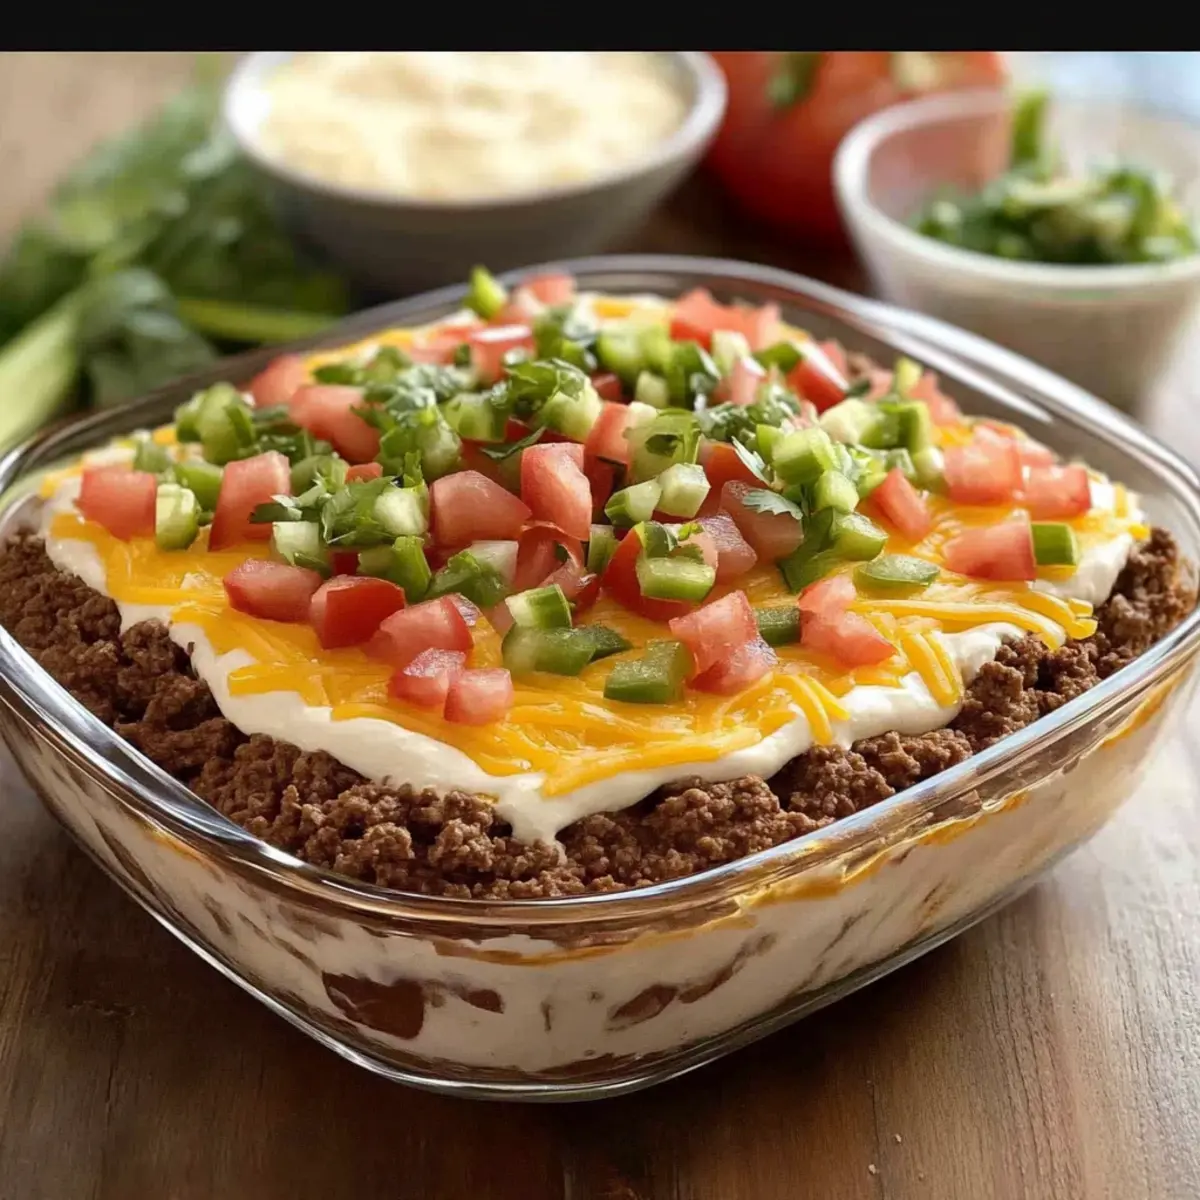
Sprinkle the remaining ½ cup of shredded cheddar cheese generously on top of the layered ingredients. This final layer of cheese will melt beautifully if you choose to bake the dip. It also adds a tantalizing golden appearance and extra cheesiness, enhancing the overall flavor of your taco dip recipe.
Step 5: Chill or Bake
To let the flavors meld together, place the assembled taco dip in the refrigerator for 30 minutes. Alternatively, for a warm dip, preheat your oven to 350°F and bake the dip for 10–15 minutes until heated through and the cheese is bubbly. Keep an eye on it to avoid overbaking, aiming for a deliciously melted look.
Step 6: Garnish and Serve
Once chilled or baked, take the taco dip out of the refrigerator or oven. To enhance freshness and visual appeal, sprinkle 2 tablespoons of chopped fresh cilantro on top before serving. This vibrant taco dip recipe is now ready to delight your guests along with tortilla chips or fresh veggies for dipping.

Taco Dip Recipe Variations & Substitutions
Feel free to get creative and customize your taco dip to match your cravings and dietary needs!
-
Vegetarian Version: Swap ground beef for black beans or lentils for a hearty meatless alternative. Trust me, the flavors will still shine through!
-
Spicy Version: Toss in diced jalapeños and opt for pepper jack cheese to crank up the heat. Your taste buds will dance with delight!
-
Low-Fat Version: Use reduced-fat cream cheese and sour cream to lighten things up while still keeping that creamy goodness intact.
-
Gluten-Free Option: Pair the dip with gluten-free tortilla chips or fresh veggie sticks for a delightful crunch without the gluten.
-
Added Crunch: Mix in some chopped bell peppers or cucumbers for an extra layer of texture and freshness. Every bite gets a veggie boost!
-
Herb Infusion: Introduce flavors by mixing in chopped fresh basil or cilantro into the cream cheese mixture, elevating the dip to a fragrant delight.
-
Smoky Flavor Boost: Incorporate a dash of smoked paprika or chipotle powder for a deep, smoky undertone that contrasts beautifully with the creaminess.
-
Layered Surprise: Add a layer of guacamole between the cream cheese and salsa layers for an unexpected creamy twist that takes everything up a notch!
For more delicious inspiration, try my hash browns on the side; they pair beautifully with this taco dip!
Expert Tips for Taco Dip Recipe
- Temperature Matters: Ensure all dairy components like cream cheese and sour cream are at room temperature for smooth mixing and ideal texture.
- Avoid Grease: Drain excess grease after cooking the beef to keep your taco dip from becoming greasy and heavy.
- Customize to Taste: For extra spice, add chopped jalapeños or use a spicier salsa. Don’t hesitate to adjust flavors based on personal preference!
- Layering Technique: Press down each layer gently when assembling to create a cohesive texture and make it easier to scoop.
- Flavor Fusion: For the best taste, allow the dip to chill for at least 30 minutes before serving; it helps the flavors meld beautifully.
This taco dip recipe is sure to bring joy to your gatherings!
Make Ahead Options
These Creamy and Spicy Taco Dip Recipe layers are perfect for meal prep, saving you time on busy days! You can prepare the cream cheese and sour cream mixture up to 24 hours in advance; just cover it tightly and refrigerate to maintain its creamy texture. Additionally, the seasoned ground beef can be cooked and stored for up to 3 days in the fridge, ensuring that the flavors meld beautifully. When you’re ready to serve, simply layer the beef, salsa, and cheeses just before baking or chilling. This way, you get an effortlessly delicious appetizer that’s just as flavorful as if you prepared it last minute!
What to Serve With Creamy and Spicy Taco Dip?
Transform your game night or gathering into an unforgettable feast by pairing this delightful dip with complementary dishes.
-
Tortilla Chips:
Crisp and salty, they provide the perfect vehicle for scooping up the creamy layers of flavor. -
Guacamole:
Creamy avocado adds a fresh twist that complements the spiciness of the dip while enhancing its richness. -
Fresh Veggie Platter:
Crunchy carrots, celery, and bell peppers not only add vibrant color but also offer a lighter, refreshing contrast. -
Mexican Corn Salad:
This sweet and savory salad brings a burst of flavor and texture, balancing out the richness of the taco dip. -
Spicy Margaritas:
The citrus and heat of this cocktail will elevate your gathering, harmonizing beautifully with the flavors of the dip. -
Churros:
For a sweet finish, serve warm churros dusted with cinnamon sugar, creating a delightful sweet contrast to the savory taco dip. -
Pico de Gallo:
This fresh salsa adds bright flavors and a juicy texture, enhancing the deliciousness of each scoop of the taco dip.
How to Store and Freeze Taco Dip
-
Fridge: Store leftover taco dip in an airtight container in the refrigerator for up to 3 days. It tastes great chilled or reheated!
-
Freezer: It’s not recommended to freeze this taco dip recipe, as the texture of the creamy ingredients may change and become watery upon thawing.
-
Reheating: If you prefer to serve it warm, gently reheat in the microwave or oven until heated through, stirring occasionally to maintain a nice texture.
-
Freshness Tip: Always cover your dip tightly to prevent it from absorbing other flavors in the fridge.
Taco Dip Recipe Recipe FAQs
How do I choose the right ground beef for my taco dip?
Absolutely! For the best flavor, opt for lean ground beef around 80/20. This provides a nice balance of flavor and reduces excess grease in your dip. If you’re looking for a healthier option or are preparing for friends who prefer vegetarian meals, consider using crumbled tempeh, lentils, or black beans instead.
What’s the best way to store leftover taco dip?
Very! Store your leftover taco dip in an airtight container in the refrigerator for up to 3 days. Make sure to cover it well to prevent it from absorbing any other flavors in your fridge.
Can I freeze taco dip?
Unfortunately, it’s not recommended to freeze this taco dip recipe, as the creamy ingredients like sour cream and cream cheese may change texture and become watery when thawed. If you want to prep ahead, consider making the beef layer separately and freezing that; then, assemble the dip fresh when you’re ready to serve!
What should I do if my taco dip is too runny?
No problem! If your dip turns out a bit runny, try these tips: drain any liquid from the salsa before mixing it in, and ensure your cream cheese and sour cream are blended well to avoid lumps. You can also add a spoonful of refried beans into the mix to help thicken the consistency.
Are there any dietary considerations I should keep in mind?
Absolutely! If guests have allergies or dietary restrictions, always ask beforehand. For gluten-free friends, serve the dip with corn tortilla chips instead of regular ones. If someone is vegan, you can substitute all dairy ingredients with plant-based options, and the beef can easily be swapped for lentils or plant-based meat.
How do I enhance the flavor before serving?
Great question! For an extra flavor kick, mix in some diced jalapeños or add a hint of fresh lime juice to brighten the dip. Additionally, try layering other toppings like guacamole or sour cream just before serving to create a delightful final touch.
Creamy Taco Dip Recipe for Unforgettable Gatherings
Ingredients
Equipment
Method
- In a large skillet over medium heat, brown the ground beef until no pink remains, about 5–7 minutes. Drain any excess grease.
- Stir in the taco seasoning packet along with the recommended water, and let it simmer for 3–4 minutes until bubbling and fragrant.
- In a mixing bowl, combine the softened cream cheese and sour cream. Blend until smooth and creamy.
- Spread the cream mixture evenly across the base of your serving dish.
- Layer the taco dip starting with the seasoned ground beef, then add the salsa, shredded cheddar cheese, shredded lettuce, diced tomatoes, sliced black olives, and chopped green onions, pressing down each layer.
- Sprinkle the remaining cheddar cheese generously on top.
- To meld the flavors, refrigerate for 30 minutes or preheat your oven to 350°F and bake for 10–15 minutes until heated through.
- Garnish with chopped fresh cilantro before serving with chips or fresh veggies.
Leave a Reply