
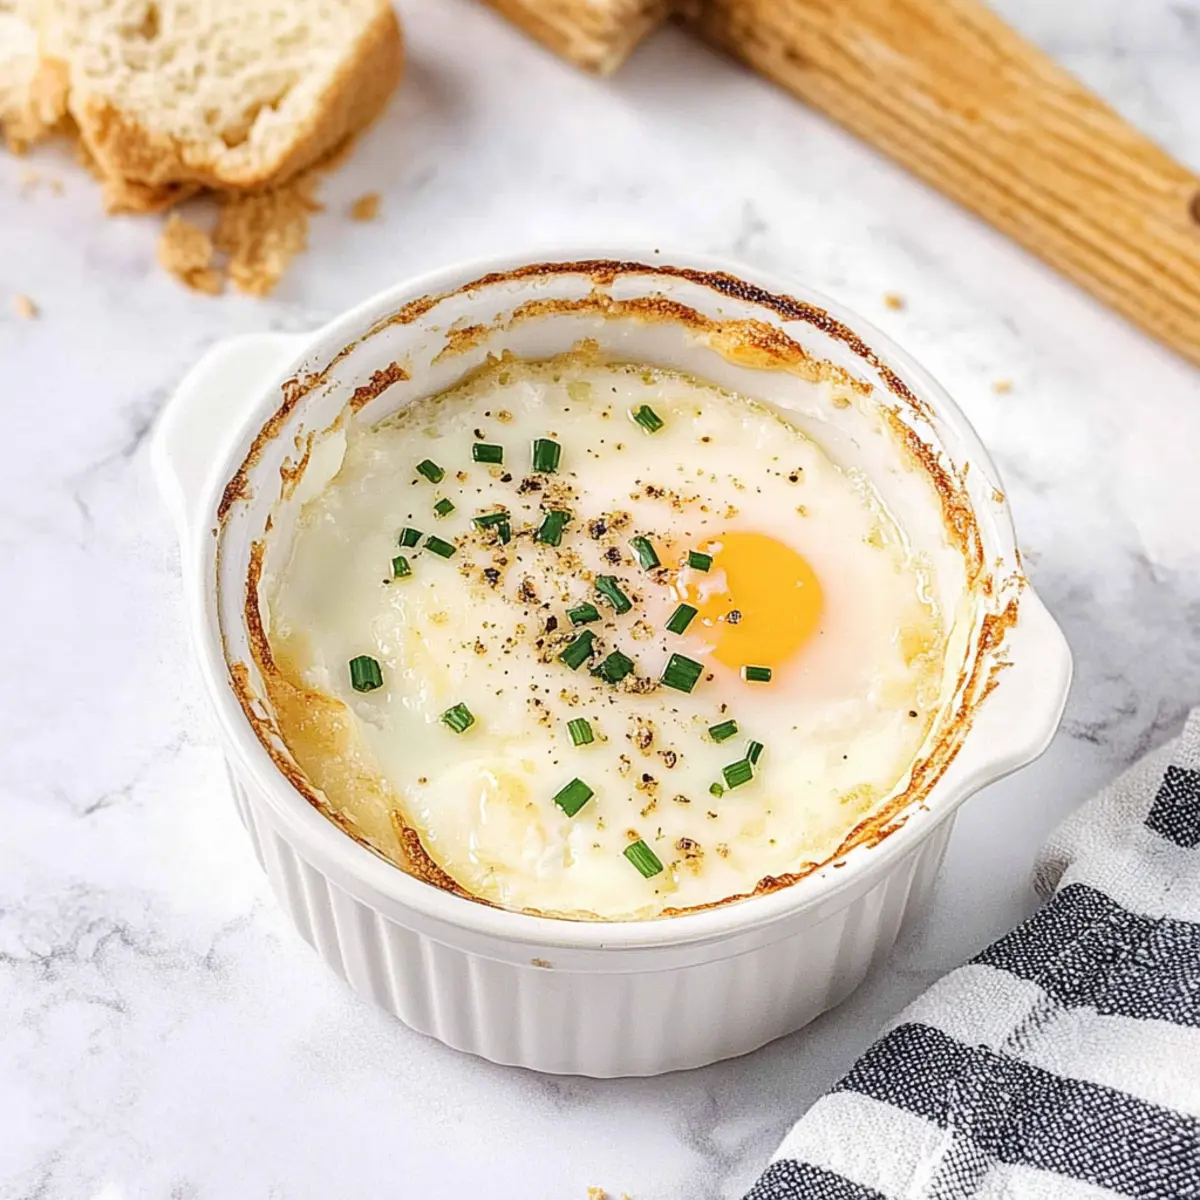
In a quiet moment of morning light, I cracked open a fresh egg, letting it gently settle into a ramekin of creamy goodness. This is the essence of shirred eggs—a simple yet elegant dish that elevates any brunch or cozy breakfast table. With their luscious runny yolk and velvety whites, these baked eggs topped with Parmesan and chives are not only a delight to the senses but also a testament to the beauty of home-cooked meals. Whether you’re impressing guests or treating yourself, shirred eggs offer the perfect blend of ease and sophistication. Plus, you can customize them to fit dietary preferences, making them a versatile winner for everyone. Curious about how to whip up this dreamy dish? Let’s dive right in!

Why are Shirred Eggs so Special?
Comforting Simplicity: Shirred eggs are incredibly easy to make, requiring minimal ingredients and steps, perfect for novice cooks and chefs alike.
Luxurious Creaminess: The combination of heavy cream and Parmesan elevates the dish to creamy perfection that tastes indulgent yet is surprisingly straightforward.
Customizable Delight: Whether you prefer dairy-free options or want to add your favorite veggies, these baked eggs can be tailored to fit any dietary need! For more delicious twists, check out my Baked Eggs Napoleon for another delightful egg dish.
Elegant Presentation: Served in individual ramekins, shirred eggs not only satisfy the palate but also make for stunning brunch table decor.
Quick to Prepare: In just about 15 minutes, you can whip up this dish, making it an ideal choice for those busy mornings or last-minute guests.
Shirred Eggs Ingredients
• Here’s all you need to create your delightful Shirred Eggs!
For the Ramekin
- Unsalted Butter – Grease the ramekin to prevent sticking; you can use a dairy-free alternative if needed.
- Heavy Cream – Provides a rich foundation for the eggs; substitute with high-fat oat milk for a dairy-free version.
For the Eggs
- Large Eggs – The stars of the show, offering protein and structure; opt for local, farm-fresh eggs for the best flavor.
- Salt – Essential for enhancing the dish; adjust the amount to your personal preference.
- Freshly Ground Black Pepper – Adds a touch of seasoning; grinding fresh will elevate the aroma.
For Toppings
- Minced Fresh Chives – Adds fresh flavor and color; can be swapped with green onions or omitted for simplicity.
- Grated Parmesan Cheese – Provides a savory, creamy element; use nutritional yeast for a vegan alternative.
With these ingredients, you’re well on your way to enjoying the perfect plate of Shirred Eggs!
Step‑by‑Step Instructions for Elegant Shirred Eggs with Creamy Parmesan and Chives
Step 1: Preheat the Oven
Begin by preheating your oven to 375°F (190°C). This temperature is key for achieving perfectly baked shirred eggs, ensuring that the egg whites are set while the yolk remains delightfully runny. As the oven warms up, it’s a great opportunity to gather your ramekins and other ingredients.
Step 2: Prepare the Ramekin
Take a 6-ounce ramekin and grease it generously with unsalted butter to prevent sticking. Make sure to cover all sides and the bottom for an even cook. If you opt for a dairy-free alternative, feel free to use a plant-based butter instead, as this step enhances the overall flavor of your elegant shirred eggs.
Step 3: Add the Heavy Cream
Pour a generous layer of heavy cream into the greased ramekin, filling it about a third of the way. The cream will provide a luscious base that adds richness to your shirred eggs. Ensure it’s evenly distributed to create a silky texture that complements the eggs perfectly once baked.
Step 4: Crack the Eggs
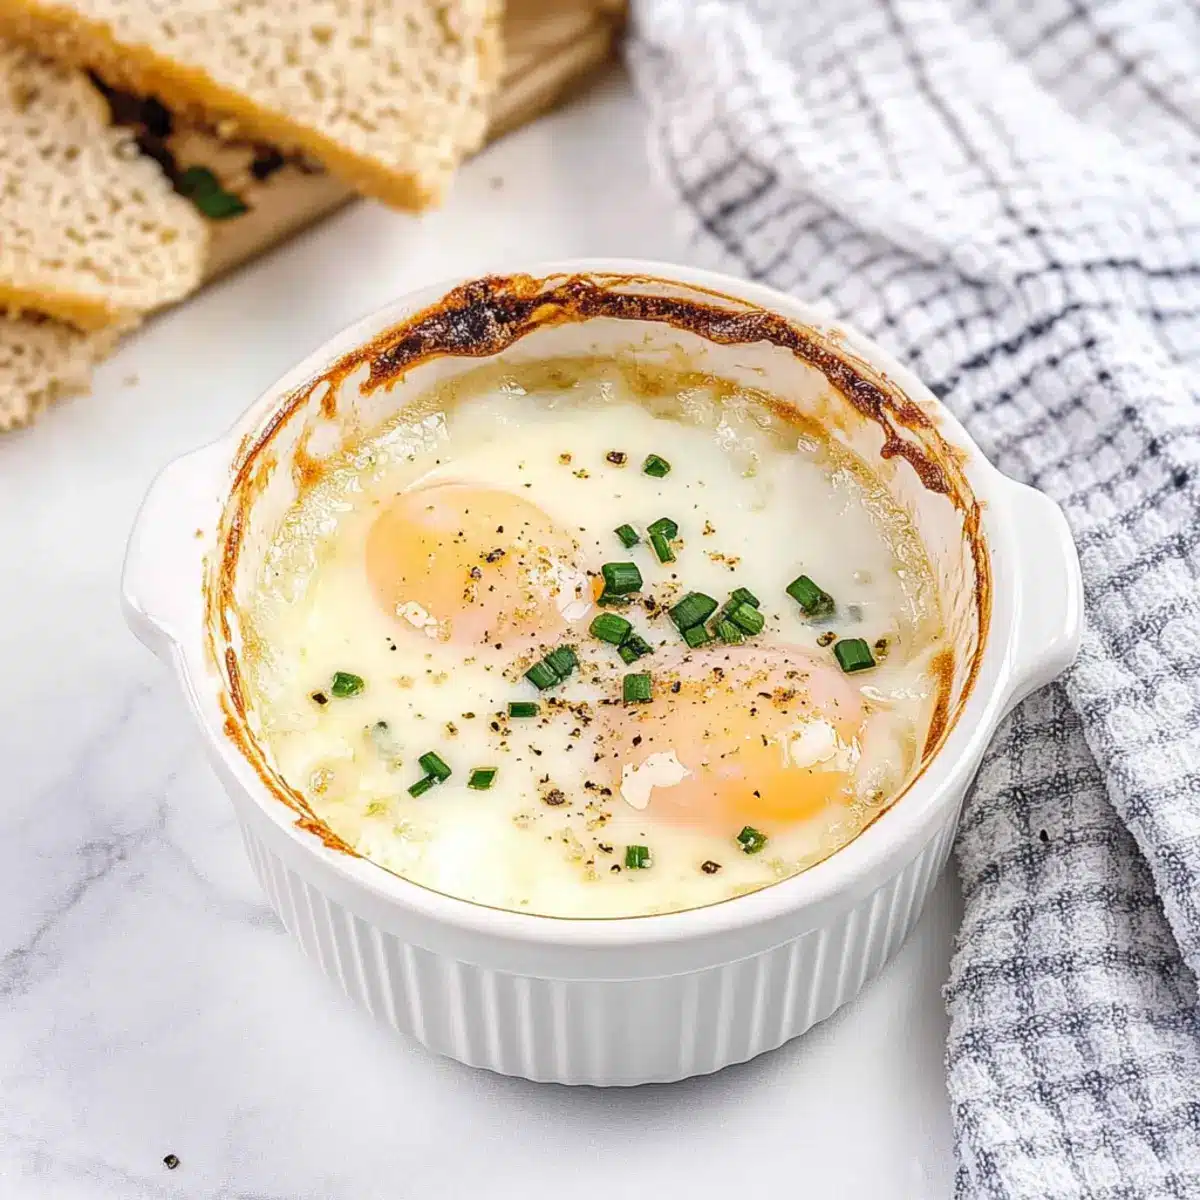
Gently crack two large eggs directly on top of the cream, taking care to keep the yolks intact. This step is vital, as the runny yolks will be the star of your elegant shirred eggs. Allow the egg whites to settle into the cream, surrounding the yolks to ensure a beautiful presentation when served.
Step 5: Season the Eggs
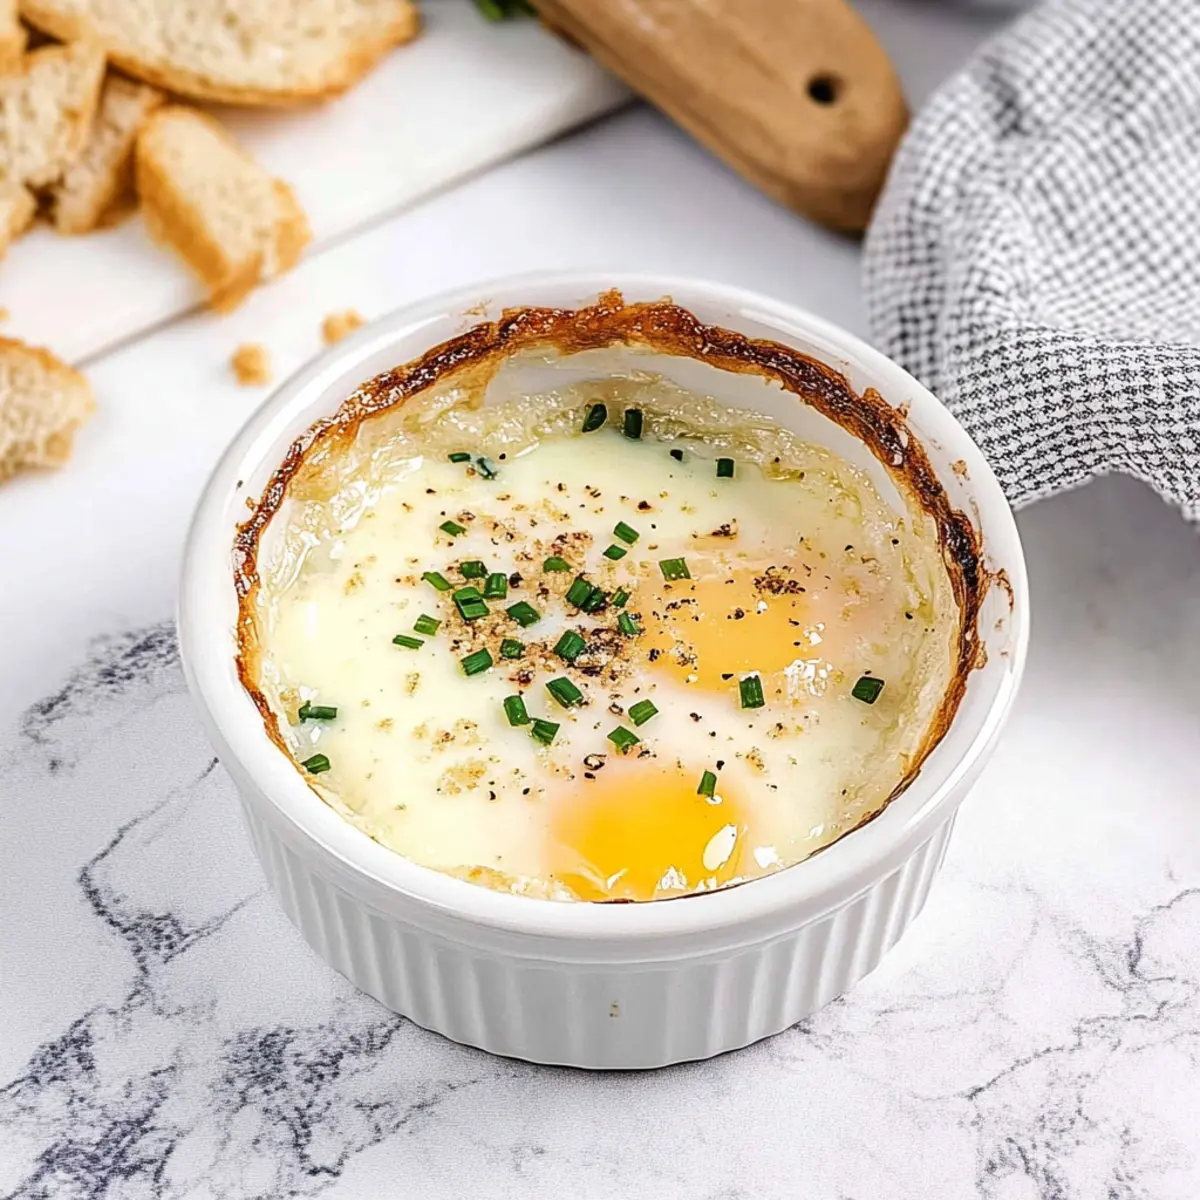
Sprinkle a pinch of salt and freshly ground black pepper over the eggs for seasoning, following your taste preference. Then, sprinkle a tablespoon of minced fresh chives over the top along with a handful of grated Parmesan cheese. These toppings will add flavor and enhance the visual appeal of your dish.
Step 6: Bake the Shirred Eggs
Place the ramekin on a baking sheet for easier handling, and transfer it to the oven. Bake the shirred eggs for 12 to 15 minutes, monitoring them closely. The egg whites should be set and opaque, while the yolks remain visibly runny and glistening, indicating they’re perfectly cooked.
Step 7: Let Rest and Serve
Once baked, carefully remove the ramekin from the oven and let it rest for a couple of minutes. This allows the dish to settle slightly, making it easier to enjoy without burning yourself. Serve your elegant shirred eggs immediately, and relish the creamy combination of flavors as you dig in!
Shirred Eggs Variations & Substitutions
Feel free to let your creativity flourish as you personalize this delightful dish with these exciting variations!
- Dairy-Free: Use vegan butter and plant-based cream alternatives to create a creamy, dairy-free dish. You won’t sacrifice a bit of richness!
- Veggie-Packed: Incorporate sautéed spinach, diced tomatoes, or bell peppers into the ramekin before baking for a flavor-packed and nutritious twist that brightens the dish.
- Different Cheeses: Experiment with feta or goat cheese in place of Parmesan for a tangy flavor element that elevates the taste profile of your shirred eggs.
- Herb Infusion: Use fresh basil, parsley, or dill instead of chives for a lovely aroma and a different spin on the classic flavor. It brings brightness and freshness to every bite.
- Heat it Up: Add a sprinkle of crushed red pepper flakes or a dash of hot sauce to bring some heat to the dish, making it perfect for those who love a spicy kick!
- Mushroom Medley: Add sautéed mushrooms for an earthy flavor that complements the creaminess beautifully. It’s a hearty way to boost texture and taste!
- Smoky Flavor: Incorporate a touch of smoked paprika or smoked cheese for a hint of smokiness that adds depth to every spoonful.
- Serve with Toast: Accompany with slices of toasted artisan bread or homemade Air-Fryer Breakfast Potatoes for dipping into those luscious runny yolks, making for an unforgettable brunch experience.
Have fun exploring these variations, and make this shirred eggs recipe your own!
Make Ahead Options
Shirred eggs are perfect for meal prep enthusiasts looking to save time during busy mornings! You can prepare the ramekins up to 24 hours in advance by greasing them and layering in the heavy cream. Crack the eggs on top right before baking to maintain their texture and ensure that each yolk stays beautifully runny. If you want a delightful touch of flavor, also add the seasoning and toppings ahead of time (minus the Parmesan, which can be added just before baking). When you’re ready to serve, simply pop the ramekins into a preheated oven and bake for 12 to 15 minutes for a gorgeous, restaurant-quality brunch with minimal effort!
What to Serve with Elegant Shirred Eggs with Creamy Parmesan and Chives
Elevate your brunch experience by pairing these creamy baked eggs with delicious accompaniments that delight the senses.
-
Toasted Sourdough: The crusty texture of toasted sourdough is perfect for dipping into creamy yolks, enhancing the overall indulgence.
-
Air-Fryer Breakfast Potatoes: These crispy, herbed potatoes add a satisfying crunch that contrasts beautifully with the silky shirred eggs.
-
Fresh Mixed Greens Salad: A light salad with a citrus vinaigrette offers a refreshing balance to the rich flavors of the eggs.
-
Smoked Salmon: The smoky, salty goodness of salmon perfectly complements the creamy richness of the eggs, adding a gourmet touch.
-
Avocado Toast: Creamy avocado spread atop toasted bread brings a luxurious texture and healthy fat, harmonizing well with the dish.
-
Fruit Compote: A side of homemade fruit compote adds a burst of sweetness, cutting through the richness for a lovely contrast.
Consider serving with a light sparkling wine or herbal tea to elevate your brunch, giving your guests a truly memorable dining experience!
Expert Tips for Perfect Shirred Eggs
-
Watch the Clock: Keep an eye on baking time, as overbaking can lead to firm yolks. Aim for 12 to 15 minutes to maintain that perfect runny yolk texture.
-
Grease Well: Be sure to grease the ramekin evenly with butter or a dairy-free alternative. This prevents sticking and promotes even cooking, allowing for a beautiful presentation.
-
Use Individual Ramekins: For an elegant look and a personal touch, use small ramekins instead of one large dish. This also helps with even cooking.
-
Customize to Taste: Feel free to experiment with herbs or cheese varieties to create your own signature shirred eggs. Adding sautéed vegetables can also enhance flavor and nutrition.
-
Serve Immediately: Shirred eggs are best enjoyed fresh. Leftovers don’t reheat well, so plan to serve them right out of the oven for the best experience!
How to Store and Freeze Shirred Eggs
Room Temperature: Do not leave cooked shirred eggs at room temperature for more than 2 hours to ensure food safety.
Fridge: If you have leftovers, store them in an airtight container in the fridge for up to 2 days. Reheating can cause the texture to change.
Freezer: It’s not recommended to freeze shirred eggs, as the texture and creaminess may suffer once thawed. It’s best enjoyed fresh!
Reheating: If reheating, do it gently in the oven at a low temperature to help maintain the runny yolk and creamy texture. Enjoy reheating the delightful dish!
Shirred Eggs Recipe FAQs
How do I select the best ingredients for shirred eggs?
Absolutely! For the best shirred eggs, opt for local, farm-fresh large eggs; they offer superior flavor and texture. When selecting heavy cream, look for products with a high-fat content (at least 36%) for that rich creaminess. Fresh chives should be vibrant green without any wilting or dark spots, ensuring maximum flavor.
How do I store leftover shirred eggs?
If you happen to have leftovers (which isn’t common!), store them in an airtight container in the fridge for up to 2 days. However, keep in mind that reheating can alter the delightful texture—those runny yolks just don’t come back to life the same way! It’s best to enjoy your shirred eggs fresh and hot right out of the oven.
Can I freeze shirred eggs for later?
Very! It’s not recommended to freeze shirred eggs as freezing can change the texture and creaminess of the dish significantly when thawed. If you’re aiming to meal prep, consider cooking the individual components separately and combining them after reheating instead!
What should I do if my yolks are overcooked?
No worries! If you find your yolks have cooked too long (getting firm instead of runny), consider reducing the baking time for even better results next time. Keep a close eye on them around the 10-minute mark and allow for just a few extra minutes as needed. Practice makes perfect!
Are shirred eggs suitable for special dietary needs?
Definitely! Shirred eggs can be customized easily to fit dietary preferences. Use vegan butter and plant-based cream for a dairy-free version and swap in nutritional yeast for the Parmesan. Feel free to add sautéed vegetables for extra nutrition; just ensure any additions accommodate guest’s allergies or preferences comfortably.
Can pets enjoy shirred eggs too?
Not really! While eggs may be a tasty treat for some pets, the added cream, salt, and cheese in shirred eggs aren’t safe for them. Always consult your veterinarian before sharing human food with your furry friends.
Decadent Shirred Eggs for Effortless Brunch Bliss
Ingredients
Equipment
Method
- Preheat your oven to 375°F (190°C).
- Grease a 6-ounce ramekin generously with unsalted butter.
- Pour a layer of heavy cream into the greased ramekin, filling it a third of the way.
- Gently crack two large eggs on top of the cream.
- Sprinkle with salt, pepper, chives, and Parmesan cheese.
- Place the ramekin on a baking sheet and bake for 12 to 15 minutes.
- Remove from the oven and let rest for a couple of minutes before serving.
Leave a Reply