
Amid the bustling aromas of a Middle Eastern market, one dish stands out for its simplicity and vibrancy: the Israeli Salad. This fresh, colorful side dish combines finely chopped vegetables, delivering a refreshing punch that perfectly complements any meal. With its quick prep time and a delightful zing from lemon and olive oil, the Israeli Salad is not just a feast for the eyes but also a convenient, healthy addition to your dining table. Whether you’re looking to elevate a casual lunch or add zest to dinner, this vegan delight is guaranteed to please. Ready to explore how to create this effortless masterpiece? Let’s dive into the world of textures and flavors!
Why is Israeli Salad a Must-Try?
Simplicity at Its Best: With just a few fresh vegetables finely chopped, this salad is incredibly easy to prepare, making it perfect for busy weeknights or last-minute gatherings.
Vibrant Colors: The brilliant reds, greens, and yellows create an eye-catching dish that not only tastes good but also adds a pop of color to your table.
Healthy Ingredients: Packed with vitamins and nutrients, this salad is a guilt-free way to enjoy a delicious side, fitting perfectly into a vegan or gluten-free lifestyle.
Versatile and Adaptable: Customize with your favorite ingredients! Add chickpeas for protein or diced avocado for creaminess, easily transforming the dish to suit your cravings.
Crowd-Pleasing: Whether served at family barbecues or elegant dinners, this Israeli Salad appeals to all, leaving everyone wanting seconds. Prepare it alongside your favorite grilled meats or as part of a Mediterranean spread with pita and hummus.
Israeli Salad Ingredients
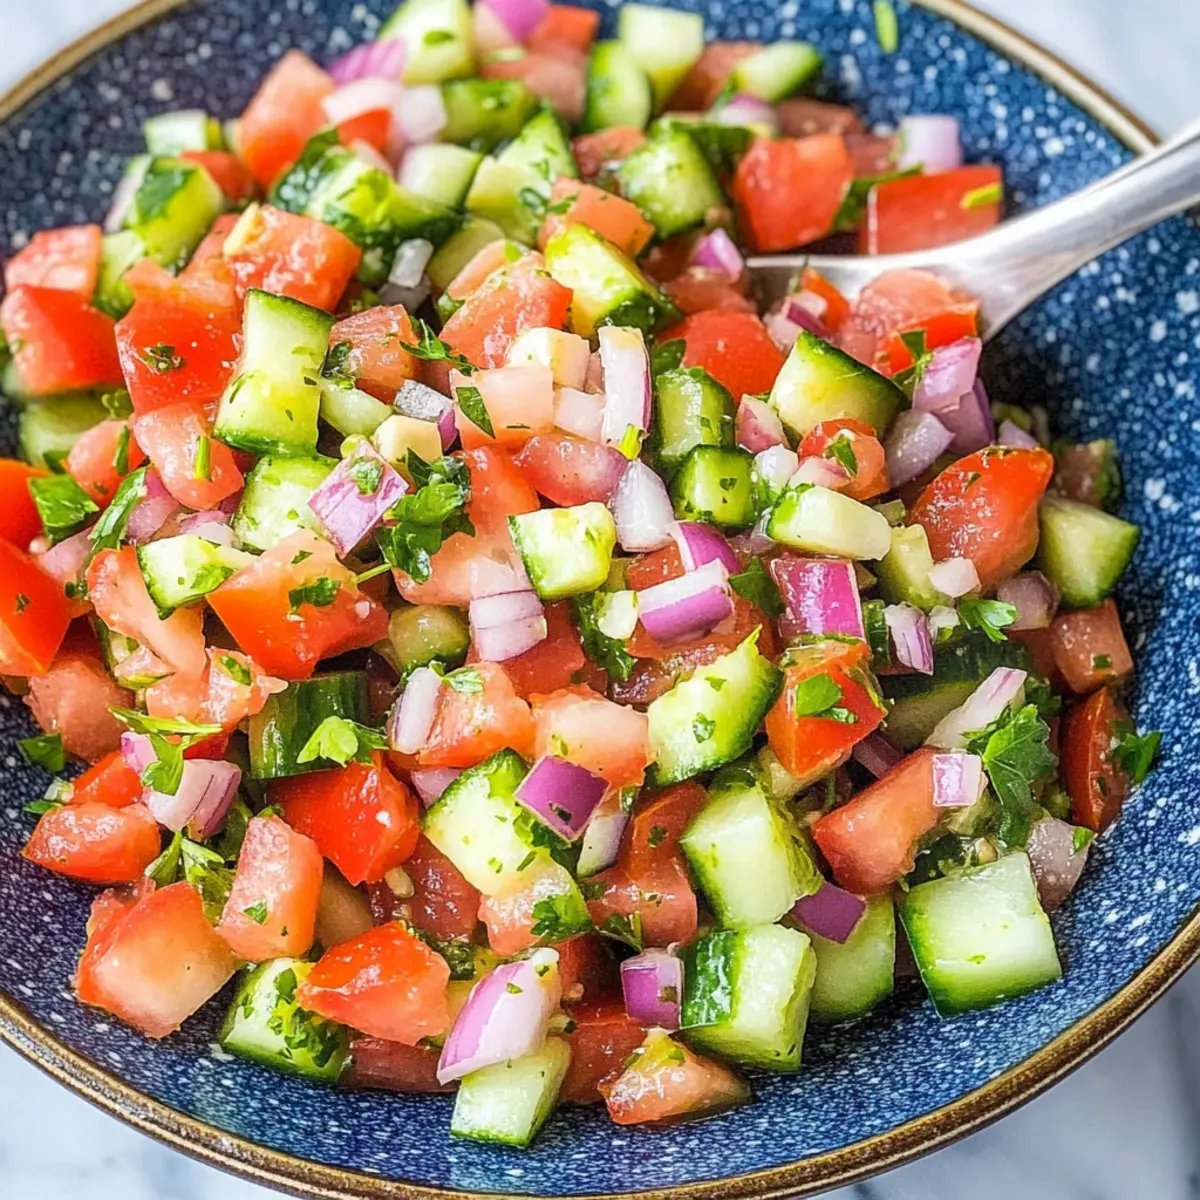
• Fresh vegetables come together in this healthy Israeli Salad, making it a refreshing addition to any meal!
For the Salad
- Roma Tomatoes – Provides juiciness and sweetness; feel free to use other ripe tomato varieties if Roma isn’t available.
- Persian or English Cucumber – Adds a satisfying crunch and mild flavor; any cucumber variety can work based on what’s available.
- Red Bell Pepper – Introduces sweetness and vibrant color; substitute with any color bell pepper or a mild chili if you prefer.
- Onion (red or white) – Offers a sharpness and depth of flavor; consider using shallots or green onions as an alternative.
- Fresh Parsley – Adds a delightful herbal note; cilantro or mint can provide a different flavor profile if you’re in the mood for something unique.
For the Dressing
- Lemon Juice (fresh) – Infuses acidity for brightness; lime juice can be a zesty alternative if you want to mix it up.
- Olive Oil – Enhances richness and flavor; feel free to use avocado oil or any neutral oil you prefer.
- Salt – Elevates the overall taste; adjust the amount to suit your own taste preferences.
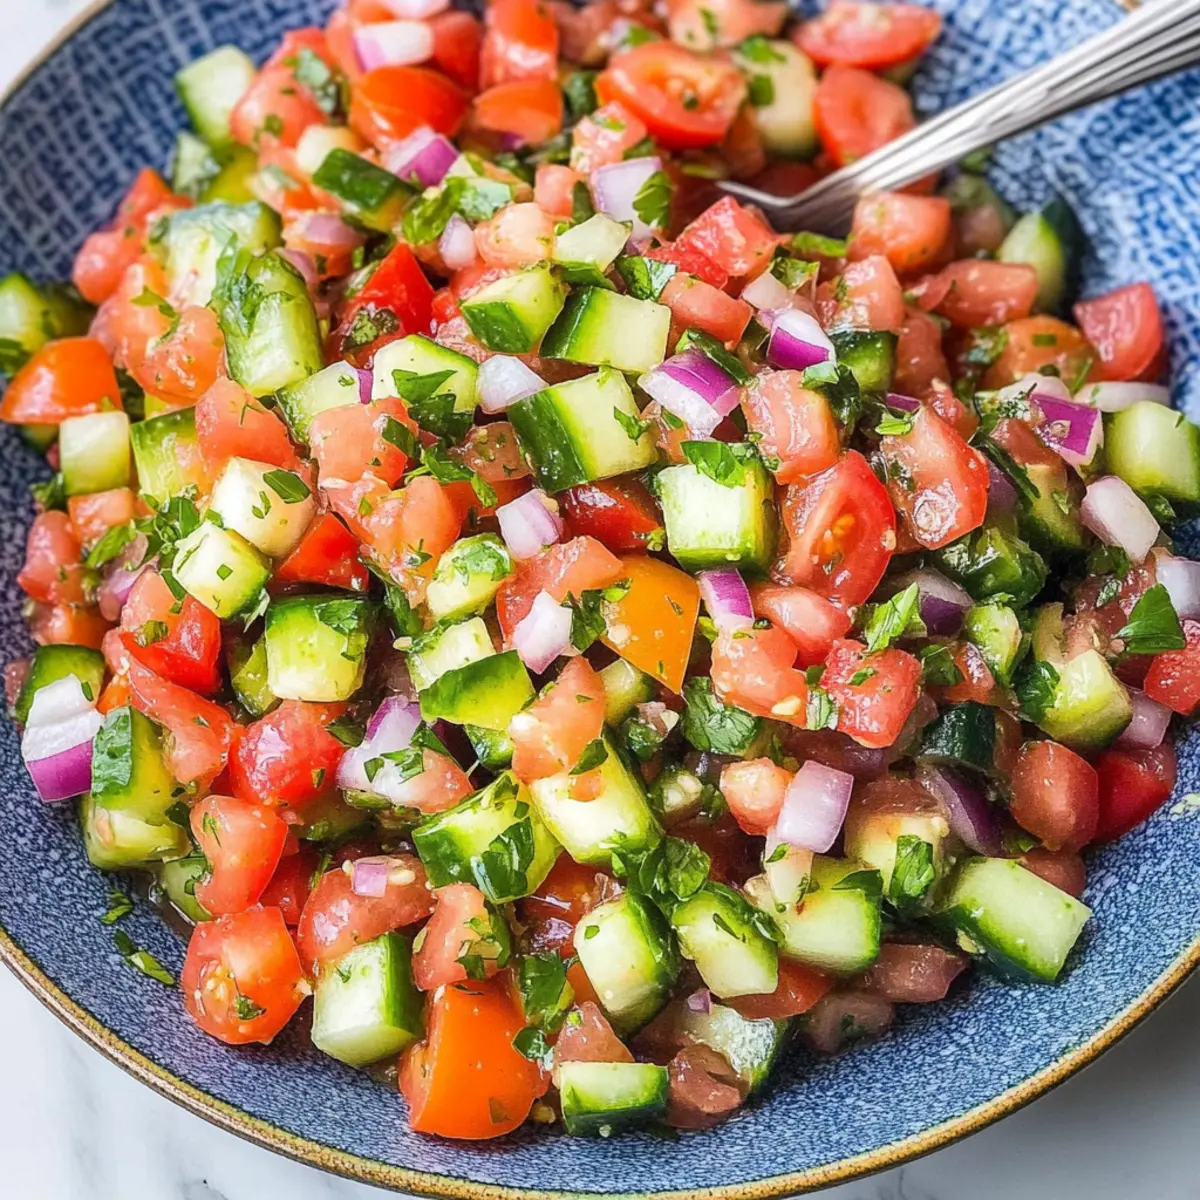
Step‑by‑Step Instructions for Israeli Salad
Step 1: Wash the Vegetables
Begin by thoroughly washing all your vegetables under cool running water. Use a clean vegetable brush to scrub the Roma tomatoes and cucumbers to remove any dirt. Pat them dry with a clean towel while you prepare your cutting board and sharp knife for chopping.
Step 2: Chop the Tomatoes and Cucumbers
Finely dice the Roma tomatoes and Persian or English cucumber into small, uniform pieces. Aim for about 1/4-inch cubes for an inviting texture that blends well in your Israeli Salad. Place the diced vegetables into a large mixing bowl as you chop, allowing the colors to mingle.
Step 3: Add Bell Pepper and Onion
Next, chop the red bell pepper and onion, ensuring they’re similarly sized to the diced tomatoes and cucumbers. The bell pepper adds sweetness, while the onion brings a flavorful bite. Add both to the bowl, creating a vibrant medley of colors that will make your salad visually appealing.
Step 4: Incorporate Fresh Parsley
Rinse the fresh parsley to remove any grit and then finely chop it. This fresh herb will enhance the flavors of your Israeli Salad. Stir the parsley into the bowl with the other vegetables, allowing the bright green to shine among the other colorful ingredients.
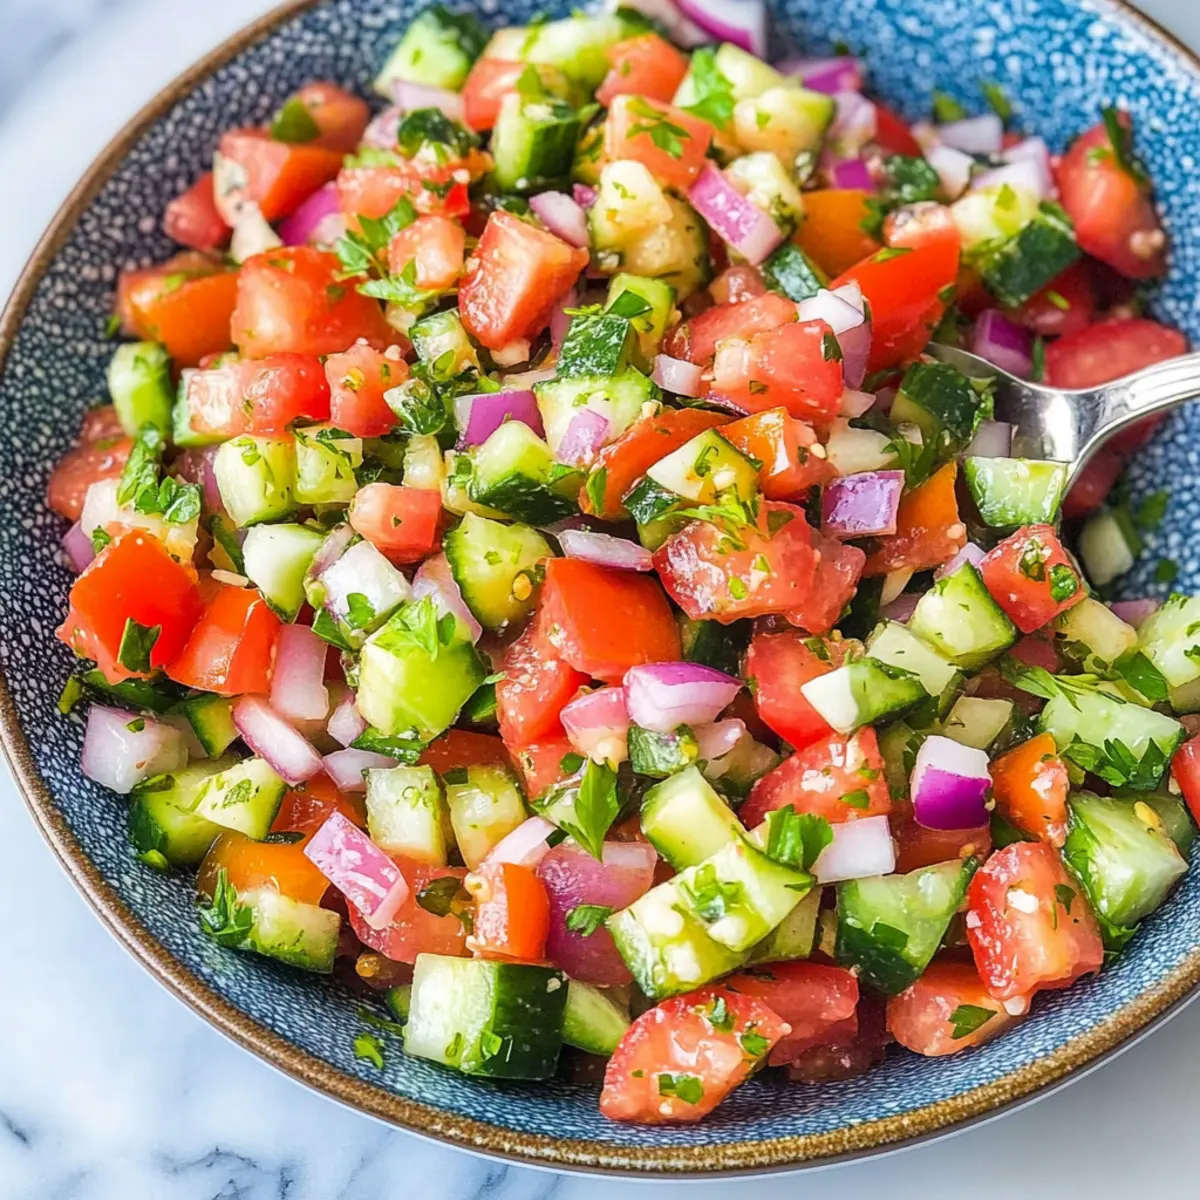
Step 5: Prepare the Dressing
In a small bowl, combine fresh lemon juice and olive oil, whisking them together until they blend smoothly. This tangy dressing is crucial for infusing the salad with flavor. Add salt to taste, ensuring you balance the acidity of the lemon with the richness of the oil.
Step 6: Combine Everything
Pour the dressing over the chopped vegetables in your large mixing bowl. Use a spatula or large spoon to gently toss everything together, ensuring each piece of vegetable is coated with the dressing. The goal is a light, refreshing coat rather than soaking the salad.
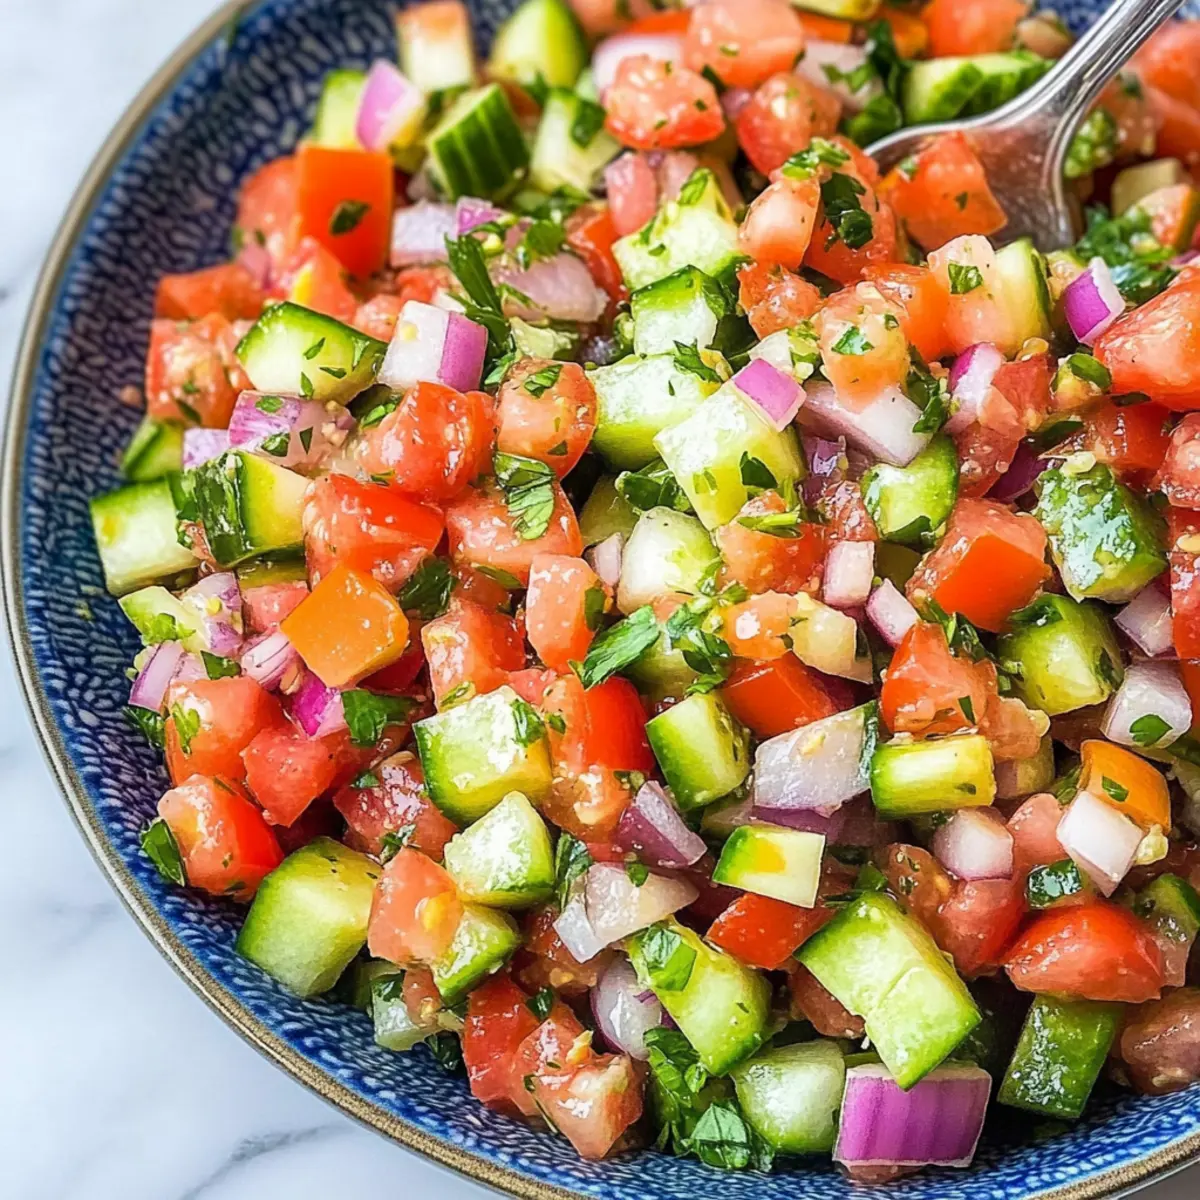
Step 7: Chill and Serve
Ideally, let your Israeli Salad sit in the refrigerator for at least 20 minutes before serving. This resting time allows the flavors to meld and the vegetables to chill. Serve your salad cold or at room temperature, and enjoy the fresh, healthy crunch!
Israeli Salad Variations & Substitutions
Feel free to get creative with your Israeli Salad by experimenting with fun variations that entice your taste buds and suit your dietary needs!
-
Creamy Avocado: Add diced avocado for a rich, creamy element that complements the crunchy veggies beautifully. The creaminess will elevate the overall flavor profile, making it more satisfying.
-
Protein-Packed Chickpeas: Incorporate chickpeas for a hearty twist and boost of protein, transforming your salad into a more filling meal. This also adds a lovely texture contrast that balances the freshness of the vegetables.
-
Salty Feta or Olives: Mix in crumbled feta cheese or olives for a delightful salty punch that enhances the flavors of the fresh ingredients. This addition offers a Mediterranean flair that ties in beautifully with the core ingredients.
-
Herb Swaps: Fresh herbs can be swapped for cilantro or mint, introducing a unique flavor that can change the entire vibe of the salad. These herbs add a refreshing twist that pairs well with the existing ingredients.
-
Citrus Twist: Replace lemon juice with fresh lime juice for a different citrus zing. This subtle change can add an exciting depth to the salad’s dressing, brightening up the flavors even more.
-
Spice it Up: If you love heat, add finely chopped jalapeños or a sprinkle of red pepper flakes to bring some spice into the mix! The heat will offer a beautiful contrast to the refreshing veggies.
-
Nutty Texture: Toss in some toasted pine nuts or walnuts for an irresistible crunch and nutty flavor. This variation will add both texture and a satisfying richness to your salad.
-
Greens Base: Serve your colorful salad on a bed of mixed greens or spinach to transform it into a vibrant entree. This not only expands the portion but also increases the nutrient content, making it even healthier!
Each of these variations offers an opportunity to tailor the Israeli Salad to your specific cravings or dietary needs, providing a delightful experience every time you prepare it. Enjoy the process and share the joy of this versatile dish with family and friends!
What to Serve with Fresh and Flavorful Israeli Salad
Elevate your dining experience by pairing this refreshing dish with complementary sides that will tantalize your taste buds.
-
Grilled Chicken Skewers: Juicy and aromatic, these skewers enhance the salad’s freshness, creating a vibrant Mediterranean feast.
-
Warm Pita Bread: Soft and fluffy, warm pita acts like a delicious vehicle for scooping up the salad, adding a satisfying texture.
-
Hummus: Creamy and flavorful, hummus pairs beautifully, offering a rich contrast to the crunchy vegetables.
-
Falafel: Crispy and savory, falafel provides a hearty touch to your meal, making it feel more substantial and fulfilling.
-
Tzatziki Sauce: Cool and tangy, tzatziki introduces a creamy element that perfectly complements the fresh, zesty flavors of the salad.
-
Quinoa: For a protein-packed option, serve quinoa alongside; it beautifully absorbs the salad dressing’s flavors while adding nutty undertones.
-
Roasted Eggplant: Rich and smoky, roasted eggplant enhances the taste experience, creating a delightful interplay of textures.
-
Sparkling Water with Lemon: Refreshing and fizzy, this drink brightens your meal, making it even more enjoyable while accentuating the citrus notes in your salad.
-
Baklava: For dessert, the sweet and nutty layers of baklava provide a satisfying finish, leaving everyone wanting just one more bite.
Expert Tips for Israeli Salad
- Freshness Matters: Consume the salad within 2-3 days of preparation to maintain its crunch; lemon juice may make veggies soggy over time.
- Salt Adjustment: Be mindful of the salt; it can vary with the ripeness of tomatoes, so taste before adding too much to this vibrant Israeli Salad.
- Chill for Flavor: Allow the salad to rest in the refrigerator for at least 20 minutes before serving; this melds the flavors beautifully, enhancing taste.
- Vegetable Uniformity: Cut your vegetables into similar-sized pieces (about 1/4 inch) for an even texture and pleasant eating experience.
- Last-Minute Salt: To prevent sogginess, consider adding salt right before serving instead of mixing it in too early.
Make Ahead Options
These vibrant Israeli Salad ingredients are perfect for meal prep! You can chop the tomatoes, cucumbers, bell peppers, onions, and fresh parsley up to 24 hours in advance. Simply store them in an airtight container in the refrigerator to keep them fresh and crisp. However, it’s best to wait to add any salt until just before serving, as it can draw moisture out of the veggies. When you’re ready to enjoy your salad, mix the prepped vegetables with the dressing (fresh lemon juice and olive oil) to make a delicious combination that’s just as refreshing and colorful as if it were made fresh. This saves you valuable time during busy weeknights while still delivering restaurant-quality results!
Storage Tips for Israeli Salad
- Fridge: Store in an airtight container in the refrigerator for up to 3-4 days. This keeps your Israeli Salad fresh and crunchy for several meals.
- Room Temperature: If serving at a picnic or gathering, limit exposure to room temperature to no more than 2 hours to prevent spoilage.
- Reheating: Israeli Salad is best served cold or at room temperature, so there’s no need to reheat; simply toss it lightly before serving to refresh the flavors.
- Prevent Sogginess: Avoid adding salt until just before serving to maintain the crispness of the vegetables in your delicious Israeli Salad.
Israeli Salad Recipe FAQs
How do I choose ripe tomatoes for the salad?
Absolutely! Look for Roma tomatoes that are firm and bright red, with no dark spots or blemishes. If Roma isn’t available, any ripe tomato variety will do; just ensure they feel slightly heavy for their size and have a nice aroma.
How should I store leftover Israeli Salad?
To keep your Israeli Salad fresh, store it in an airtight container in the refrigerator. It will remain good for up to 3-4 days. For the best texture, try to consume it within this time frame, as the dressing can cause the vegetables to become soggy over time.
Can I freeze Israeli Salad?
I recommend against freezing Israeli Salad due to its high-water content, which can turn the vegetables mushy once thawed. Instead, prepare fresh servings to enjoy the vibrant crunch. If you’re batch-cooking, consider freezing some of the dressing separately, which can be easily whisked and added when you’re ready to serve.
What if my vegetables turn soggy?
Very common! If your salad becomes soggy, try adding more diced cucumbers or fresh parsley to absorb excess moisture, or lightly toss in some fresh chopped greens just before serving. To prevent this in the first place, avoid adding salt until just before you’re ready to eat.
Is Israeli Salad suitable for people with dietary restrictions?
Absolutely! This salad is vegan and gluten-free, making it a healthy option for a variety of dietary needs. However, if you or your guests have allergies, always check that any substitutions (like oils) are safe, and consider informing everyone about any additional toppings you may add. Enjoy worry-free!
Vibrant Israeli Salad: Fresh, Crunchy, and Totally Addictive
Ingredients
Equipment
Method
- Begin by thoroughly washing all your vegetables under cool running water. Use a clean vegetable brush to scrub the Roma tomatoes and cucumbers and pat them dry.
- Finely dice the Roma tomatoes and Persian or English cucumber into small, uniform pieces and place them in a large mixing bowl.
- Chop the red bell pepper and onion and add them to the bowl, creating a vibrant medley of colors.
- Rinse the fresh parsley and finely chop it, then stir it into the bowl with the other vegetables.
- In a small bowl, combine fresh lemon juice and olive oil, whisking them together, and add salt to taste.
- Pour the dressing over the vegetables and gently toss everything together.
- Let your Israeli Salad sit in the refrigerator for at least 20 minutes before serving.
Leave a Reply