
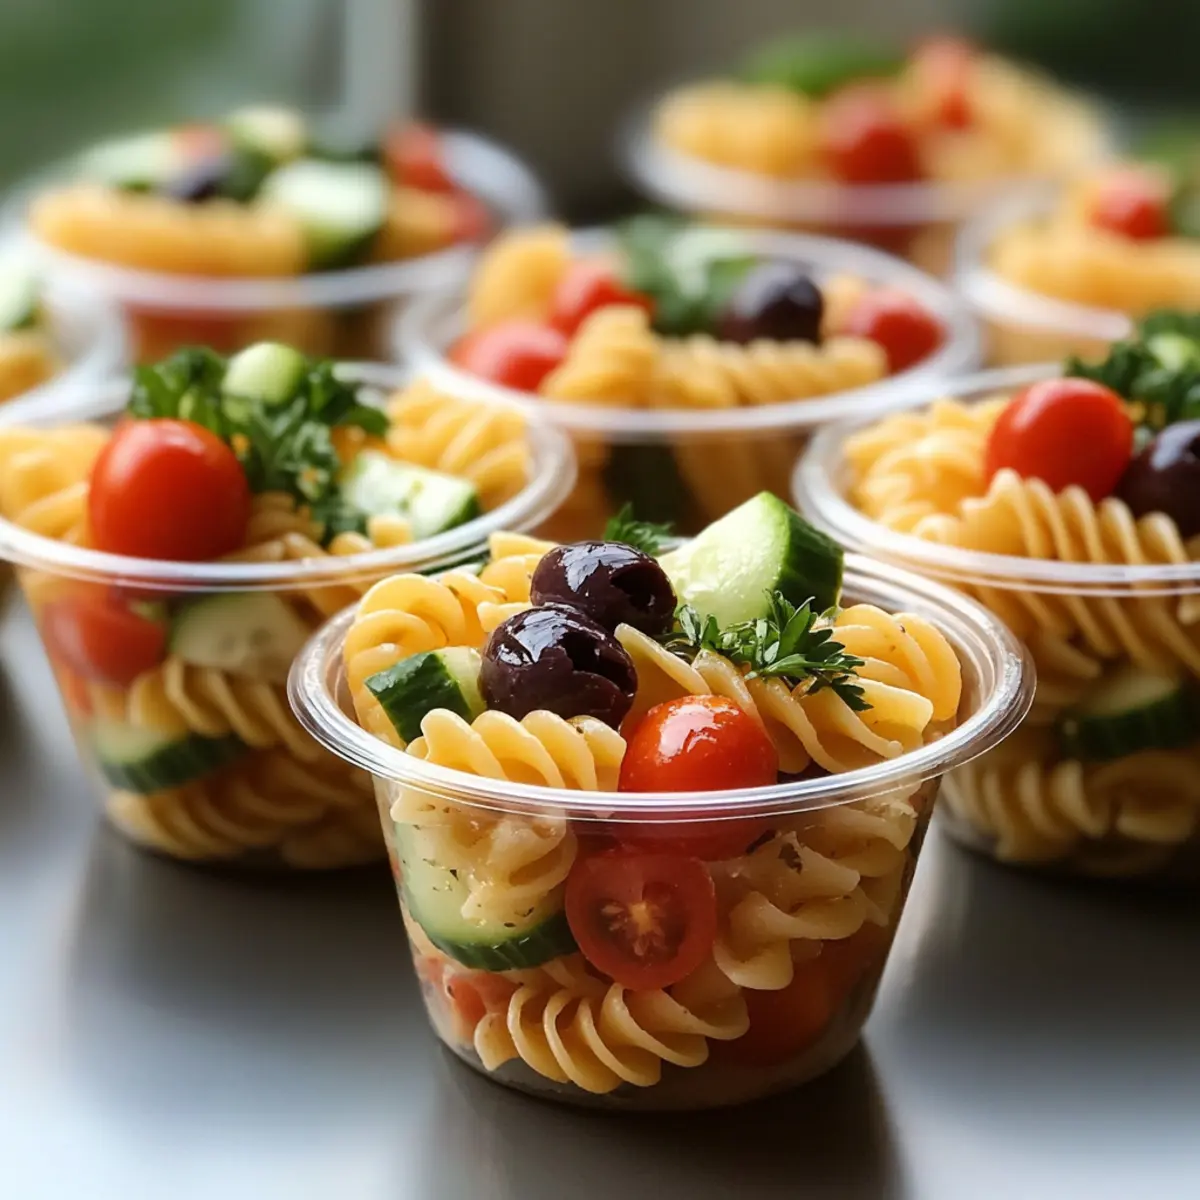
Gazing at a vibrant spread of food at a summer gathering always sparks joy! I often find myself gravitating towards dishes that are not just delicious but also easy to enjoy, and that’s where these colorful Pasta Salad Cups come in. Perfect for graduation parties, BBQs, or potlucks, they boast the ultimate combination of bright flavors and convenience—no utensils required! The best part? You can whip them up in no time, making them an effortless crowd-pleaser that’s as delightful to prepare as it is to eat. As we dive into the ingredients and simple steps, I bet you’ll have fun exploring different variations that match your taste. Ready to elevate your next gathering with these portable bites? Let’s get cooking!
Why Are Pasta Salad Cups a Game Changer?
Portable, These delightful cups allow you to indulge in a tasty meal without the fuss of utensils, making them perfect for gatherings or picnics. Customizable, You can easily switch up ingredients, whether you prefer tangy feta or mini mozzarella balls. Vibrant flavors, Each bite bursts with fresh veggies and zesty dressing, sure to impress your guests. Make-ahead magic, Prepare these the night before for seamless entertaining. For even more crowd-pleasers, check out our Honey Garlic Pasta or Marry Chicken Pasta recipes that are perfect for any occasion!
Pasta Salad Cups Ingredients
For the Salad
• Rotini Pasta – The base of the salad, providing the perfect structure; feel free to use any pasta shape that’s easy to serve.
• Cucumbers – Adds that satisfying crunch and refreshing taste; zucchini can work nicely as a substitute.
• Cherry Tomatoes – Bursting with sweetness and vibrant color; grape tomatoes or diced bell peppers make great alternatives.
• Olives – Infuses a briny punch; try capers for a similar flavor or omit for a milder profile.
• Fresh Parsley – Brightens up the salad with flavor and color; you can easily swap it for basil or cilantro for a different twist.
For the Dressing
• Italian Dressing – This flavorful dressing brings everything together in harmony; Greek vinaigrette or a homemade lemon herb variation can be used for a delightful change.
Step‑by‑Step Instructions for Pasta Salad Cups
Step 1: Cook the Pasta
Begin by bringing a large pot of salted water to a rolling boil. Add the rotini pasta and cook it for about 10 minutes or until al dente, stirring occasionally. Once done, drain the pasta, allowing it to cool slightly, then rinse it under cold running water to stop the cooking process and help prevent sticking.
Step 2: Chop the Veggies
While the pasta cools, wash and prepare your vegetables. Dice the cucumbers into bite-sized pieces, halve the cherry tomatoes, and slice the olives, ensuring each piece is manageable for easy serving. Finely chop a handful of fresh parsley to add vibrant color and flavor to your Pasta Salad Cups, making the salad visually appealing and delicious.
Step 3: Mix Ingredients
In a large mixing bowl, combine the cooled rotini pasta with the chopped cucumbers, halved cherry tomatoes, sliced olives, and parsley. Gently toss all the ingredients together using a spatula or large spoon until everything is uniformly mixed. This step ensures that every bite of your pasta salad contains a colorful variety of flavors and textures.
Step 4: Add Dressing
Next, pour in your chosen Italian dressing over the mixed salad. Use a large spoon to gently fold the dressing into the pasta and veggies until everything is evenly coated. Remember to taste and adjust the seasoning if necessary, adding a pinch of salt and pepper to enhance the overall flavor of the Pasta Salad Cups.
Step 5: Portion into Cups
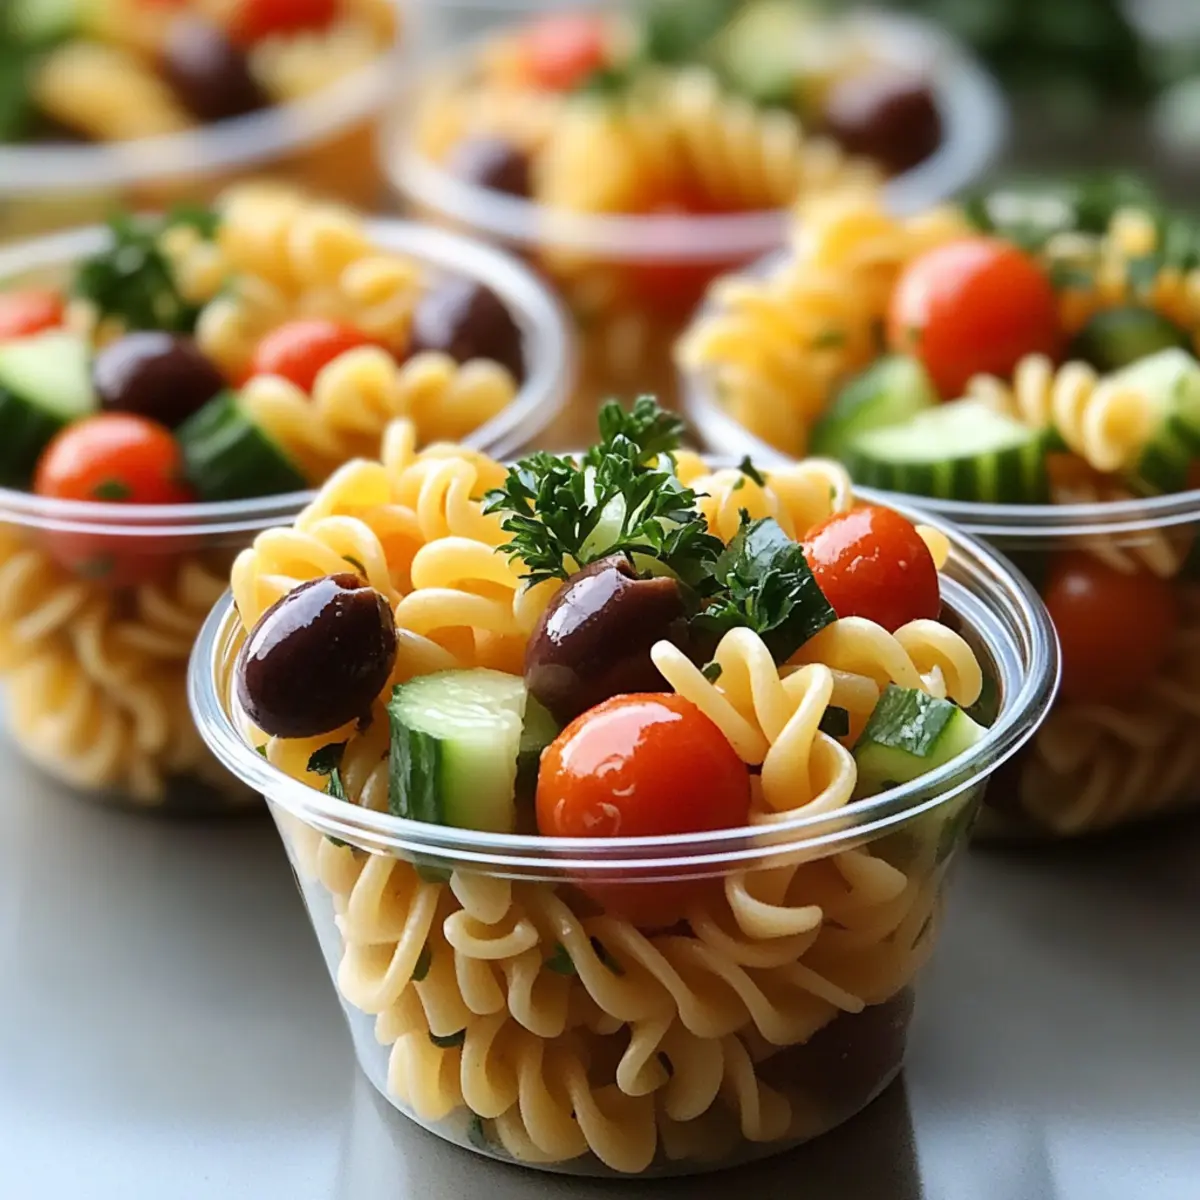
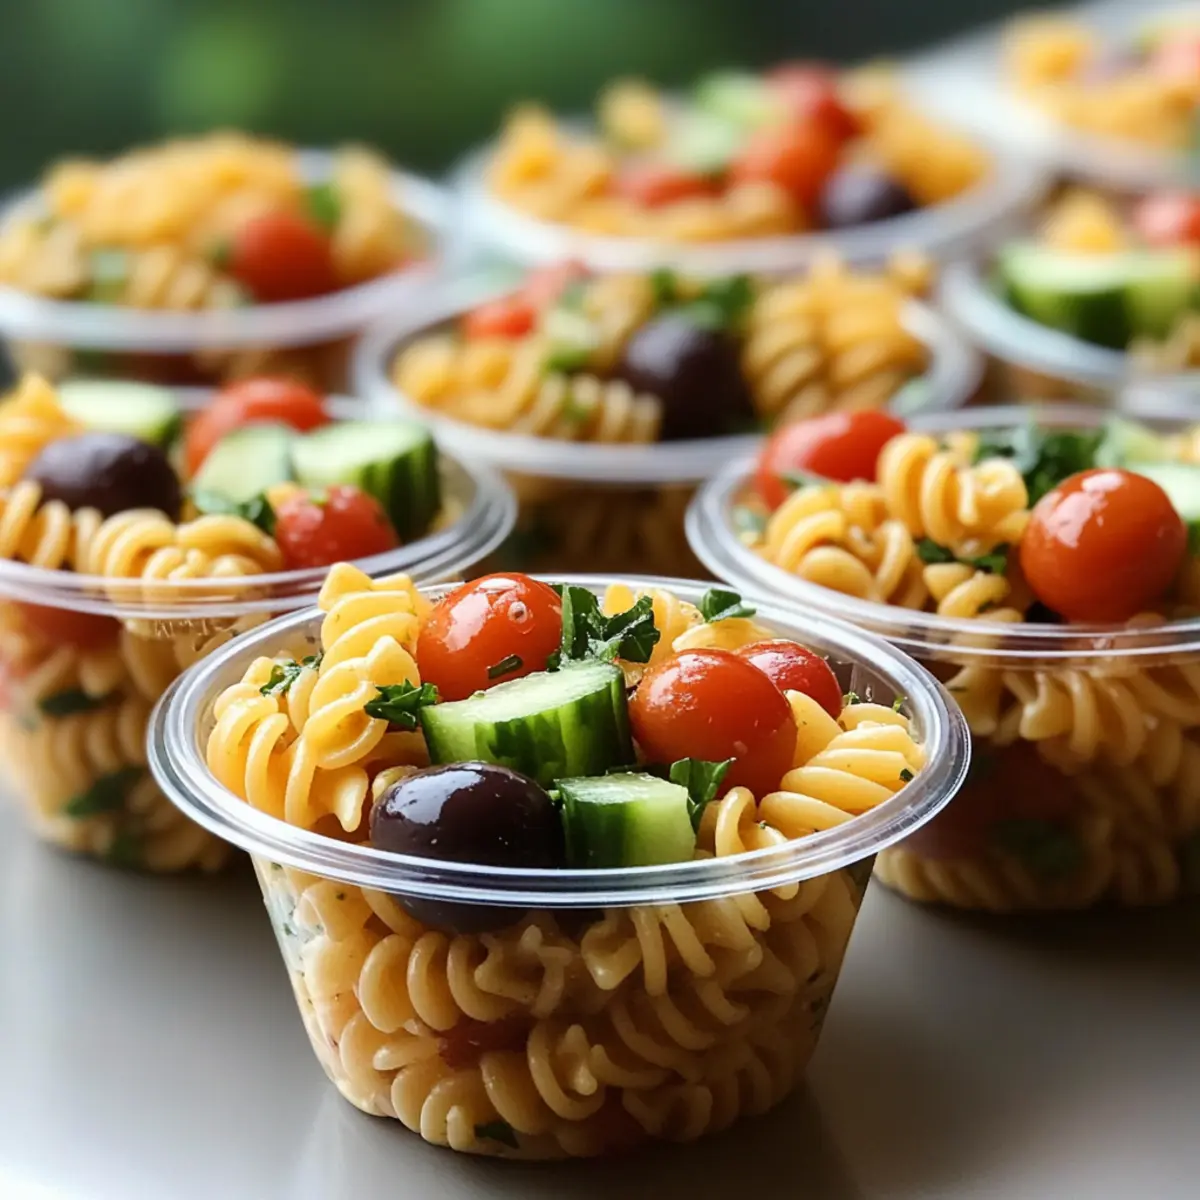
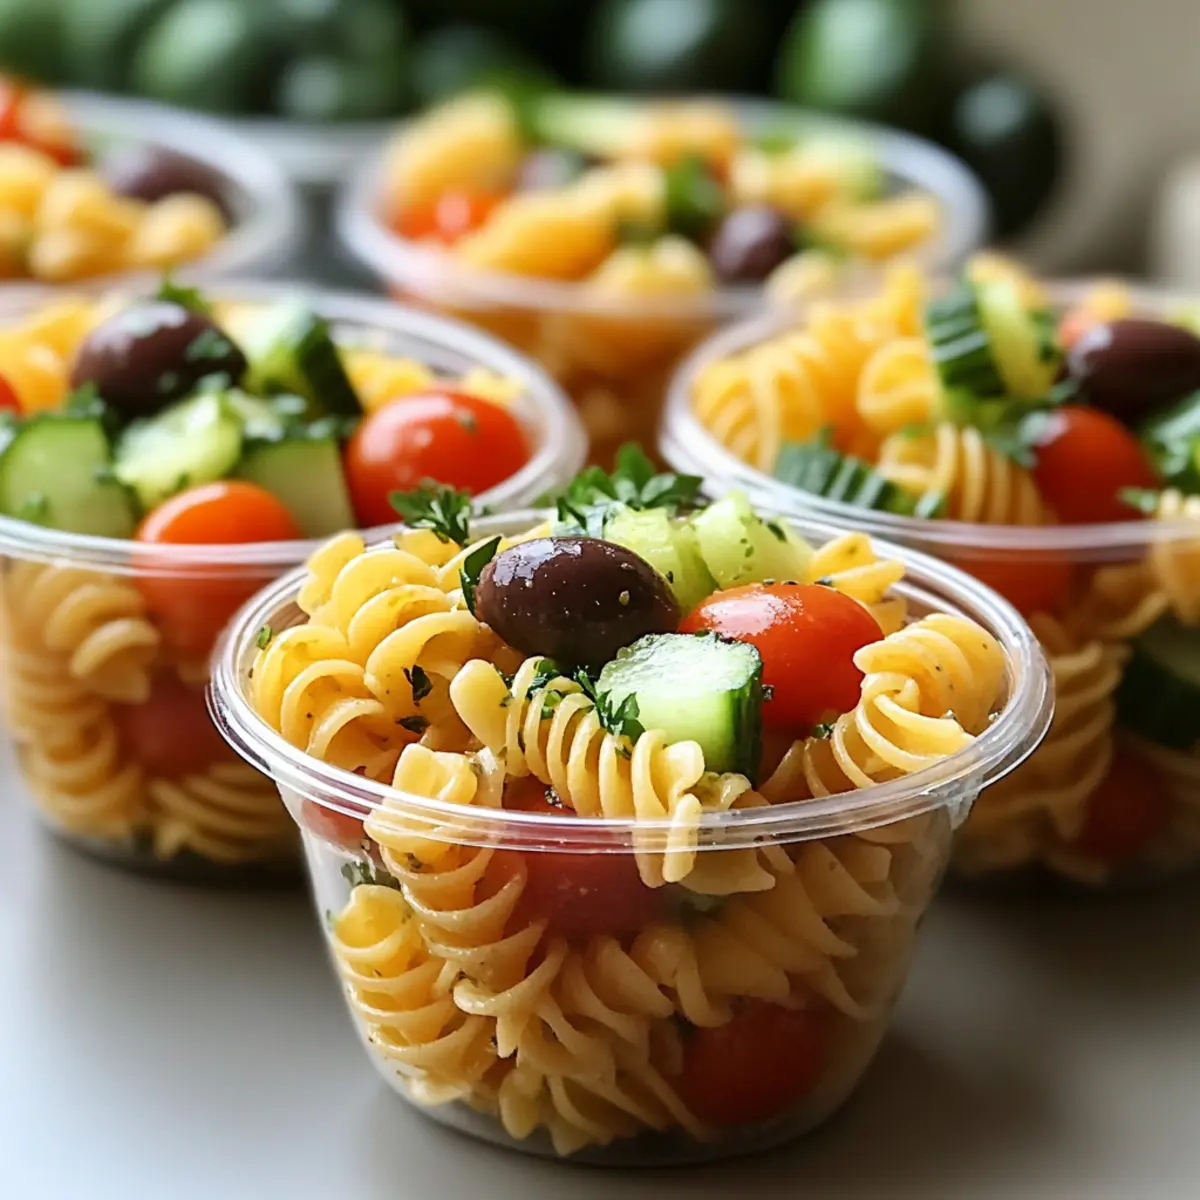
Using a spoon, carefully fill small clear cups with the prepared pasta salad mixture. Be sure to evenly distribute the pasta, cucumbers, tomatoes, and olives for a balanced presentation. Each cup should look vibrant and enticing, making them perfect for serving at gatherings and ensuring that all your guests get a delightful mix in each serving.
Step 6: Chill and Serve
Once all your cups are filled, cover them with plastic wrap or a lid and refrigerate until you’re ready to serve. Letting your Pasta Salad Cups chill for at least 30 minutes allows the flavors to meld beautifully, making them even more refreshing as a portable snack or side dish for any occasion. Serve cold for the best taste experience!
What to Serve with Pasta Salad Cups
A delightful meal starts with the right pairings that elevate every bite and create a memorable feast!
- Grilled Chicken Skewers: Juicy and flavorful, these skewers add protein that balances the lightness of the pasta salad cups.
- Garlic Breadsticks: Soft and buttery, they provide a warm comfort that complements the refreshing flavors of the salad.
- Crispy Potato Wedges: These crunchy, savory bites bring a delightful texture contrast, making each bite interesting and fulfilling.
- Fruit Salad: A mix of seasonal fruits adds a sweet, juicy element, perfectly refreshing alongside the savory pasta.
- Caprese Salad: With its rich mozzarella and bright basil, this classic pairing enhances the Italian vibes in your meal.
- Sparkling Lemonade: Bright and zesty, a bubbly drink brings a refreshing lift to the overall dining experience.
- Chocolate Bites: A small sweet treat at the end ties everything together, offering a satisfying finish to a delightful gathering.
- Antipasto Platter: An assortment of cured meats, cheeses, and pickled vegetables creates a shareable starter that will impress guests before the main event.
Pasta Salad Cups Variations & Substitutions
Feel free to get creative with your Pasta Salad Cups—each variation brings a unique twist that’s just as delightful!
-
Creamy Twist: Add a dollop of Greek yogurt or sour cream for a rich, tangy flavor that complements the veggies beautifully. Mixing in a bit of ranch seasoning can elevate this option further!
-
Protein Boost: Toss in grilled chicken, chickpeas, or even diced hard-boiled eggs for a heartier dish. This change makes your cups even more satisfying and fulfilling.
-
Vegetable Swaps: Replace cucumbers with roasted bell peppers or add some fresh spinach to introduce new flavors and textures. The warmth of roasted peppers creates a comforting twist!
-
Cheese Variation: Use crumbled feta or mini mozzarella balls to add a delicious richness. Not only will it enhance the taste, but the creamy texture brings a delightful contrast to the crunchy veggies.
-
Flavor Infusion: Experiment with flavored dressings, like balsamic vinaigrette or a zesty lemon herb dressing. Each dressing adds its unique character to the salad, keeping every bite exciting!
-
Herb Alternatives: Fresh basil or cilantro can be swapped for parsley, giving a fresh and vibrant taste that’s perfect for summer gatherings. The fragrance alone will have everyone diving in!
-
Heat Elements: For those who love a kick, sprinkle in some red pepper flakes or diced jalapeños. This spicy addition will tantalize your taste buds!
-
Noodle Replacement: Try using quinoa, farro, or spiralized zucchini instead of pasta for a delightful grain-free or gluten-free twist. It’s a fantastic way to change the texture while keeping it light!
These variations ensure that your Pasta Salad Cups shine every time—perfect for any occasion. And speaking of pasta, if you’re looking for even more delicious recipes, don’t miss our Quick Chicken Pot Pie Pasta and Ground Turkey Pasta for family-friendly favorites!
Expert Tips for Pasta Salad Cups
• Dressing Balance: Always add enough dressing to ensure the salad is moist but not soggy. If it appears dry, drizzle in a bit more for perfect pasta salad cups.
• Avoid Overcooking: Keep an eye on the pasta while boiling; cooking it al dente will prevent mushiness in your salad after chilling.
• Prep Ahead: For optimal freshness, prepare the salad a day in advance, storing it covered in the refrigerator until serving time.
• Season Smartly: Be careful with salt since olives and dressing already add saltiness. Taste before adding extra seasoning to keep the flavors balanced.
• Freshness Matters: Use very fresh vegetables for the best crunch and flavor. Avoid soggy cucumbers by patting them dry after washing.
Make Ahead Options
These Pasta Salad Cups are perfect for meal prep, saving you time on busy weeknights! To make them in advance, you can prepare the pasta salad mixture up to 24 hours ahead of time. Simply cook and cool the rotini, chop the veggies, and toss everything together with the dressing. Then, store the salad in an airtight container in the refrigerator. When you’re ready to serve, portion the salad into cups and refrigerate again for about 30 minutes to enhance the flavors and ensure they’re served cold. This way, your Pasta Salad Cups will be just as delicious and refreshing as if they were freshly made!
How to Store and Freeze Pasta Salad Cups
Fridge: Keep your prepared pasta salad cups covered in the refrigerator for up to 3 days to maintain freshness and avoid sogginess.
Make-Ahead: For best results, prepare the pasta salad the night before your event and portion it into cups to chill overnight, ensuring all flavors meld beautifully.
Freezer: While it’s best to enjoy these pasta salad cups fresh, you can freeze individual portions by sealing them in airtight containers. They’ll last up to a month, but texture may change upon thawing.
Reheating: These cups are best served cold and don’t require reheating. However, if you change your mind, allow them to thaw in the fridge overnight before serving.
Pasta Salad Cups Recipe FAQs
How do I choose the right pasta for my salad?
Absolutely! For Pasta Salad Cups, I recommend using rotini pasta because its spiral shape holds dressing and ingredients beautifully. However, any small pasta shape, like fusilli or elbow macaroni, works well too. Just ensure that whatever you choose has a size that’s easy to serve and eat straight from the cup.
What is the best way to store leftover Pasta Salad Cups?
To keep your Pasta Salad Cups fresh, cover them tightly with plastic wrap or store them in an airtight container in the refrigerator. They’ll stay good for up to 3 days. Ensure that you don’t overpack the cups, as air needs to circulate slightly to keep the veggies crisp!
Can I freeze Pasta Salad Cups?
While it’s best to enjoy Pasta Salad Cups fresh, you can freeze individual portions. To do this, place them in airtight containers and seal tightly. They should be good in the freezer for up to a month. Just remember, the texture may change slightly upon thawing due to the fresh ingredients.
What if I have an allergy to olives?
Very! If you or your guests have an olive allergy, you can simply omit them from your Pasta Salad Cups. You might consider adding capers for a similar briny flavor or enhancing with extra herbs like basil or oregano to maintain a punch of flavor without compromising safety.
How can I tell if my veggies are fresh enough for the salad?
For the best Pasta Salad Cups, look for veggies that are firm and vibrant. Cucumbers should be crisp and free from dark spots, while cherry tomatoes should be bright and plump. If you notice soft, wrinkled, or discolored areas, it’s best to skip them and choose fresher options to ensure a delightful crunch in every bite!
What variations can I try to make my Pasta Salad Cups even more exciting?
You can have so much fun experimenting with variations! Consider adding mini mozzarella balls or crumbled feta for a creamy texture. If you want a protein boost, grilled chicken or chickpeas can easily be mixed in. Swap in seasonal veggies like roasted peppers or even leafy greens like spinach to keep things fresh and exciting!
Pasta Salad Cups: Fresh, Flavorful, and Perfect for Parties
Ingredients
Equipment
Method
- Bring a large pot of salted water to a rolling boil and cook the rotini pasta for about 10 minutes or until al dente. Drain the pasta and rinse under cold running water.
- Wash and prepare your vegetables. Dice the cucumbers, halve the cherry tomatoes, and slice the olives. Chop the parsley.
- In a mixing bowl, combine the cooled pasta with the chopped cucumbers, cherry tomatoes, sliced olives, and parsley. Toss gently to mix.
- Pour in the Italian dressing and fold it into the salad until evenly coated. Adjust seasoning if necessary.
- Spoon the mixture into small clear cups, ensuring an even distribution for presentation.
- Cover the cups and refrigerate for at least 30 minutes before serving to allow flavors to meld.
Leave a Reply