
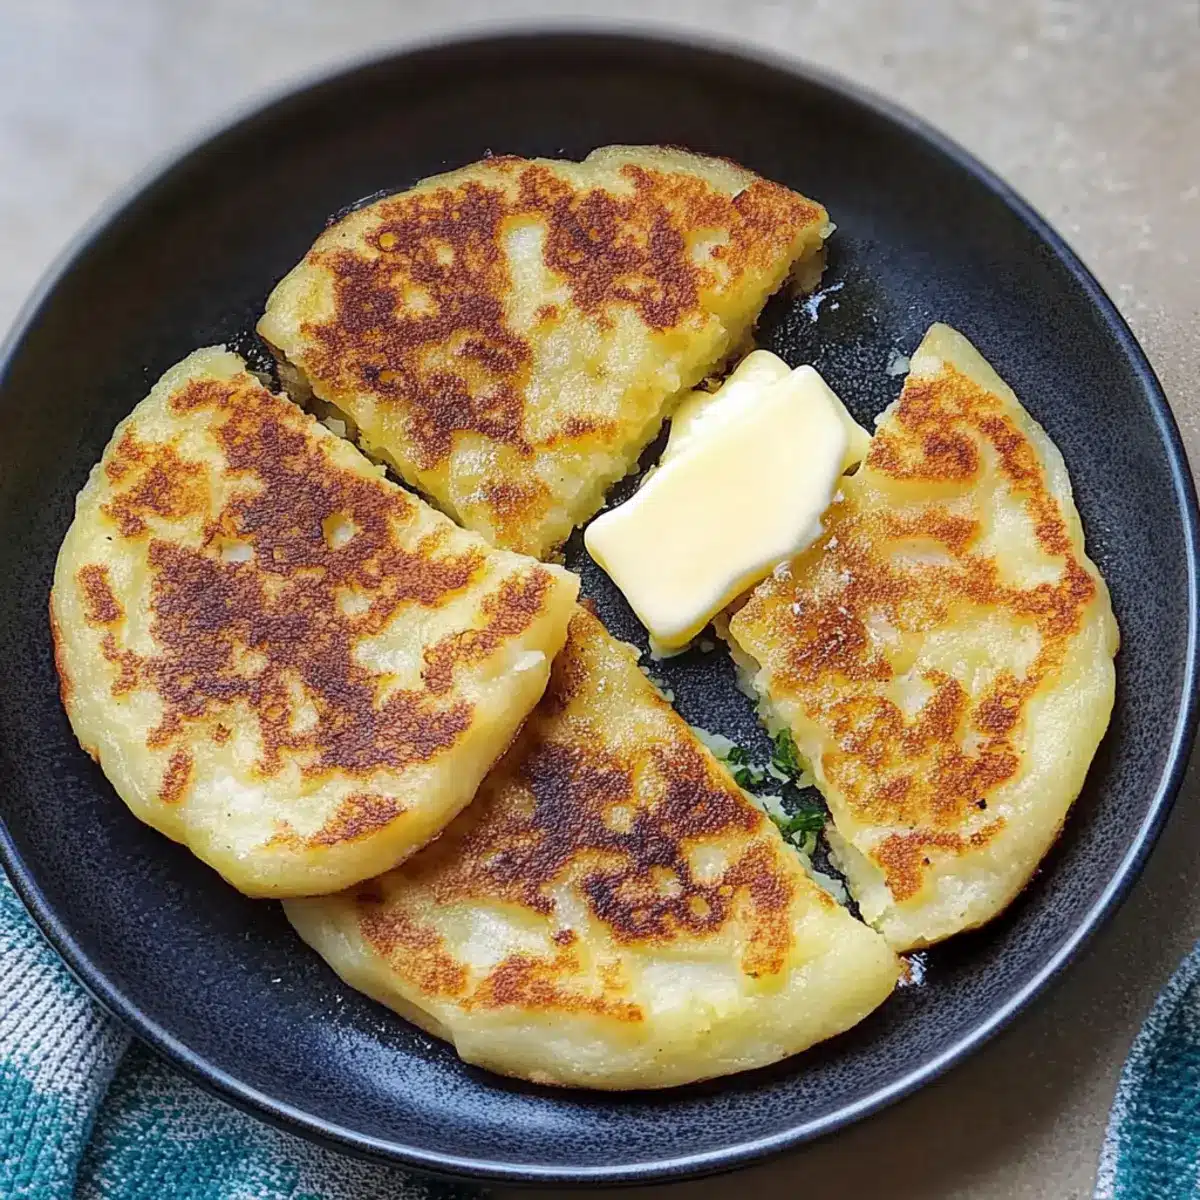
As I flipped through the pages of my grandmother’s old cookbook, the charming, simple recipe for Irish Potato Farls caught my eye like a warm hug. This delightful treat combines the magic of leftover mashed potatoes with just a few pantry staples, transforming them into soft and crispy potato bread that’s perfect for any meal. Whether you’re fueling up for a busy morning or serving a cozy brunch, these fluffy farls offer a thrifty, gluten-free option that adapts beautifully to your taste. Forget about fast food and embrace the warm, comforting aroma of freshly cooked farls in your kitchen. What will you pair them with for a satisfying twist?
Why Make Irish Potato Farls?
Versatile Delight: These Irish Potato Farls are perfect for breakfast, lunch, or dinner, adapting easily to any meal.
Easy Preparation: With just a handful of ingredients, making these farls is incredibly simple, allowing anyone to whip them up in no time.
Crowd-Pleasing Comfort: Their warm, fluffy interior and crispy exterior make them a hit with both family and friends, ensuring they’re enjoyed by all.
Thrify & Resourceful: Utilizing leftover mashed potatoes, this recipe champions sustainability while keeping your meal budget-friendly.
Gluten-Free Option: Want to cater to dietary needs? Easily modify the recipe using gluten-free flour for a delicious alternative without sacrificing flavor.
Transform your brunches with these delightful farls and consider serving them with fried or scrambled eggs for a heartier start, or try them alongside a delicious spread from Folks Sweet Potato Pie for something truly special.
Irish Potato Farls Ingredients
• Perfect for creating your fluffy, crispy potato bread!
For the Dough
• Mashed Potatoes – Provides moisture and richness; make sure they’re cooled for the best texture.
• All-Purpose Flour – Creates the perfect structure; opt for rice or oat flour for a gluten-free option, keeping in mind it may alter the texture.
• Salt – Boosts flavor and balances the potatoes’ natural taste.
• Butter (melted) – Adds richness and helps form a crispy exterior; can be swapped with oil for a dairy-free version.
Optional Add-Ins
• Chopped Fresh Herbs – Adds a burst of flavor; consider using chives or parsley for a fresh twist.
• Grated Vegetables – Boost nutrition easily; incorporate carrots or zucchini for added moisture and flavor.
• Shredded Cheese – For a cheesy delight, mix in your favorite cheese into the dough.
Feel free to experiment when making Irish Potato Farls, taking this traditional recipe into delicious new territory!
Step‑by‑Step Instructions for Irish Potato Farls
Step 1: Prepare the Dough
In a large mixing bowl, combine cooled mashed potatoes, all-purpose flour, salt, and melted butter. Stir the ingredients together until a soft dough forms, approximately 3-5 minutes. The dough should feel slightly sticky but manageable. If using gluten-free flour, be mindful of texture adjustments. Once incorporated, the mixture will resemble a thick paste, ready for kneading.
Step 2: Knead the Dough
Lightly flour a clean work surface to prevent sticking, then turn out the dough flat onto it. Gently knead the dough for about 1-2 minutes until it becomes smooth and elastic, taking care not to overwork it, which can toughen the Irish Potato Farls. Aim for a dough that holds its shape well, indicative of its readiness for rolling.
Step 3: Roll and Cut
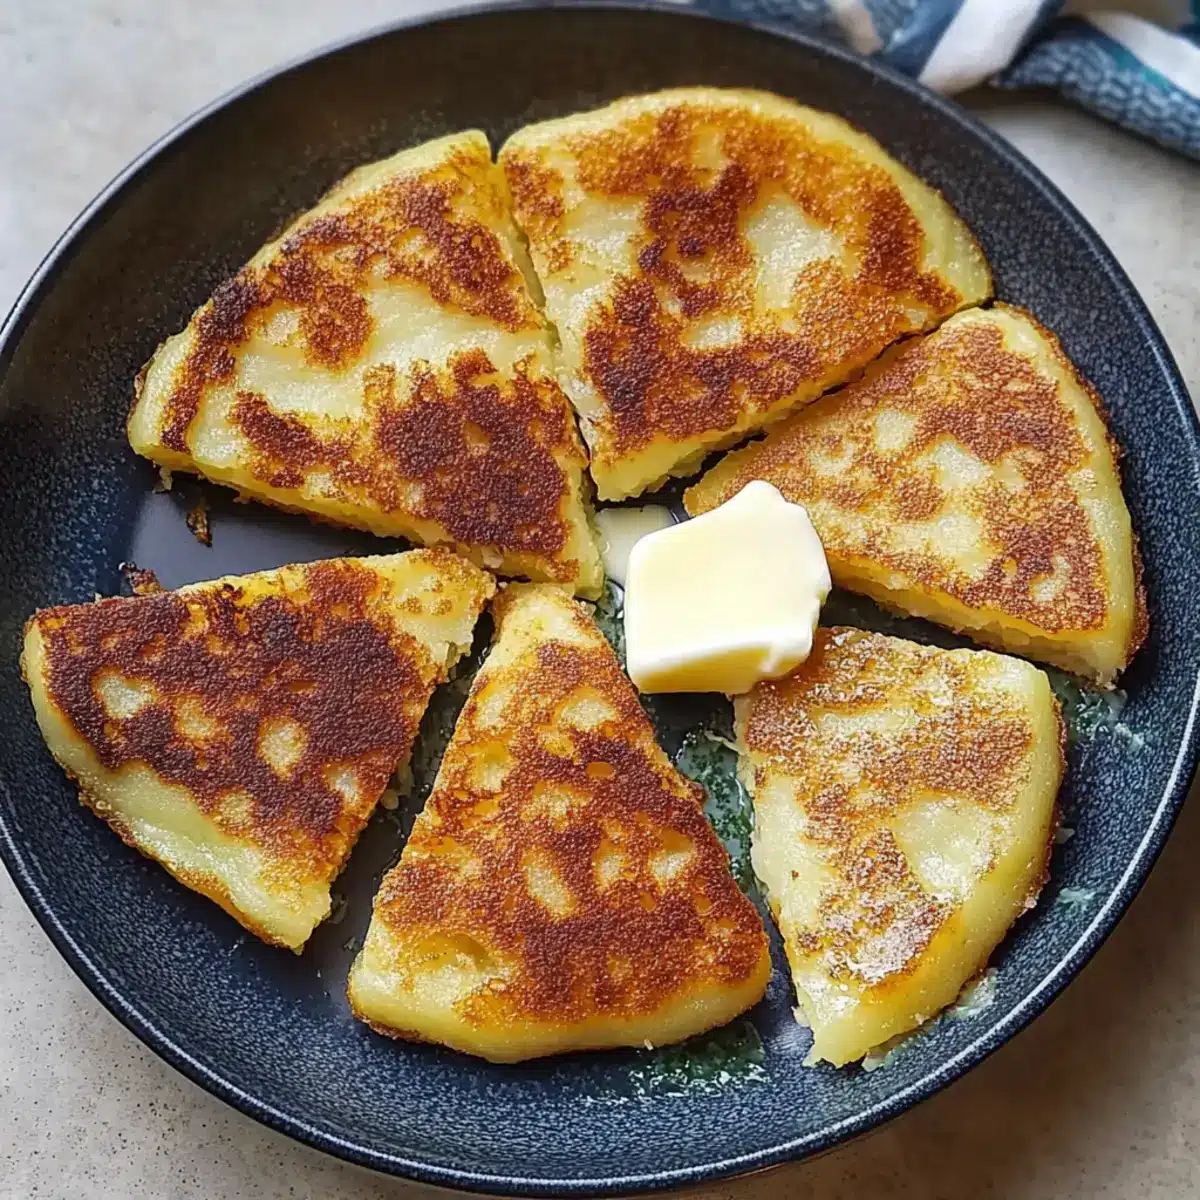
Next, roll the kneaded dough into a circle about 1/4 inch thick using a rolling pin dusted with flour. Once rolled out, cut the circle into quarters, forming triangular farls. These shapes will ensure even cooking and crispness. The dough should maintain a uniform thickness across all pieces to achieve consistent results in the frying process.
Step 4: Cook the Farls
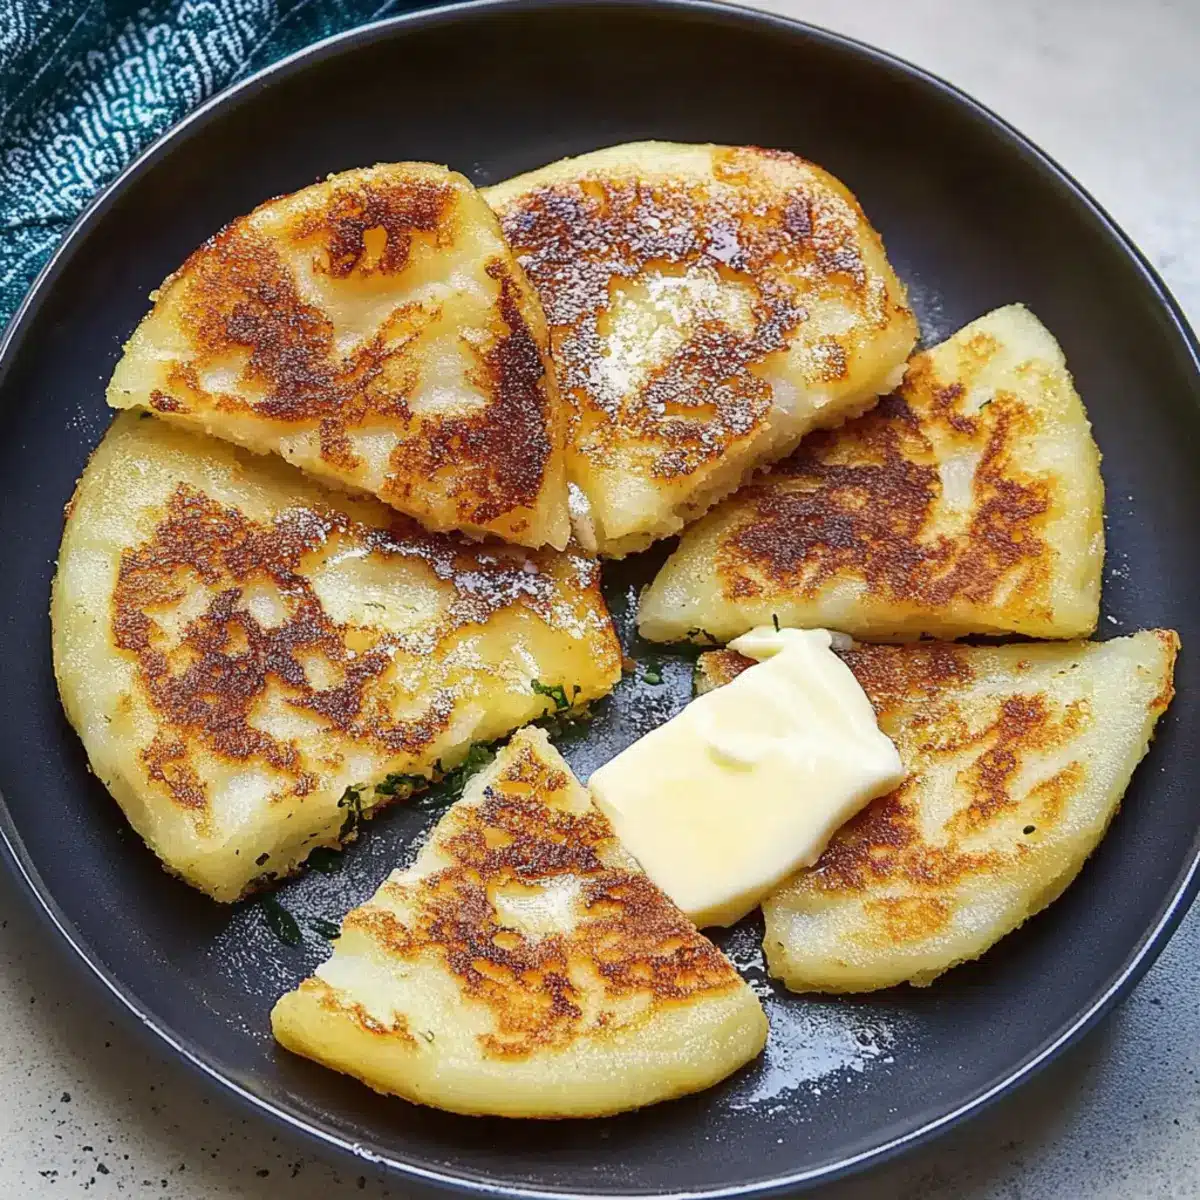
Heat a non-stick skillet or griddle over medium heat, ensuring it’s properly heated without oil, for about 3 minutes. Place the farls onto the hot skillet, cooking each piece for 3-4 minutes on one side. When they turn golden brown and begin to crisp, carefully flip them over to cook the other side for an additional 3-4 minutes. Each side should achieve a beautifully crisp exterior.
Step 5: Serve Warm
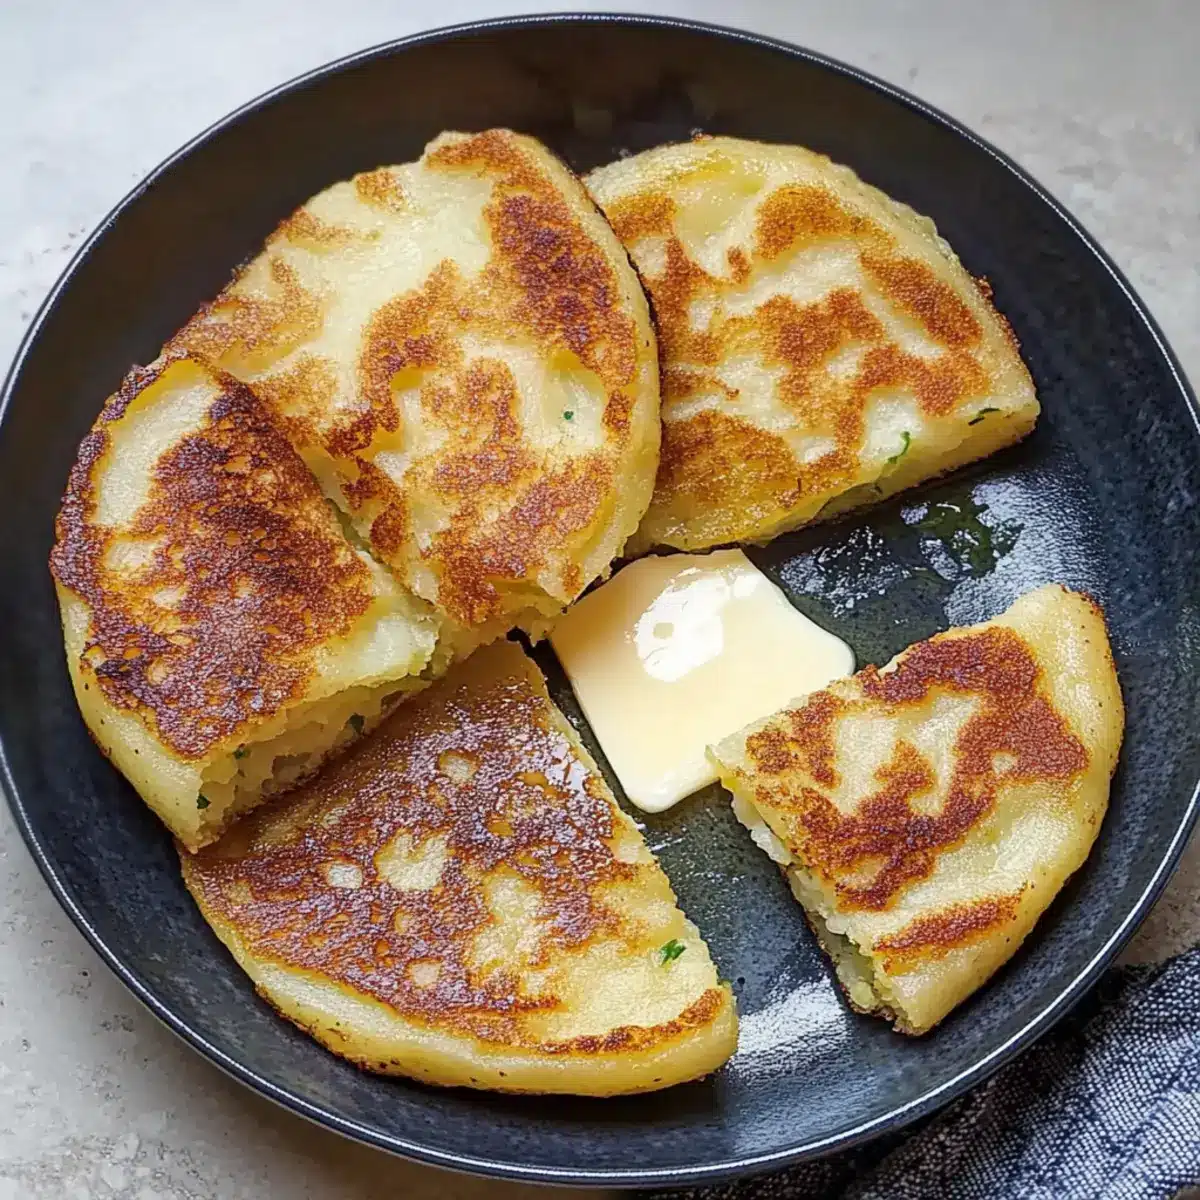
Once cooked, remove the Irish Potato Farls from the skillet and transfer them to a warming plate. Serve them immediately while they are warm, pairing them with butter, eggs, or your favorite toppings. Their delightful texture and comforting flavor make them perfect for any meal, elevating your culinary experience!
Irish Potato Farls Variations & Substitutions
Feel free to get creative and personalize your Irish Potato Farls for an even more delicious experience!
-
Herbed Delight: Incorporate fresh herbs like chives or parsley into the dough for a vibrant flavor boost. This little twist instantly transforms each bite into a fragrant delight.
-
Vegetable-Filled Farls: Add grated veggies such as carrots or zucchini for extra nutrition and moisture. Not only will this enhance the taste, but it also sneaks in some healthy goodness for a well-rounded meal.
-
Cheesy Goodness: Mix in your favorite shredded cheese into the dough to create a mouthwatering cheesy version. The melted bits create heavenly pockets of flavor that elevate these farls to new heights.
-
Gluten-Free Twist: Substitute all-purpose flour with gluten-free alternatives like rice or oat flour. Just keep an eye on the consistency, as this option can change the texture a bit while still keeping deliciously satisfying.
-
Sweet Treats: For a delightful contrast, spread your farls with crème fraîche and top with smoked salmon, or pair them with jam for a sweet option. This unexpected twist will enchant your taste buds and surprise your guests.
-
Savory Spice: If you’re craving some heat, add spices like paprika or cayenne pepper for a warm kick. This playful addition might just become your new favorite!
-
Meal Prepping Star: Remember, these farls freeze beautifully! Make extra batches and freeze them for quick meals — just a quick reheat in the skillet brings them back to life.
Serving these farls alongside a warm dish like Folks Sweet Potato Pie can create a comforting, satisfying meal that feels special, even on a weekday. Enjoy exploring all the delightful variations!
What to Serve with Irish Potato Farls?
Savor the simple joys of a comforting meal by pairing these golden, crispy delights with something delightful on the side.
-
Classic Eggs: Serve with fried or scrambled eggs for a hearty breakfast that balances richness with fluffy textures. The creamy yolk complements the crisp farls beautifully.
-
Savory Sausages: Grilled sausages add a meaty element to your meal. Their robust flavor contrasts beautifully with the soft inside of the farls, making every bite a joy.
-
Fresh Salad: A crisp, vibrant salad with greens and a tangy vinaigrette brings a refreshing crunch. It elevates the meal by adding a burst of color and flavor.
-
Homemade Jam: Spread some delicious homemade jam on your farls for a sweet twist. The fruitiness enhances the potato flavors, making it a wonderful brunch treat.
-
Avocado Smash: Creamy avocado spread on warm farls creates a deliciously rich combination. Add a sprinkle of lime for an extra zing that brightens the dish.
-
Creamy Butter: Simply slather the farls with melted or herb-infused butter. The richness melts into the warm bread, making a comforting side for any meal.
-
Cheese Platter: Pair with assorted cheeses—think sharp cheddar or tangy goat cheese. The creamy and salty profiles will beautifully contrast the farls’ fluffy texture.
-
Smoky Bacon: Crispy bacon strips deliver a satisfying crunch and savory flavor that pairs perfectly with the potato bread’s softness.
-
Herbed Yogurt Dip: A tangy, herbed yogurt dip drizzled over or served alongside brings a fresh, cooling element, balancing the crispy warmth of the farls splendidly.
How to Store and Freeze Irish Potato Farls
Room Temperature: Store leftover Irish Potato Farls in an airtight container at room temperature for up to 2 days. Reheat in a skillet for a quick snack.
Fridge: Keep the farls in the refrigerator for up to 5 days, ensuring they’re covered well to prevent drying out. Reheat in a non-stick pan until warm and crispy.
Freezer: These farls freeze beautifully! Place them in a single layer on a baking sheet to freeze individually, then transfer to a freezer bag for up to 3 months. Reheat straight from frozen in a skillet until heated through.
Reheating: For the best results, warm frozen or refrigerated farls in a skillet over medium heat. This will help restore their delightful crispness while warming the center perfectly.
Make Ahead Options
These Irish Potato Farls are perfect for busy home cooks who love meal prep! You can prepare the dough up to 24 hours in advance, storing it wrapped in plastic wrap in the refrigerator to maintain its freshness. Alternatively, you can cook the farls ahead of time and freeze them for up to 3 months; just be sure to let them cool completely before freezing in an airtight bag. When you’re ready to enjoy them, reheat the farls on a skillet for about 2-3 minutes per side to restore their crispiness. This method ensures you have delicious, homemade Irish Potato Farls ready when you need them, saving you time and providing a comforting meal without the hassle!
Expert Tips for Irish Potato Farls
Dough Consistency: Ensure your mashed potatoes are cooled; this aids in achieving the perfect dough consistency for your Irish Potato Farls.
Gentle Kneading: Knead only until smooth—overworking can result in tough farls. Less is more here to maintain tenderness!
Proper Heat: Preheat your skillet effectively; a hot surface is crucial for getting that desirable crispy exterior without burning.
Freezing Friendly: Make a batch and freeze extras for quick meals. Just reheat in a skillet for a fast, delicious treat anytime.
Experiment: Don’t hesitate to add herbs or cheese! Variations can bring fresh flavors and keep your farls exciting and delightful.
Irish Potato Farls Recipe FAQs
What type of potatoes should I use for Irish Potato Farls?
Absolutely! It’s best to use starchy potatoes for the fluffiest farls, such as Russets or Yukon Golds. Ensure your mashed potatoes are cooled, as this keeps the dough from becoming too sticky and helps achieve the perfect consistency.
How should I store leftover Irish Potato Farls?
After your delightful meal, you can store any leftovers in an airtight container at room temperature for up to 2 days. If you’re thinking to keep them longer, simply place them in the fridge, where they can last for up to 5 days. Make sure they’re well-covered to avoid drying out!
Can I freeze Irish Potato Farls, and how do I do it?
Yes, they freeze beautifully! To freeze, first place the farls in a single layer on a baking sheet and freeze them individually. Once frozen, transfer them to a freezer bag, and they can last for up to 3 months. When you’re ready to enjoy, reheat them straight from the freezer in a skillet over medium heat until warmed through and crisp.
What if my dough is too sticky or too dry?
If your dough is too sticky, it likely needs a bit more flour—add gradually until it’s manageable. If it’s too dry, try adding a touch of water or more melted butter. Remember, the dough should be soft but not overly sticky. Gentle kneading is key to achieving that perfect farls texture!
Are there any dietary considerations I should keep in mind?
Very! If you’re cooking for anyone with gluten sensitivities, you can easily adapt this recipe by using gluten-free flour like rice or oat flour. Just be aware that this substitution may slightly change the texture. It’s a smart way to ensure everyone at the table can enjoy these comforting Irish Potato Farls!
What are some good toppings or sides for serving?
The more the merrier! Irish Potato Farls pair wonderfully with various toppings such as butter, honey, or jam for a sweet touch. For a savory option, consider serving them alongside fried or scrambled eggs, or as a base for an open-faced sandwich topped with smoked salmon or fresh herbs.
Savory Irish Potato Farls: Fluffy, Crispy, and Oh-So-Comforting
Ingredients
Equipment
Method
- In a large mixing bowl, combine cooled mashed potatoes, all-purpose flour, salt, and melted butter. Stir until a soft dough forms, about 3-5 minutes.
- Lightly flour a clean surface and turn out the dough. Knead gently for 1-2 minutes until smooth and elastic.
- Roll the dough into a circle about 1/4 inch thick and cut into quarters, forming triangular farls.
- Heat a non-stick skillet over medium heat for about 3 minutes. Cook each farl for 3-4 minutes until golden brown, then flip.
- Remove farls from the skillet and serve warm with butter, eggs, or preferred toppings.
Leave a Reply