
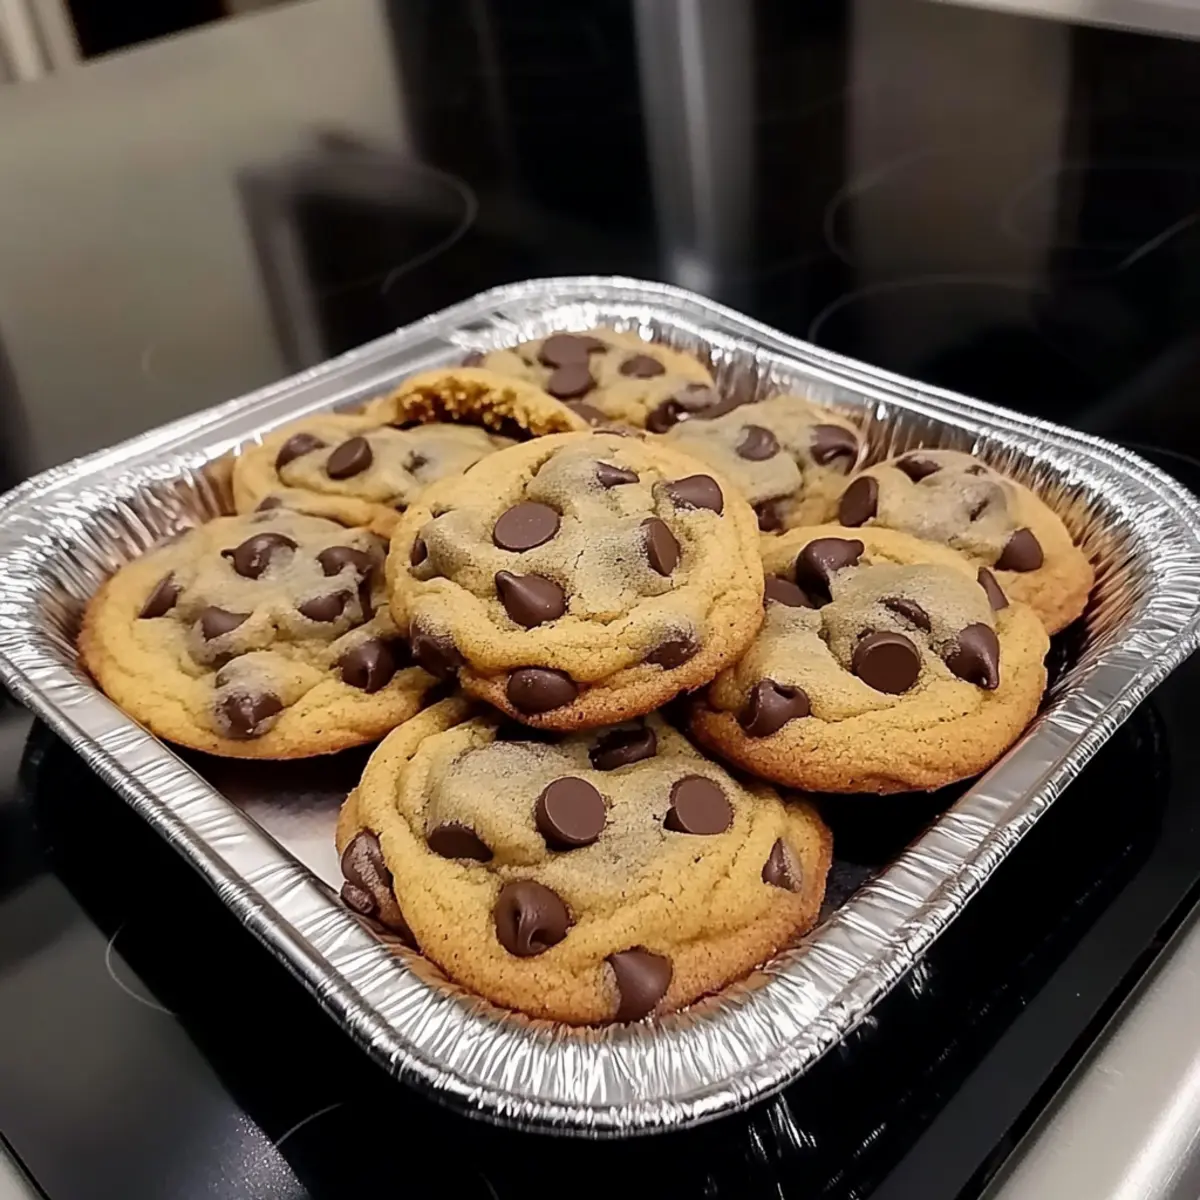
“Just wait until your oven fills the air with that intoxicating aroma!” I overheard someone say, their eyes lighting up at the mere thought of freshly baked cookies. They were talking about Homemade Chocolate Chip Cookies, a timeless favorite that brings a sense of warmth and nostalgia into every kitchen. With just a handful of ingredients, this recipe offers an effortless way to whip up a batch of perfectly crispy-edged, chewy-centered cookies that are bound to delight family and friends alike. Not only is it quick to prepare, but these cookies also freeze beautifully, making them the ideal treat for both planned and spontaneous indulgences. So, are you ready to embark on a sweet journey that will fill your home with irresistible scents and create lasting memories? Let’s dive into this classic dessert that’s sure to become a cherished staple in your baking repertoire!
Why Are Homemade Cookies So Loved?
Irresistible aroma: Baking these cookies fills your home with a heavenly scent that beckons everyone to the kitchen!
Quick and easy: With just a handful of ingredients and minimal fuss, you can whip up these delightful treats in no time.
Soft and chewy texture: Each bite offers a perfect balance between crispy edges and a chewy center, creating a mouthwatering experience.
Versatile variations: Feel free to experiment! Swap chocolate chips for dark or white chocolate, or add nuts for an extra crunch.
Crowd-pleaser: They’re perfect for any gathering or as a cozy treat for yourself. Try serving them warm with a glass of milk, or enjoy them alongside a slice of Triple Chocolate Mousse for a truly indulgent experience!
Homemade Chocolate Chip Cookie Ingredients
• Here’s everything you need to create these delightful cookies.
For the Cookie Dough
- Eggs – Provide moisture and structure; substitute with flaxseed meal mixed with water for a vegan option.
- Sugar – Adds sweetness and helps with caramelization; consider reducing sugar for a less sweet homemade chocolate chip cookie.
- Brown Sugar – Offers additional moisture and a hint of caramel flavor; can substitute with coconut sugar for a different taste.
- Unsalted Butter – Key for rich flavor and texture; make sure it’s at room temperature for easy mixing.
- All-Purpose Flour – Provides structure; can substitute with whole-grain flour for a healthier option.
- Vanilla Extract – Enhances flavor; avoid imitation vanilla for the best results.
- Baking Soda – Helps cookies rise and contributes to their chewy texture; get a fresh one for effectiveness.
- Salt – Balances sweetness and enhances flavor; don’t skip this essential ingredient.
- Semi-Sweet Chocolate Chips – Crucial for that classic chocolate flavor; swap for dark or milk chocolate based on your preference.
- Walnut Pieces – Optional, but they add a nice crunch; omit or use pecans if desired.
Step‑by‑Step Instructions for Homemade Chocolate Chip Cookies
Step 1: Preheat the Oven
Begin by preheating your oven to 375°F (190°C). This temperature will ensure your homemade chocolate chip cookies bake to perfection, achieving that ideal balance of crispy edges and a chewy center. While your oven warms up, gather all the ingredients and equipment you’ll need, including a large mixing bowl and a cookie scoop.
Step 2: Cream the Butter and Sugars
In a large mixing bowl, combine the softened unsalted butter, granulated sugar, and brown sugar. Beat them together with an electric mixer on medium speed until the mixture becomes light and fluffy, approximately 2-3 minutes. This step is crucial as it creates the airy texture that will enhance your cookies’ tenderness.
Step 3: Add Eggs and Vanilla
Next, add the eggs, one at a time, mixing well after each addition. Then, pour in the vanilla extract and continue to beat the mixture until it is light and airy, about another minute. At this point, your mixture should look smooth and creamy, setting the foundation for beautifully flavorful homemade chocolate chip cookies.
Step 4: Mix the Dry Ingredients
In a separate bowl, whisk together the all-purpose flour, baking soda, and salt. This step ensures an even distribution of the leavening agent and salt throughout the flour. Gradually add this dry mixture to the wet ingredients, mixing on low speed until just combined. Be careful not to overmix, as this will make your cookies tough.
Step 5: Fold in Chocolate Chips and Nuts
Gently fold in the semi-sweet chocolate chips and walnut pieces, if using, with a spatula or wooden spoon. You want to ensure that the chocolate is evenly distributed throughout the dough without overworking it. Expect a rich and creamy texture, with bursts of chocolate and nutty goodness waiting to surprise your guests.
Step 6: Prepare the Baking Sheet
Line a baking sheet with parchment paper to prevent sticking and ensure easy cleanup. Using a cookie scoop, portion the dough into round balls, placing them about 2 inches apart on the baking sheet. This spacing allows room for the cookies to spread while baking, resulting in those perfectly shaped homemade chocolate chip cookies.
Step 7: Bake the Cookies
Carefully place the baking sheet in your preheated oven. Bake for 8–10 minutes, or until the edges are golden brown, and the centers look slightly underbaked. These visual cues indicate that your cookies are ready to be removed; they will continue to firm up as they cool.
Step 8: Cool and Enjoy
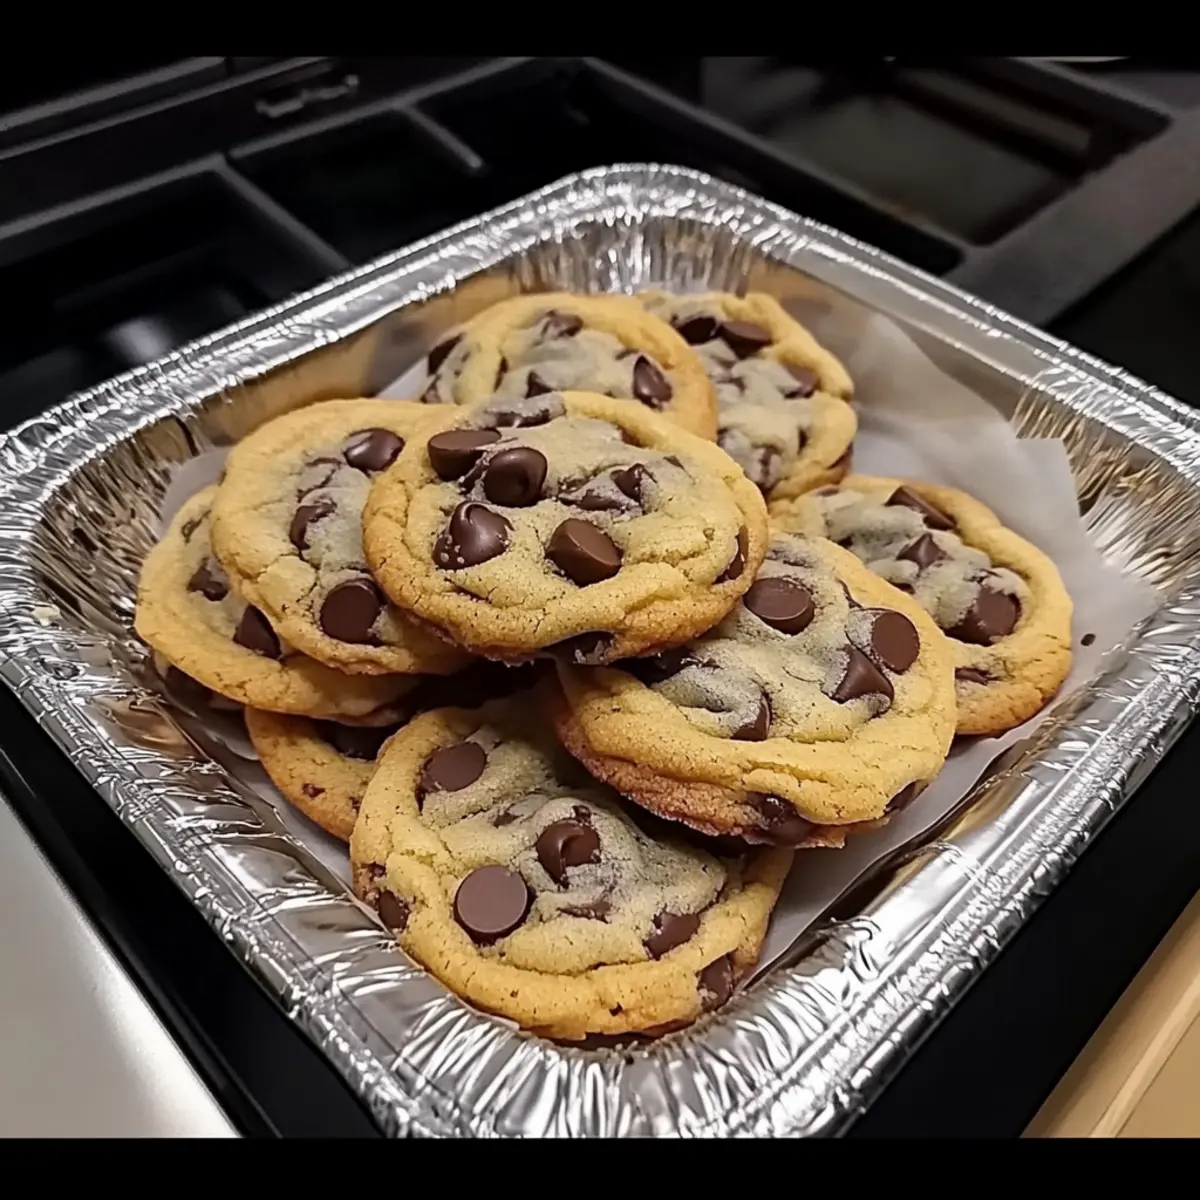
Once baked, allow the cookies to cool on the baking sheet for around 5 minutes before transferring them to wire racks. This allows them to set while remaining gooey in the center. Enjoy these homemade chocolate chip cookies warm with a glass of milk, or save them for later in an airtight container!
How to Store and Freeze Homemade Chocolate Chip Cookies
Airtight Container: Store your cookies in an airtight container at room temperature for up to 1 week to maintain their delightful texture and flavor.
Fridge: For longer freshness, keep your homemade chocolate chip cookies in the fridge for up to 2 weeks in an airtight container. Allow them to come to room temperature before enjoying.
Freezer: Freeze unbaked cookie dough portions on a baking sheet until firm, then transfer to a zip-top bag for up to 3 months. Bake directly from frozen, adding a couple of extra minutes to the baking time.
Reheating: To revive cookies, microwave them for 10-15 seconds or warm them in the oven at 350°F (175°C) for a few minutes. Enjoy the gooey, melty chocolate goodness!
Expert Tips for Homemade Chocolate Chip Cookies
-
Chill the Dough: Chill your cookie dough for at least 30 minutes before baking. This helps control spreading and enhances flavor for your homemade chocolate chip cookies.
-
Avoid Overmixing: When combining the dry ingredients with the wet, mix until just incorporated. Overmixing can lead to tough cookies rather than the desired chewy texture.
-
Underbake for Chewiness: For an extra chewy center, slightly underbake your cookies. They will continue to cook slightly after being removed from the oven, ensuring delightful tenderness.
-
Use a Cookie Scoop: Employing a cookie scoop ensures uniform cookie sizes, promoting even baking and making your homemade chocolate chip cookies consistently delicious.
-
Experiment with Flavor: Feel free to swap in dark chocolate chips or add a pinch of cinnamon for a unique twist on the classic recipe. Your taste buds will thank you!
Homemade Chocolate Chip Cookies Variations
Feel free to explore your creativity and make this delightful recipe your own!
- Nut-Free: Omit the walnuts entirely for a delicious nut-free version that everyone can enjoy.
- Dark Chocolate Delight: Swap semi-sweet chocolate chips for dark chocolate chunks to add a richer flavor.
- Cinnamon Spice: Add a pinch of cinnamon to the dry ingredients for a warm, slightly spicy twist that enhances the sweetness.
- White Chocolate Lovers: Substitute semi-sweet chips with creamy white chocolate chips for a sweeter, velvety taste.
- Add Some Crunch: Toss in some toffee bits or butterscotch chips along with the chocolate for an extra layer of flavor and texture.
- Oatmeal Twist: Mix in rolled oats for a heartier version of your cookies that still maintains that classic chewy goodness.
- Chili Chocolate: For a spicy kick, add a pinch of cayenne pepper or chili powder to the dough—this bold combo surprises in the best way!
- Double Chocolate: Replace some of the flour with cocoa powder for an indulgent double chocolate treat that’s perfect for true chocolate fans.
Whether you’re in the mood for a comforting classic or a creative twist, these variations will surely keep your baking journey exciting. Don’t forget to check out how these cookies pair beautifully with a slice of Triple Chocolate Mousse or serve them alongside an indulgent Chocolate Tuxedo Cake for a perfect sweet ending!
What to Serve with Classic Homemade Chocolate Chip Cookies
Baking brings families together, and there’s nothing quite like pairing warm cookies with complementary sides to elevate your experience.
- Cold Glass of Milk: Perfectly classic, the refreshing chill of milk enhances the rich flavors and balances the sweetness of cookies.
- Rich Vanilla Ice Cream: A scoop of creamy vanilla ice cream melting over warm cookies creates a decadent dessert that’s impossible to resist.
- Fresh Berries: Bright, juicy berries add a refreshing tartness that cuts through the sweetness, offering a delightful contrast in textures.
- Chocolate Dipping Sauce: For chocolate lovers, a drizzle of smooth sauce takes your cookies to a whole new level of indulgence.
- Coffee or Espresso: A hot cup of coffee or espresso pairs beautifully, providing a bitter note that complements the sweet chocolatey goodness.
- Coconut Macaroons: These chewy delights match the texture of the cookies, while adding a twist of coconut flavor to your dessert spread.
- Rustic Fruit Tart: A slice of fruit tart brings freshness and a rustic charm that beautifully contrasts with the gooey chocolate.
- Peanut Butter Dip: Whipping up a creamy peanut butter dip alongside offers a delightful nutty richness that pairs fantastically with chocolate.
- Hot Chocolate: For added warmth, serve these cookies with a mug of rich hot chocolate, creating a cozy combination perfect for chilly evenings.
Make Ahead Options
These Homemade Chocolate Chip Cookies are perfect for meal prep enthusiasts! You can prepare the dough up to 24 hours in advance by mixing all the ingredients and storing it in an airtight container in the refrigerator. To maintain maximum quality and prevent browning, you can also freeze the dough in portioned cookie balls for up to 3 months; just be sure to wrap them tightly in plastic wrap and then place them in a freezer bag. When you’re ready to enjoy fresh cookies, simply bake the frozen dough straight from the freezer, adding an extra minute or two to the bake time. This way, you’ll have delicious, freshly baked cookies with minimal effort, making busy weeknights a little sweeter!
Homemade Chocolate Chip Cookies Recipe FAQs
How do I choose ripe and fresh ingredients for my cookies?
Absolutely! For the best flavors in your homemade chocolate chip cookies, make sure to use fresh ingredients. Check eggs for freshness by doing the water test—if they sink, they’re good, but if they float, it’s time to toss them. Pick unsalted butter that’s creamy and smooth, and opt for brown sugar that feels moist and clumps together. Your chocolate chips should be chocolatey and shiny with no signs of blooming (light grayish color).
What’s the best way to store my cookies after baking?
The more the merrier! Store your homemade chocolate chip cookies in an airtight container at room temperature for up to one week. For optimal freshness, ensure that the container is completely sealed. If you want to keep them a bit longer, you can refrigerate them for up to two weeks, taking them out to warm up to room temperature before enjoying.
Can I freeze cookie dough, and how do I do it?
Certainly! Freezing cookie dough is a fantastic way to have freshly baked cookies on demand. After mixing your dough, scoop it into uniform portions and place them spaced apart on a parchment-lined baking sheet. Freeze until firm (about 1-2 hours), then transfer the dough balls to a zip-top freezer bag. You can freeze them for up to 3 months! When you’re ready to bake, simply place the frozen dough on a baking sheet and add an extra couple of minutes to your baking time.
What if my cookies are too flat after baking?
No worries! Flat cookies can be due to a few reasons, such as using melted butter instead of softened, not chilling the dough, or overmixing. To fix this, you might want to chill the dough for about 30 minutes before baking. This step helps to solidify the fats and should prevent your homemade chocolate chip cookies from spreading too much. Also, make sure to check your baking soda’s freshness; expired baking soda can affect the rise!
Are there any dietary considerations I should keep in mind?
Very! If you’re baking for someone with dietary restrictions, there are easy substitutions. You can use flaxseed meal mixed with water as a vegan egg replacement, and swap out the unsalted butter with a plant-based butter for dairy-free cookies. For nut allergies, simply leave out the walnuts; the cookies will still taste fantastic without them! Make sure to double-check your chocolate chips for any allergens, as some brands may contain allergens like dairy or soy.
Homemade Chocolate Chip Cookies with Crispy Edges & Chewy Joy
Ingredients
Equipment
Method
- Preheat your oven to 375°F (190°C).
- In a large mixing bowl, combine softened unsalted butter, granulated sugar, and brown sugar. Beat until light and fluffy, about 2-3 minutes.
- Add eggs one at a time, mixing well after each addition. Pour in the vanilla extract and mix until creamy.
- In a separate bowl, whisk together flour, baking soda, and salt. Gradually add to the wet ingredients, mixing on low until just combined.
- Fold in chocolate chips and walnut pieces gently.
- Line a baking sheet with parchment paper and scoop dough into balls, spacing them 2 inches apart.
- Bake for 8-10 minutes or until edges are golden brown. Centers may look slightly underbaked.
- Cool on the baking sheet for about 5 minutes before transferring to wire racks.
Leave a Reply